Assembly
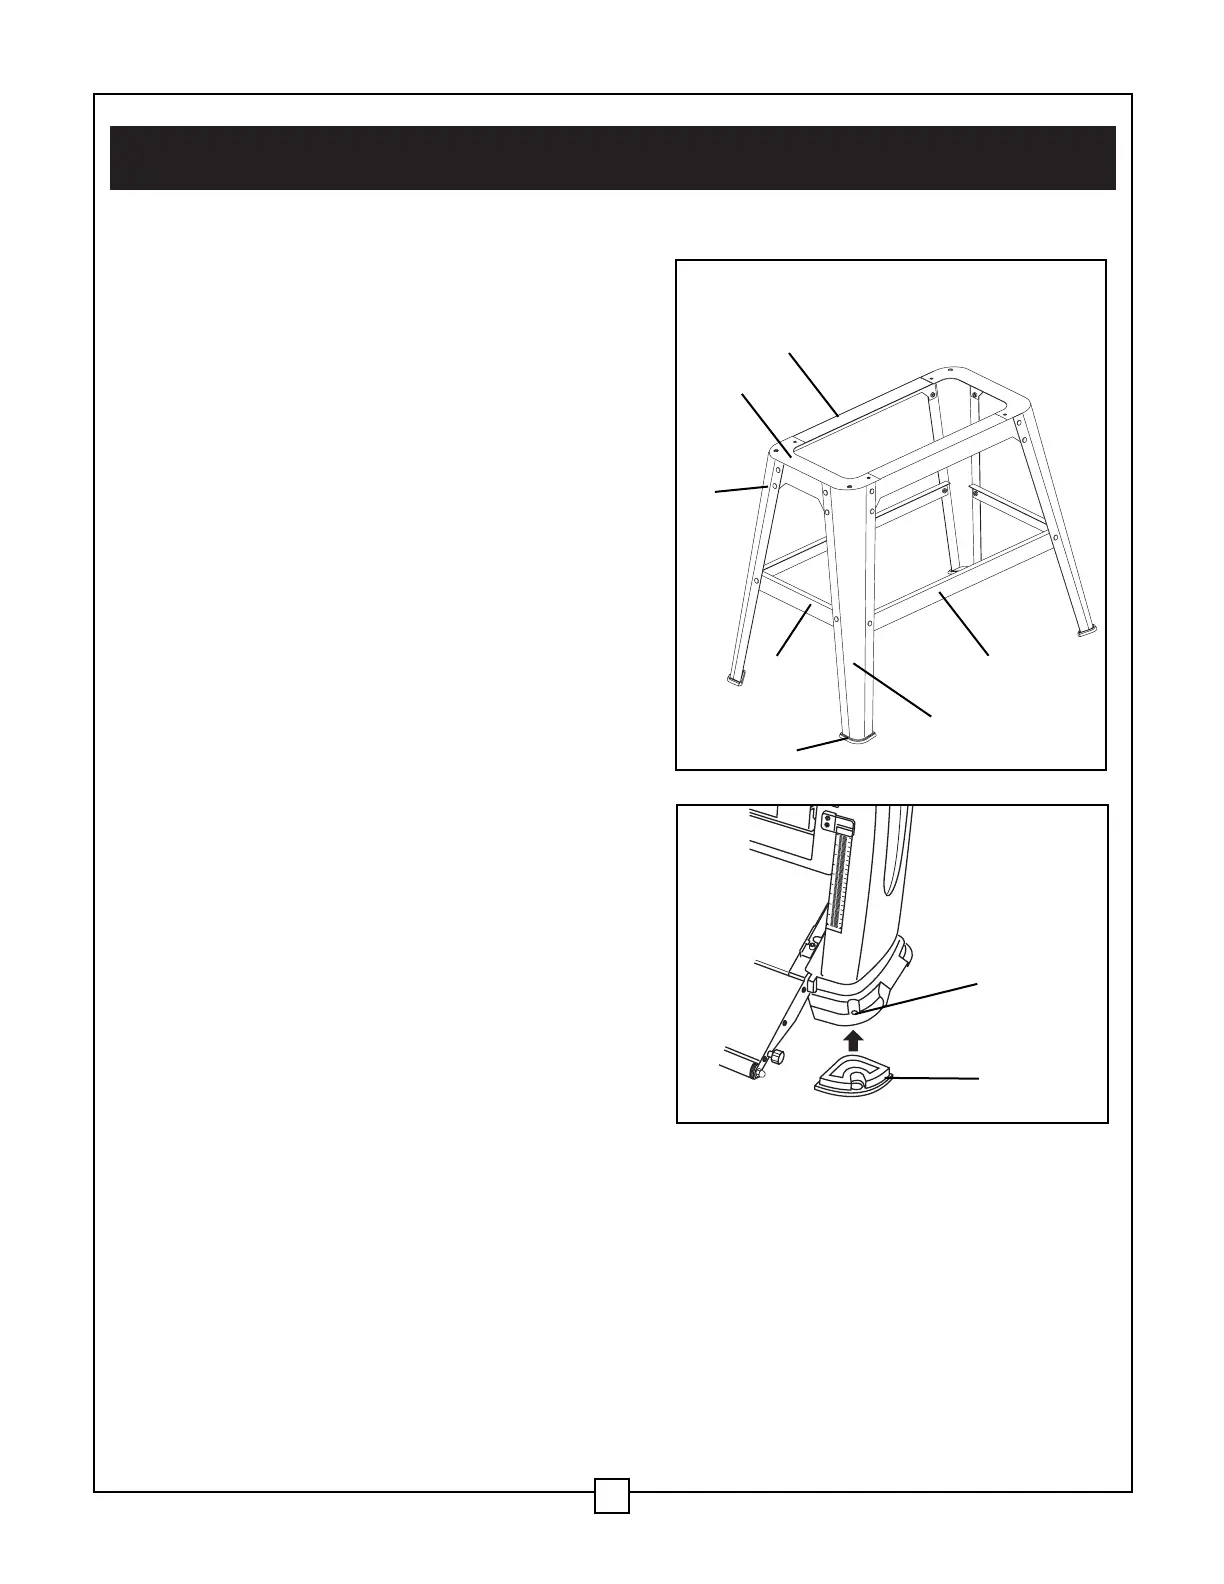
Assembling the leg stand (Fig. 2)
Use the screws, washers, and nuts supplied in the
hardware kit to attach the pieces of the leg stand
together. Do not tighten the hardware completely
until the leg stand is assembled.
1. Attach the short top plates (1) to the legs (2).
2. Attach the short support plates (3) to the
legs (2).
3. Place the long top plates (4) over the short
top plates (1). Attach the long top plates to
the legs (2).
4. Attach the long support plates (5) to the legs.
5. Tap the four rubber feet (6) onto the bottom of
the legs.
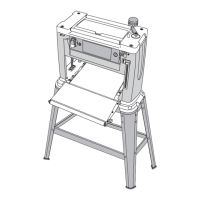
Mounting the planer on the leg stand (Fig. 3)
Note: Steps 1 and 2 are optional.
1. Lift up the planer and place a rubber foot (1) in
position, aligning the hole in each foot with the
mounting hole on the planer.
2. Push each rubber foot onto the planer.
3. Place the planer on the leg stand.
4. Place a mounting bolt through the hole (2) at
each corner of the thickness planner and
secure it to the leg stand using quality
hardware.
VI. Assembly and adjustments (continued)
Fig. 2
1
2
4
5
3
6
2
Fig. 3
1
2
12
 Loading...