11
OPERATION
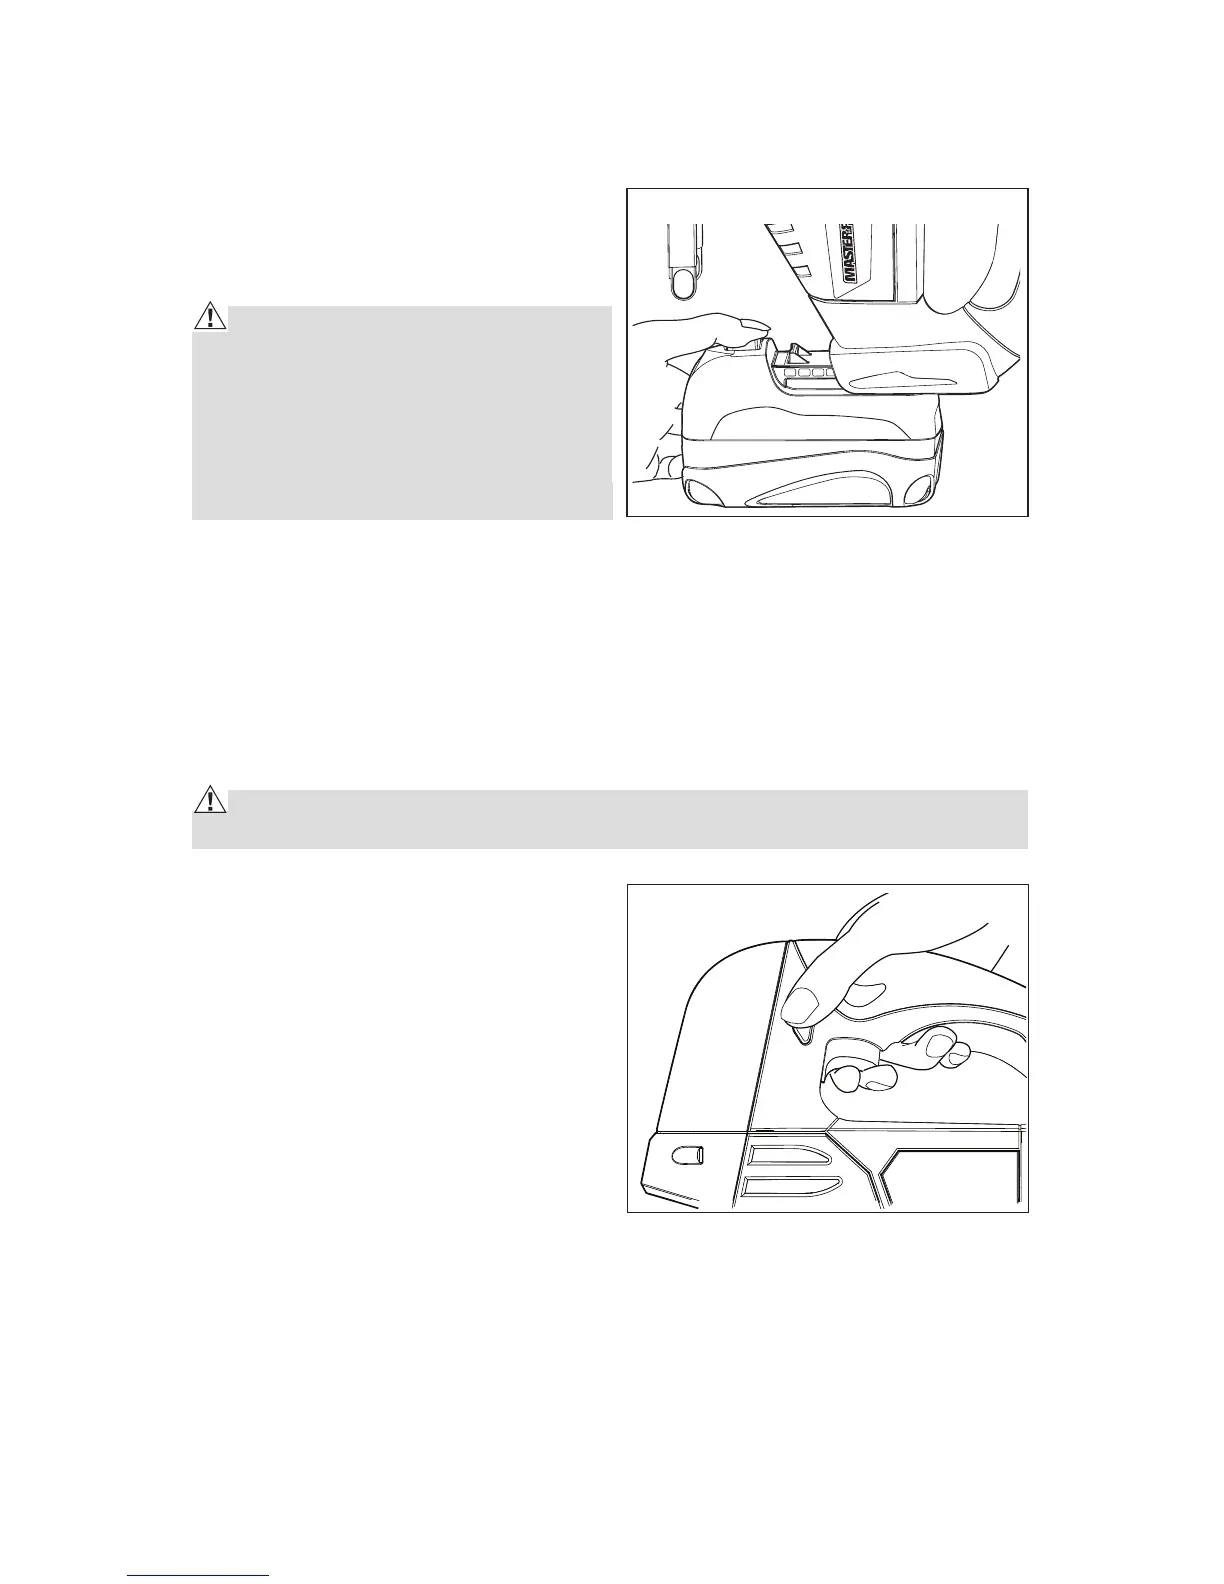
TO ATTACH BATTERY PACK (FIG. 2)
Align the raised rib on the battery pack
with the grooves on the bottom of the
jig saw and then attach the battery
pack to the jig saw.
CAUTION! When placing the bat-
tery pack in the tool, be sure that the
raised rib on battery pack aligns with
the groove on the jig saw and that the
latches snap into place properly. Im-
proper assembly of the battery pack
can cause damage to internal compo-
nents.
TO DETACH BATTERY PACK (Fig. 2)
1. Depress the battery-release button located on the front of the battery
pack to release battery pack.
2. Pull the battery backward and remove it from the tool.
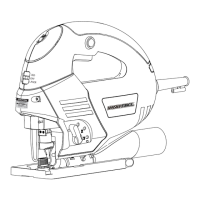
SWITCHING ON AND OFF (Fig. 3)
To turn the jig saw ON, keep the lock-off button depressed and squeeze the
trigger switch. To turn it OFF, release the trigger switch.
CAUTION! Allow the blade to come to a complete stop before setting the
jigsaw down.
VARIABLE SPEED TRIGGER SWITCH
(Fig. 3)
This tool has a variable speed switch
that delivers higher speed with
increased trigger pressure. Speed is
controlled by the amount of switch
trigger depression.
NOTE: Use the variable speed
feature for a short time only. Do not
continuously operate the tool at
different speeds. It may damage the
switch.
ELECTRIC BRAKE
To stop the jig saw, release the trigger switch and allow the tool to come to
a complete stop. The electric brake quickly stops the saw blade stroke. This
feature engages automatically when you release the trigger switch.
Fig. 2
Fig. 3