12
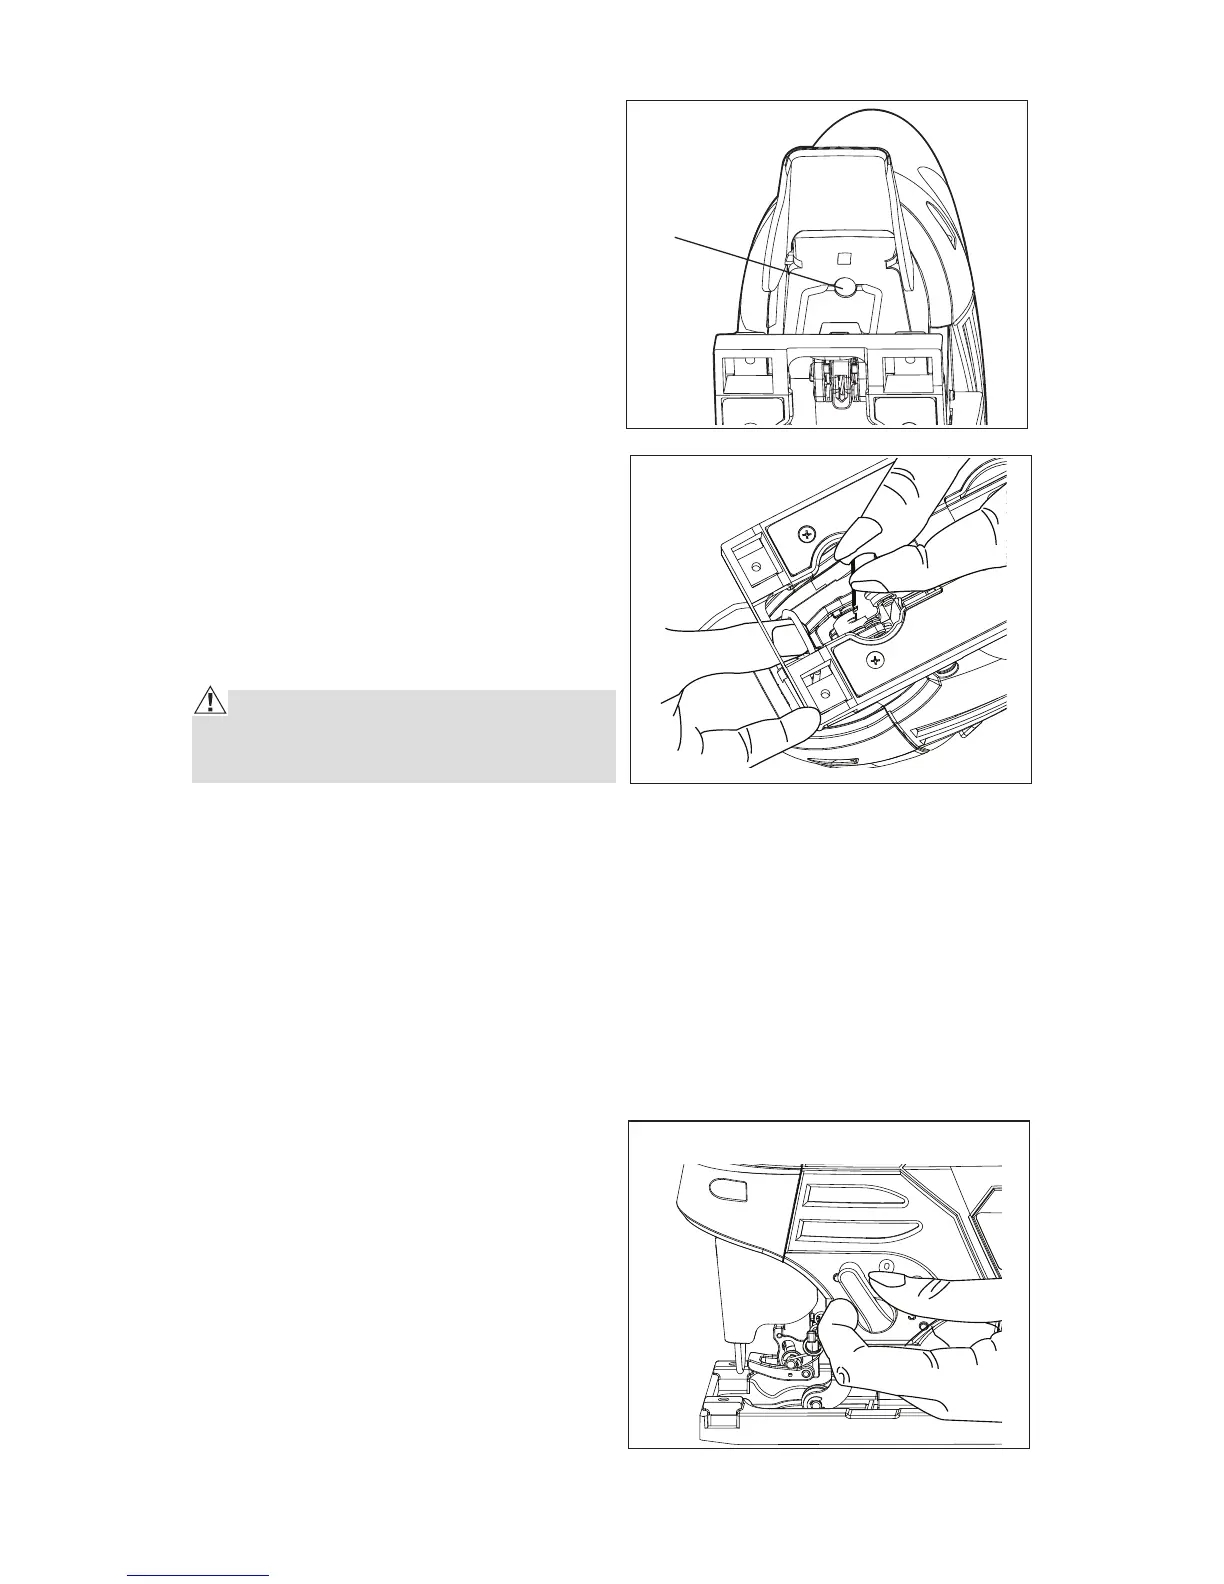
LED WORKLIGHT (Fig. 4)
The LED worklight, located above
the tool-less blade clamp, provides
additional lighting on the surface
of the workpiece for operation in
lower-light areas. The LED worklight
will come on automatically when the
trigger switch is depressed, and it
will turn off when the trigger switch is
released.
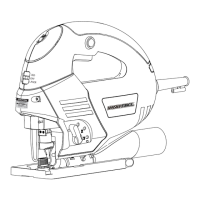
INSTALLING SAW BLADE (Fig. 5)
1. Remove the battery pack.
2. Turn the tool upside down and
press the blade clamp lever as
far as it can go; the lever will not
rebound back.
3. Insert the blade into the slot until it
locks into place automatically.
REMOVING SAW BLADE (Fig. 5)
CAUTION! Allow the blade to cool
after use. The blade can become dan-
gerously hot.
1. Remove the battery pack.
2. Press down on the blade clamp lever to remove the blade.
3. The clamp stays open when the blade is removed; it automatically locks
when you push in another blade, providing for very easy one-hand blade
change.
BLADE SELECTION
To obtain the best performance from the saw, it is important to select the
correct blade for the particular application and type of material you wish to
cut. By doing this, you will get a smoother, faster cut and prolong blade life.
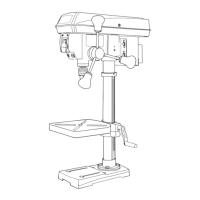
ORBIT ADJUSTMENT (Fig. 6)
The jigsaw has orbital action whereby
the blade roller guide moves back and
forth to make the blade swing slightly
as it cuts.
Orbital action increases the speed of
cut but may result in a rougher finish
to the cut in some materials.
Set the orbit control lever to one of the
four settings according to degree of
orbit action required:
0- No orbit action
1- Minimal orbit action
Fig. 5
Fig. 6
Fig. 4
LED worklight