7
EN
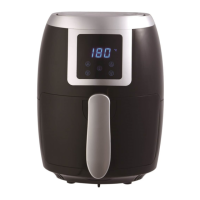
display will show “180°C“ and 15MIN”, indicating that the time and
temperature are ready to be programmed.
STEP 3:
Following the instructions in the section entitled‘Using the
Digital Control Panel” , preheat the air fryer for approx.5 minutes.
Use + or - to increase or decrease the time or temperature if
required.
STEP 4:
Once preheated, remove the cooking compartment by
pulling it out of the air fryer using the handle. Place the cooking
compartment onto a at, stable, heat-resistan surface. Check that
the plastic button cover is over the basket release button to avoid it
from being released accidentally.
STEP 5:
Place the ingredients into the non-stick coated cooking
basket and then slide the cooking compartment back into the air
fryer main unit to close it.
STEP 6:
Use the digital control panel to set the cooking time
and temperature as required for the ingredients. The time and
temperature can also be set using the
“MODE”
buttons. This will
automatically cycle between time and temperature presets for
cooking various foods. These presets can then be adjusted using
+ or – to increase or decrease the time or temperature as required.
Then press the power button to begin cooking.
STEP 7:
Some ingredients may require shaking halfway through
the cooking time.
Remove the cooking compartment by pulling the cooking basket
handle out of the air fryer. The plastic button cover must be
concealing the cooking basket release button; take care not to
release the non-stick coated cooking basket by pressing the
cooking basket release button. Shake the cooking compartment
gently and then slide it back into the air fryer main unit to close it
and continue to cook.