32| Revision Date: 8/30/2017 | Revised by: EM
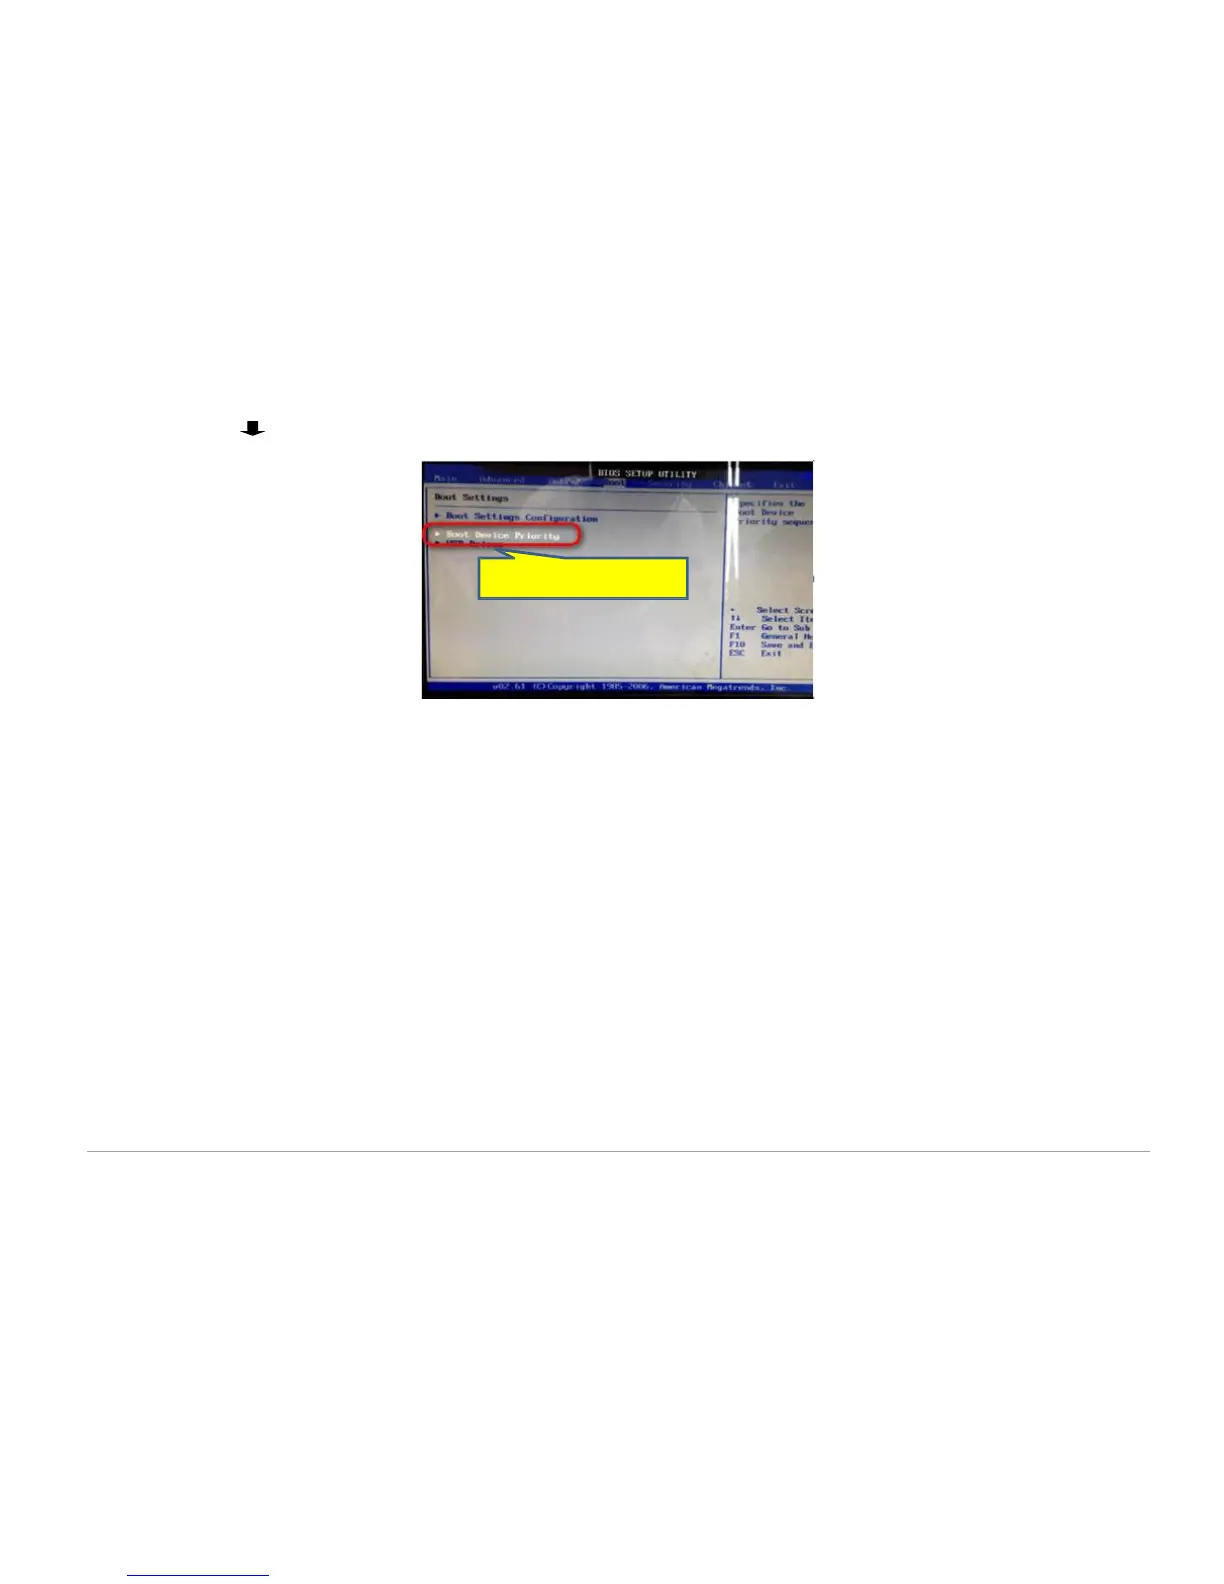
h. Press (down arrow) on the keyboard to move to the Boot Device Priority option <Figure 18>.
i. Press Enter on the keyboard.
j. Press the + (plus) or – (minus) key until the USB drive shows.
k. Press F10 to save and select Yes.
l. Connect the USB to the console.
m. Install the diagnostic tool from the USB on the console.
n. Repeat (e) through (i), then return the BIOS setting to HTTP boot.
o. Test the console. If the issue remains, begin step 2.
2. Replace the RAM:
i. Remove four (4) screws from the back of the console and set the cover aside.
ii. Push down on both RAM slot tabs.
iii. If needed, gently rock the RAM back and forth at the sides until it releases.
iv. Remove the RAM from the console.
v. Install the replacement RAM, making sure to align pins with the DIMM slot.
vi. Ensure the tabs lock in the replacement RAM.