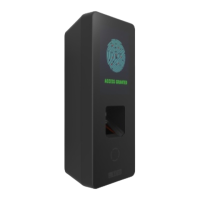
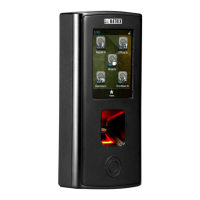
1) COSEC ARGO Unit
2) Flush Mounting Plate
3) Four Screws M5/25
4) Four Screw Grips
5) Overswing Diode
6) Power Adapter 12VDC,2A
7) Power Supply Cable (with DC Jack)
8) EM Lock Cable
9) External Reader Cable
10) Flush Mounting Template
What your Package Contains
For Concealed wiring in Wall Mounting/Flush Mounting, first draw out
the sufficient length of the cables from the hole of the mounting plate.
For Non-concealed wiring in Wall Mounting; the knock -out area has to be
removed from outside by pressing on the bottom duct as shown
in Figure 3.
The connection of EM Lock must be done using the diode for Back
EMF protection.
Preparation for Installation
7
8
Before Wall Mounting and Flush Mounting of COSEC ARGO follow below
instructions.
• Remove the mounting screw from mounting screw hole of the bottom
of device as shown in Figure 3. The screw will be required to fix the
device after Wall Mounting or Flush Mounting.
• Slide the back plate downwards to unlock the device from the
mounting hook and then remove it by pulling it outwards. This back
plate server as the Wall Mounting plate. For details see Installation
Instructions for Wall Mounting.
• The Flush Mounting plate is available in the package. This plate will be
required for Flush Mounting of COSEC ARGO. For details see
Installation Instructions for Flush Mounting.
Wall Mounting: Select a location. It must be a flat surface such as wall,
close to the access point (door).
Flush Mounting: Select a wooden door or a location where the duct can be
made. The rectangular duct has to be made in the wooden door in which
Flush Mounting plate will be installed.