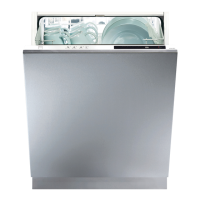
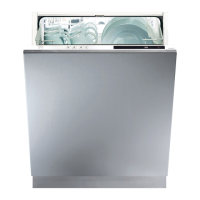
Installation
s $ONOTINSTALLTHISAPPLIANCEIFITISDAMAGEDINANYWAY)NSTALLINGA
damaged appliance may invalidate the warranty.
s The water supply tap should be located in an adjacent cupboard so that it
can be accessed after installation.
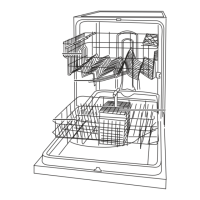
s %NSURETHEAPPLIANCEISLEVELBYADJUSTINGTHEFEETASNECESSARY
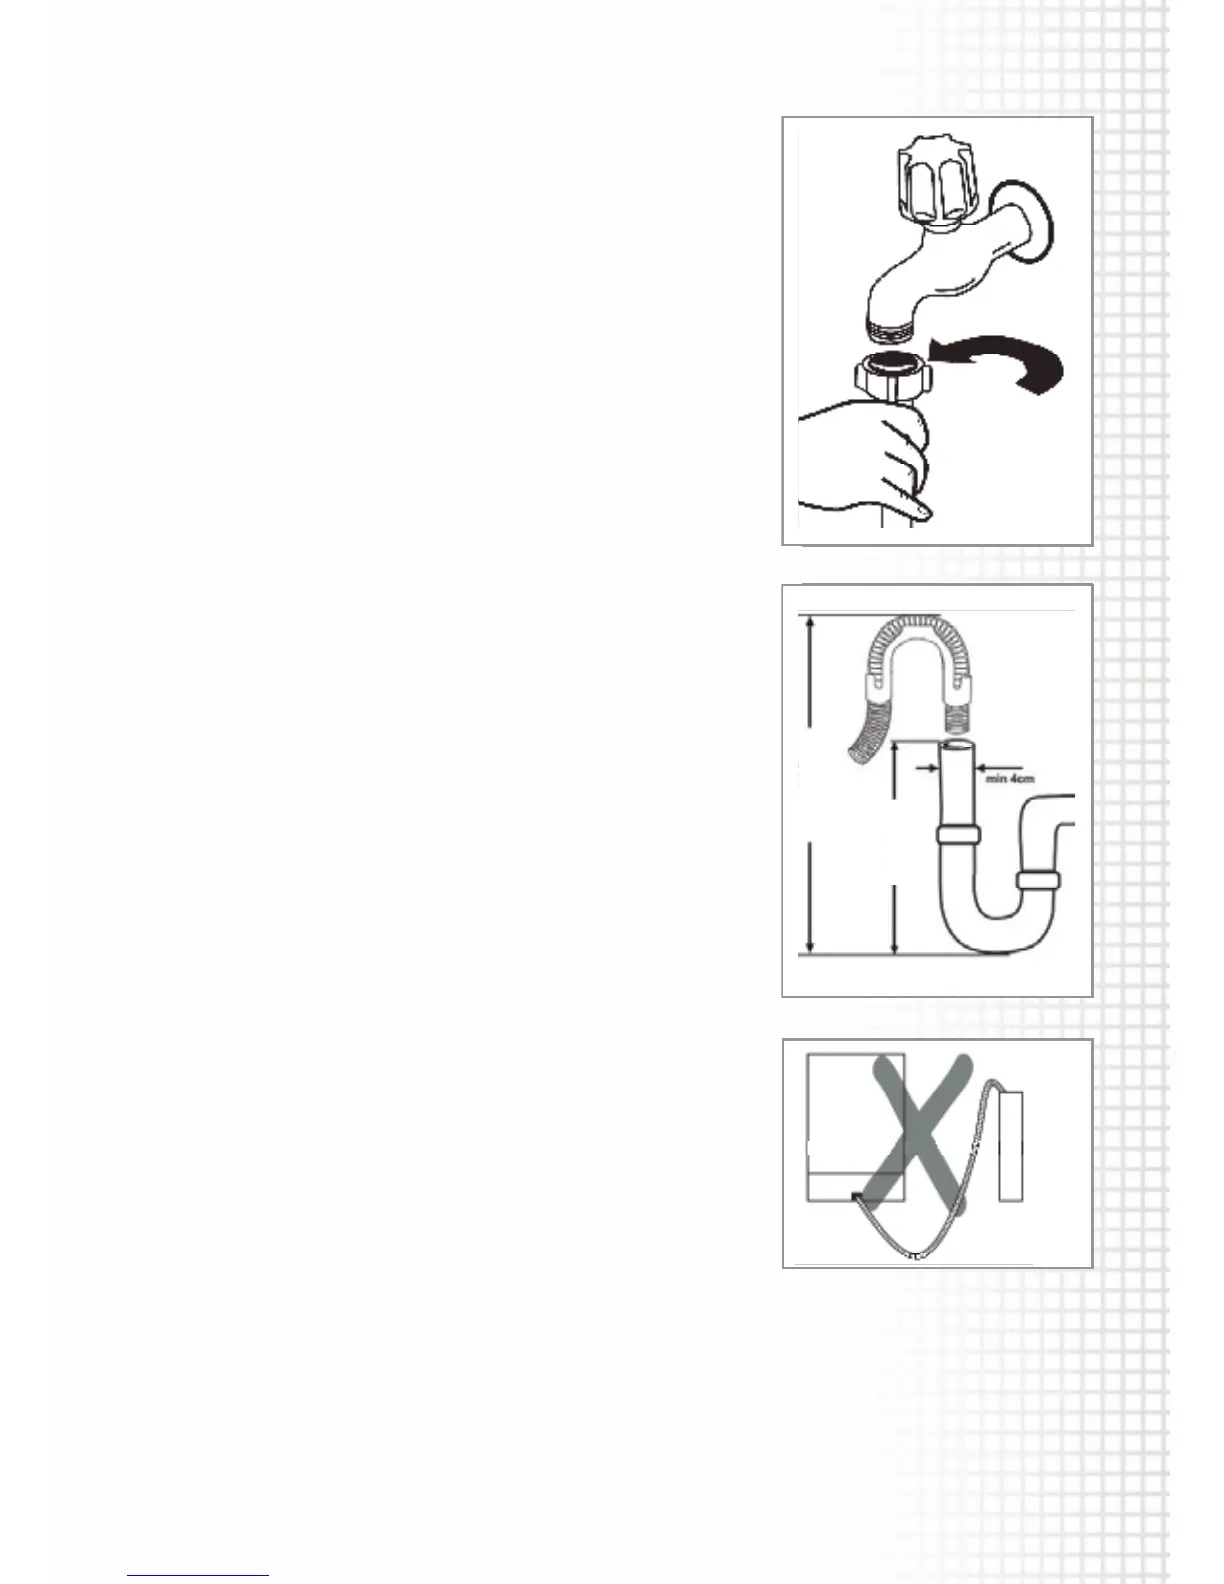
s /NLYUSETHEWATERINLETSUPPLIEDWITHTHEAPPLIANCE
s )FTHEWATERPRESSUREISABOVEBARAPRESSURERELIEFVALVESHOULDBEUSED
s After connecting the water supply, check to ensure there are no leaks.
s The water outlet can either be connected to a water drain or to a sink outlet
SPIGOT4HISCONNECTIONSHOULDBEATAMINIMUMOFCMANDAMAXIMUM
OFCMFROMTHEmOOR4HEDRAINHOSESHOULDBENOLONGERTHANMIN
length to ensure good performance from the dishwasher.
Important installation information
• Donotinstallthisapplianceifitisdamagedinanyway.Installingdamage
appliance may invalidate the warranty.
• Thewatersupplytapshouldbelocatedinanadjacentcupboardsotheit
can be accessed after installation.
• Ensuretheapplianceislevelbyadjustingthefeetasnecessary.
• Onlyusethewaterinletsuppliedwiththeappliance.
• Ifthewaterpressureisabove10bars,apressurereliefvalveshouldbeused.
• Afterconnectingthewatersupply,checktoensuretherearenoleaks.
• Thewateroutletcaneitherbeconnectedtowaterdrainortoasinkoutlet
spigot.Thisconnectionshouldbeataminimumof50cmandamaximum
of110cmfromtheoor.Thedrainhoseshouldbenolongerthan4min
length to ensure good performance from the dishwasher.
• Topreventdamagetotheoorsurface,installtheapplianceontheplastic
skids provided. Failure to do so will invalidate the warranty.
• Ensurethatthedoormechanismistensionedcorrectlyasoutlinedinthe
installation instructions provided
Installation
s $ONOTINSTALLTHISAPPLIANCEIFITISDAMAGEDINANYWAY)NSTALLINGA
damaged appliance may invalidate the warranty.
s The water supply tap should be located in an adjacent cupboard so that it
can be accessed after installation.
s %NSURETHEAPPLIANCEISLEVELBYADJUSTINGTHEFEETASNECESSARY
s /NLYUSETHEWATERINLETSUPPLIEDWITHTHEAPPLIANCE
s )FTHEWATERPRESSUREISABOVEBARAPRESSURERELIEFVALVESHOULDBEUSED
s After connecting the water supply, check to ensure there are no leaks.
s The water outlet can either be connected to a water drain or to a sink outlet
SPIGOT4HISCONNECTIONSHOULDBEATAMINIMUMOFCMANDAMAXIMUM
OFCMFROMTHEmOOR4HEDRAINHOSESHOULDBENOLONGERTHANMIN
length to ensure good performance from the dishwasher.
 Loading...