15
16
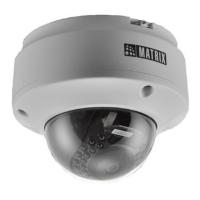
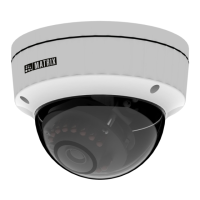
Ceiling Mount
Figure 8
Step 7: Mount the Camera
• Align the Trim Ring and Enclosure Top with Enclosure Bottom
as shown in Figure 8.
• First affix Enclosure Top with Enclosure Bottom using a screw
to lock the desired position in such a way that sphere ball is
unable to move. You need to turn the screw 05 to 06 times
using a screwdriver. See Figure 9a.
• For Wall Mount, see Figure 9b.
• Now rotate Trim Ring towards right to lock all the parts of
Camera, See Figure 10.
Figure 9a
Enclosure Botttom
Enclosure Top
Trim Ring
This is the default factory position of the Lock and Arrow for
Ceiling Mount. Make sure the camera is mounted in a position
wherein the Arrow and Lock face the user.
 Loading...