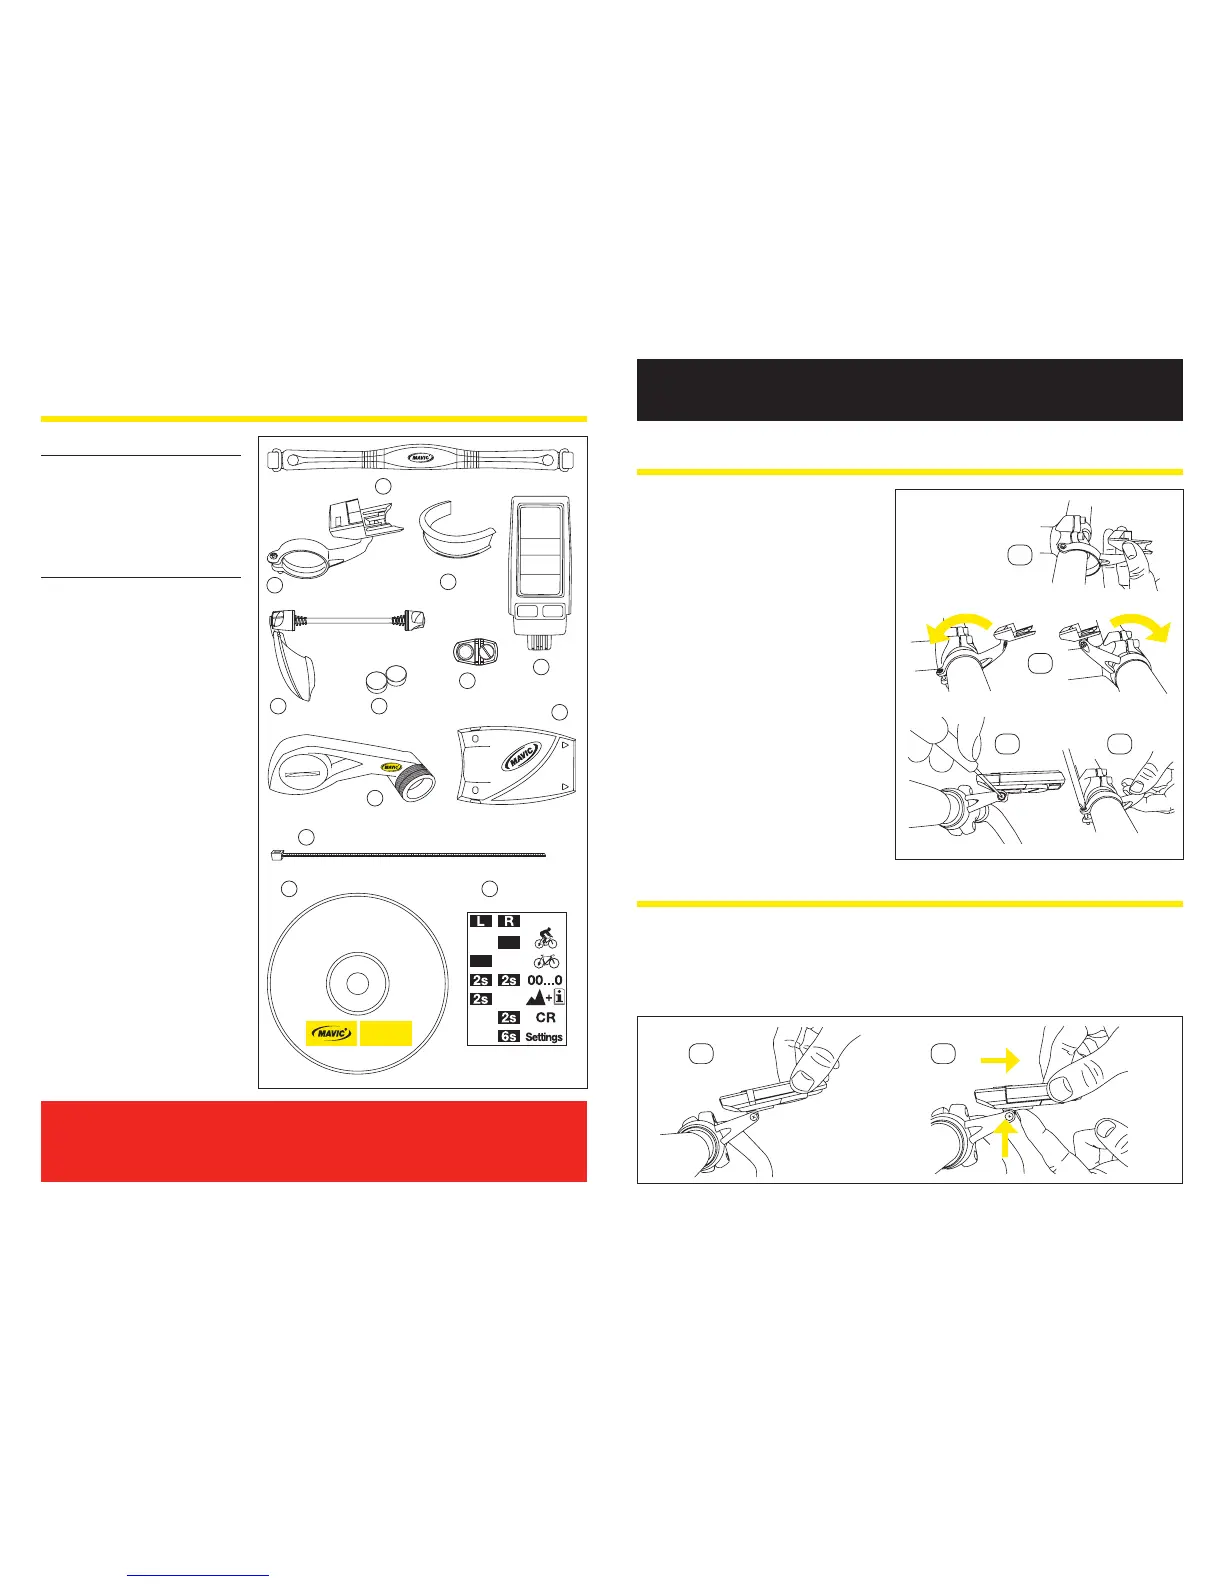
1. PRODUCT DESCRIPTION
Main Unit Box
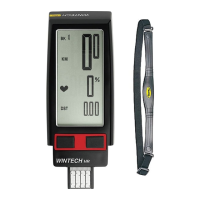
a. Computer
b. Cardio Belt
c. Wintech Manager software
CD
d.
Memo stick
Sensor Box
E-Skewer
e.
E-Skewer sensor
f. Computer mount
g. 25,4mm handlebar reducer
h. Wheel magnet
E-Bolt
i.
E-Bolt sensor
f. Computer mount
g. 25,4mm handlebar reducer
h. Wheel magnet
j. Adjustment magnets
Fork Sensor
k.
Fork sensor
f. Computer mount
g.
25,4mm handlbar reducer
h. Wheel magnet
l. Zip ties (x3)
After installation and before you use your computer for the rst time, you MUST
perform the digital pairing operation described in section 10.2. of this guide.
If you don’t, there will be no communication between the computer and the
dierent sensors and your system will not work.
INSTALLATION
2. INSTALLING THE COMPUTER MOUNT
2.1 Install the mount on the handlebar,
to the right of the stem. To x it to an
oversize, 25.4 diameter handlebar,
use the 25.4 adapter.
2.2
The mount can be installed in a variety
of positions: with the computer forward
of, or above the handlebar stem.
2.3.
When setting it, the computer support
needs to turn freely on the mount
arm. Loosen the screw using a cross-
slot screwdriver
2.4.
Once you have chosen the right
position, tighten the mount screw with
a cross-slot screwdriver and secure
the computer support screw again.
3. FITTING/REMOVING THE COMPUTER
3.1. Slide the computer onto the mount from the front until it locks into place with an audible
click.
3.2.
To remove the computer from its mount, press and hold the tab located under the computer
mount and slide the computer toward the front of the bicycle.