8
© Copyright Century UK Limited 2012 www.centuryuk.com
9. Receiver Installation.
© Copyright Century UK Limited 2012 www.centuryuk.com
Connect the speed controller to the throttle channel of your receiver, (not included). This wire is easily
identified, it is the only one that is routed from the front of the model.
Connect the rudder and elevator servos to the corresponding channel outputs of the receiver and
connect the one remaining lead from the circuit board to the aileron channel output. There is a
moulded recess in this compartment which is sufficient to accommodate most popular 2.4GHz
receivers; however there is ample room elsewhere to locate yours if it does not.
We recommend that it should be securely positioned with self-adhesive “Velcro”.
You must adhere to the receiver manufacturer recommendations regarding positioning and aerial
routing.
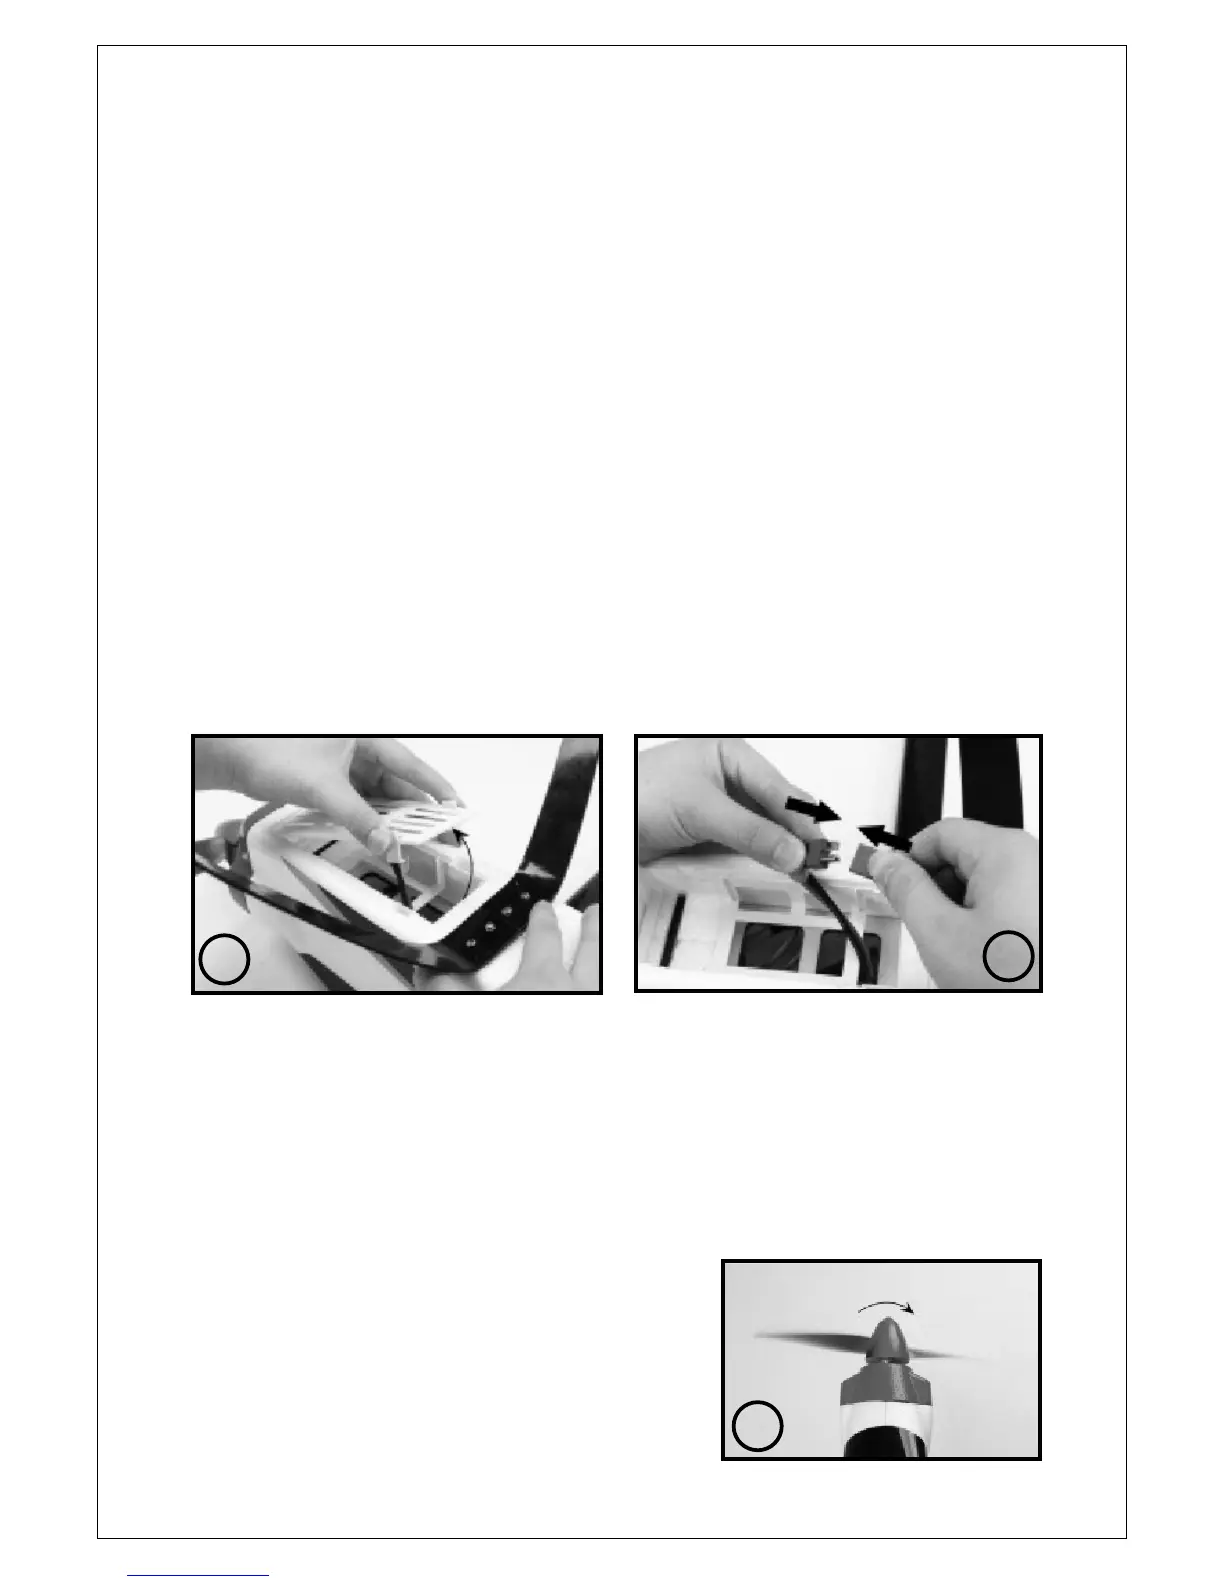
10. Battery Installation.
The battery compartment is accessed by gently squeezing the two ra
ised white tags and lifting the
rear of the front hinged cover, (image M). Your flight battery, (not-included) can easily be installed and
connected to the factory fitted “T” style connector, (image N). Make certain the battery and cover are
both secure before flight.
Check that all control surfaces are centred and responding correctly to transmitter inputs.
Adjustments can be made to control surface centres by carefully rotating the plastic control horns on
the threaded portion of the metal control rods. Use the servo reversing function on your transmitter
for any control that is not responding in the correct sense to control inputs. Make certain that all
plastic links are securely “snapped” closed and that all control surface hinges are secure. Use a small
amount of foam glue if any hinges are not firmly attached.
er is securely fixed and it is
rotating in the correct direction, (image O).