18.0
22.0
20.0
19.0
21.0
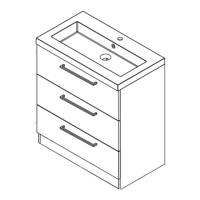
Hierdoor kan het front niet meer verschuiven. U dient dit pas te doen als de
fronten naar wens zijn afgesteld.
This will prevent he front panel from shifting any further. Only do this when the
front panel is in the desired position.
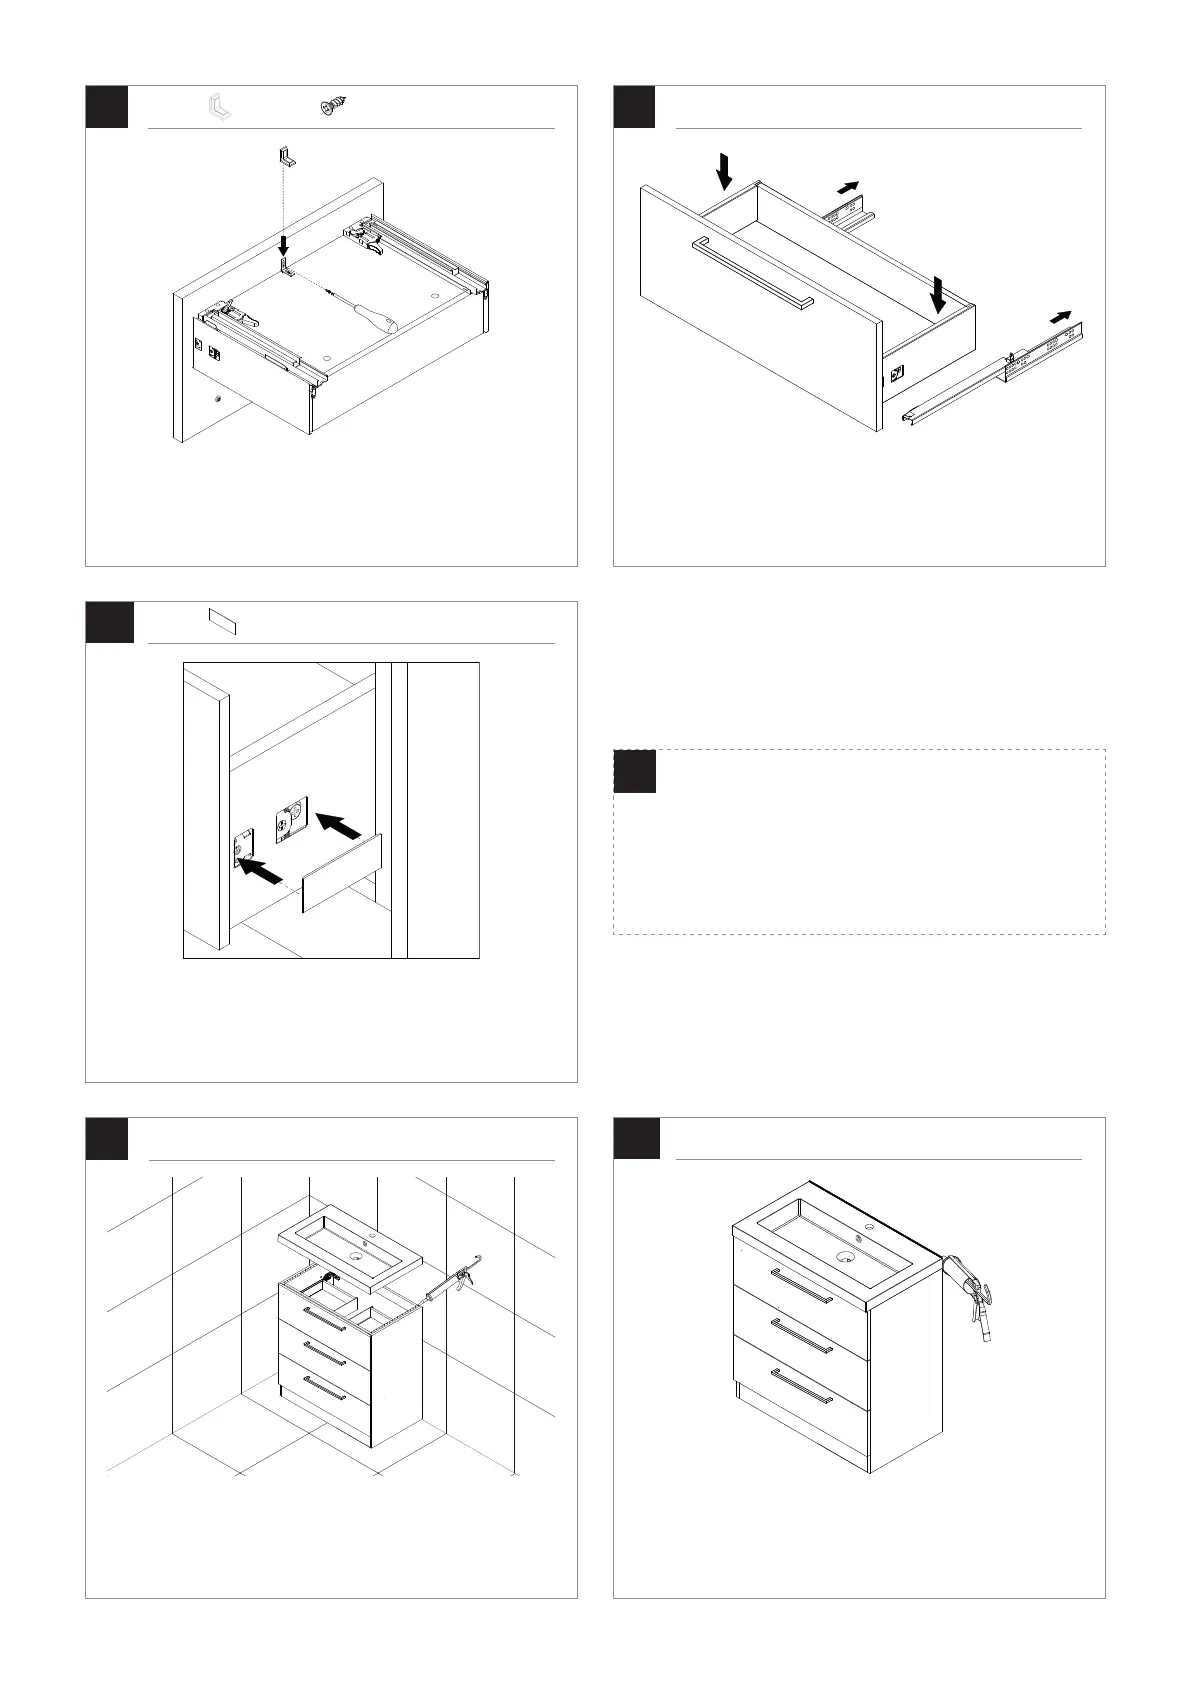
Kit de wastafel af langs de volledige achterzijde om een waterdichte bevestiging
te garanderen.
Seal the entire backside of the washing basin to guarantee a waterproof
installation.
Plaats de afdekkapjes.
Place the cover caps.
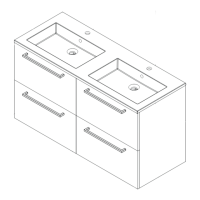
Schuif de geleiders volledig uit het meubel. Plaats de lade op de geleiders en duw
de geleiders aan de achterkant vast.
Fully extend the drawer runners of the cabinet. Place the drawer on top of the
drawer runners and click them into place on the backside of the drawer.
Heeft u een wastafel? Ga door naar stap 21. Heeft u een waskom? Ga dan verder
met de bijgeleverde handleiding van het wastafelblad.
Do you have a washing basin? Continue with Step 21. Do you have a washbowl?
Continue with the supplied installation manual of the countertop.
Gebruik hiervoor enkele druppels montagekit op de linker- en rechterzijde. Houd
een schone doek bij de hand om eventueel overtollige kit direct te verwijderen.
Use several drops of kit on both the left and right side of the cabinet. Keep a clean
cloth at hand to remove excess kit immediately.
A13. 3x
A14. 6x
9
i
A7. 3x
 Loading...