ENGLISH 6 WWW.MAXTEC.COM • (800) 748-5355
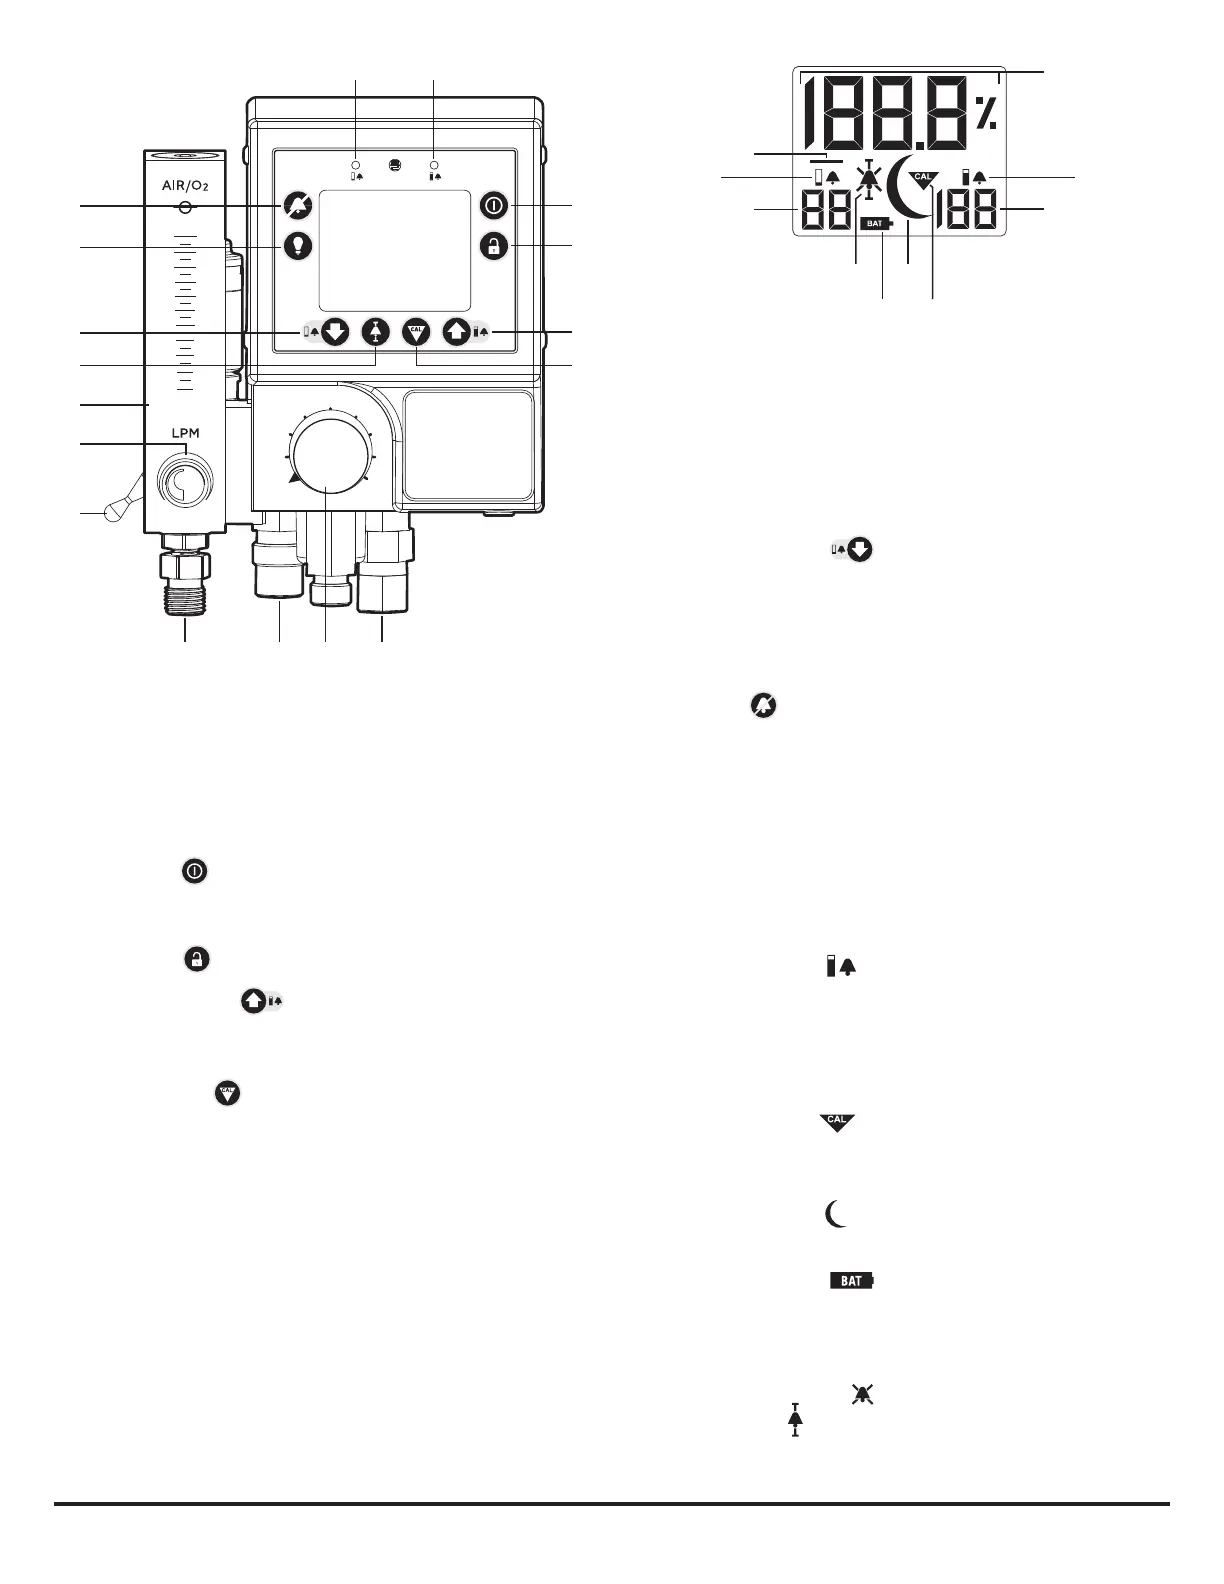
1.4 Component Identification
1
LOW ALARM LED — In a low alarm condition, the “LOW ALARM” LED will flash twice a
second, accompanied by the audio buzzer.
2
HIGH ALARM LED — In a high alarm condition, the “HIGH ALARM” LED will flash twice a
second, accompanied by the audio buzzer.
3
ON/OFF KEY —
This key is used to turn the device on or off. To turn the device OFF,
the button must be held while a rapid 3-2-1 countdown takes place to prevent accidental
power-off.
4
UNLOCK KEY —
The unlock key is used to lock and unlock the instrument.
5
UP (ALARM HIGH) KEY — The up key is used in setting the high FiO2 alarm limit.
The device must be in the unlocked state for the key to operate. See section 2.3.2 for
instructions on setting the high FiO2 alarm limit.
6
CALIBRATION KEY —
This key is used to calibrate the device. The device must be in
the unlocked state for the key to operate. See section 2.8 for instructions on calibrating.
7
O2 INLET FITTING — An O2 fitting for connection to the O2 inlet hose from the gas source.
8
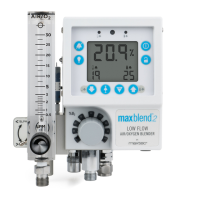
OXYGEN CONCENTRATION SELECTOR CONTROL — A knob which allows for selections of
mixed oxygen concentrations from 21% to 100%.
9
MEDICAL AIR INLET CONNECTOR — An air fitting for connection to an air inlet hose from
the air gas source.
q
FLOWMETER OUTLET — A fitting for connection to the patient delivery tubing.
w
BLEED TOGGLE SWITCH — The Bleed Toggle Switch turns on the auxiliary bleed. For the
blender to accurately mix the oxygen and air, the bleed must be turned on whenever
the total flow delivered to the patient is less than 15 LPM for high flow model, or less than
3 LPM for low flow model.
e
FLOW CONTROL KNOB — The flow control knob controls the flow of gas exiting the
flowmeter.
r
OXYGEN FLOWMETER — Measures the flow of mixed gas exiting the flowmeter outlet.
t
SMART ALARM KEY — The Smart Alarm key is used to help set the High-Low Alarm win-
dow quickly. See section 2.3.3 for instructions on using the Smart Alarm setting.
y
DOWN (LOW ALARM) KEY — The down key is used in setting the low FiO2 alarm
limit. The device must be in the unlocked state for the key to operate. See section 2.3.1
for instructions on setting the low FiO2 alarm limit.
u
BACKLIGHT KEY — The backlight key will manually activate the backlight for 30 seconds.
See section 2.6 for more information on backlighting operation.
i
SILENT KEY — In an alarm condition, pressing the SILENT key will deactivate the
audio alarm for 2 minutes.
o
LCD DISPLAY — The digit liquid crystal display (LCD) provides direct readout of oxygen
concentrations. The digits also display error codes, alarm set modes, and calibration
codes as necessary.
1.5 Display Indicators
p
OXYGEN CONCENTRATION — Current oxygen concentration percentage from the oxygen
sensor.
a
HIGH ALARM INDICATOR — The high alarm setting is displayed at all times just
below the “HIGH” icon on the LCD readout. The indicated value represents the oxygen
percentage at which the high alarm will be activated.
s
OXYGEN HIGH ALARM LIMIT — High oxygen alarm setpoint. Audible and visual alarms
will trigger when this limit is exceeded.
d
CALIBRATION REMINDER —
The calibration reminder symbol is located at the bot-
tom of the display. This symbol will display after one week has elapsed from the previ-
ous calibration.
f
SLEEP MODE INDICATOR — The sleep mode indicator is used to help with battery
consumption.
g
LOW BATTERY INDICATOR — The Low Battery Indicator is located at the middle
of the display and is only activated when the voltage on the batteries is below a normal
operating level.
h
ALARM SILENCE/SMART ALARM INDICATOR — When the Silent key is pressed the indica-
tor will display with cross bars to alert the condition. When Smart Alarm key is
pressed the indicator will display with T-bars to alert the condition.
60
50
40
30
21
70
80
90
100
%O
2
1 2
w
r
y
u
i
e
t
3
4
5
6
789q
o
a
s
k
l
j
h f
g d
p