Do you have a question about the Maytag MVWB725BG0 and is the answer not in the manual?
Lists required tools and parts for installation.
Lists parts included with the washer.
Lists parts not supplied with the washer.
Details recommended clearances for installing in tight spaces.
Instructions for floor standpipe drain installation.
Instructions for wall standpipe drain installation.
Requirements for floor drain system installation.
Requirements for laundry tub drain installation.
Warning about electrical shock risks during installation.
Details power supply needs and grounding for safety.
Grounding instructions for cord-connected washers.
Grounding instructions for permanently connected washers.
Warning about potential injury from washer weight.
Instructions for removing all shipping materials before installation.
Steps to remove the base and ring to prepare the washer.
Instructions on how to connect the washer's drain hose.
Ensuring new flat washers are used in hose couplings.
Attaching hot and cold water hoses to faucets.
Flushing water lines before connecting hoses to washer.
Positioning the washer in its final installation spot.
Adjusting the right front foot for initial leveling.
Using a level to check washer stability on the floor.
Fine-tuning all feet to ensure the washer is level.
Connecting the washer to a properly grounded outlet.
Checklist items to verify before operating the washer.
Instructions for running a test and cleaning cycle.
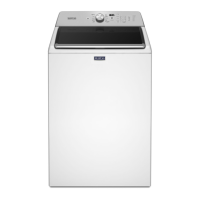
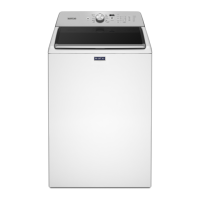
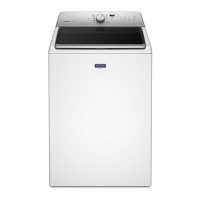
| Brand | Maytag |
|---|---|
| Model Number | MVWB725BG0 |
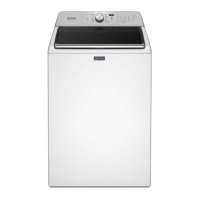
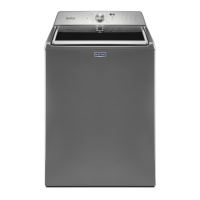
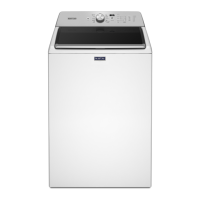
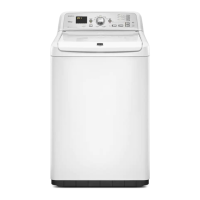
| Product Type | Top Load Washer |
| Agitator | Yes |
| Wash Cycles | 11 |
| Temperature Settings | 5 |
| Spin Speed | 700 RPM |
| Control Type | Electronic |
| Energy Star Certified | Yes |
| Configuration | Top Load |
| Steam Function | No |
| Smart Features | No |
| Width | 27.5 inches |
| Height | 43 inches |