ON-BOARD DIAGNOSTIC
F2–83
F2
Diagnostic procedure
End Of Sie
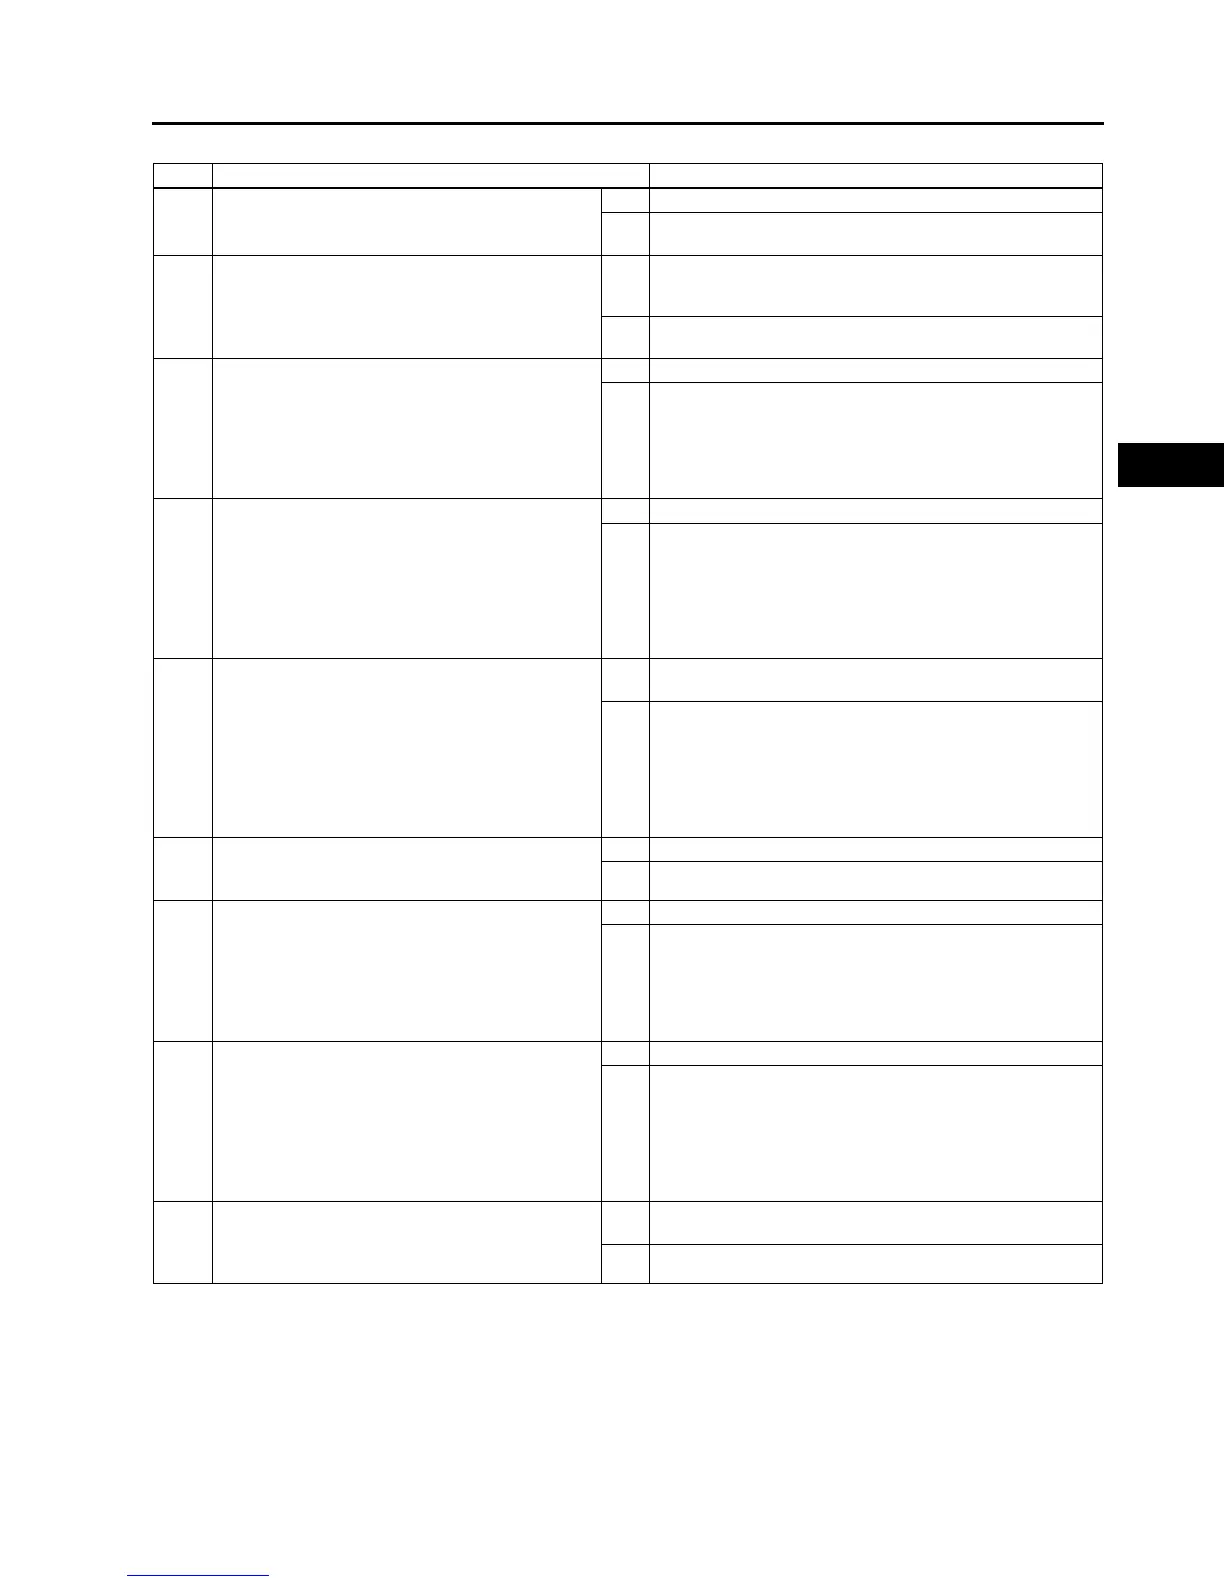
STEP INSPECTION ACTION
1 VERIFY FREEZE FRAME DATA HAS BEEN
RECORDED
• Has FREEZE FRAME DATA been recorded?
Yes Go to the next step.
No Record the FREEZE FRAME DATA on the repair order,
then go to the next step.
2 VERIFY RELATED REPAIR INFORMATION
AVAILABILITY
• Verify related service repair information
availability.
• Is any related repair information available?
Yes Perform repair or diagnosis according to the available
repair information.
• If the vehicle is not repaired, go to the next step.
No Go to the next step.
3 VERIFY CURRENT SIGNAL STATUS: IS
CONCERN INTERMITTENT OR CONSTANT?
• Connect the WDS or equivalent to the DLC-2.
• Clear the DTC from the PCM memory using
the WDS or equivalent.
• Start the engine.
• Is the same DTC present?
Yes Go to the next step.
No Intermittent concern exists.
Perform the “INTERMITTENT CONCERNS
TROUBLESHOOTING”.
4 INSPECT FUEL TEMPERATURE SENSOR
CONNECTOR FOR POOR CONNECTION
• Turn the engine switch off.
• Disconnect the fuel temperature sensor
connector.
• Inspect for poor connection (such as damaged/
pulled-out pins, corrosion).
• Is there any malfunction?
Yes Repair or replace the terminal, then go to Step 8.
No Go to the next step.
5 INSPECT FUEL TEMPERATURE SENSOR
SIGNAL CIRCUIT FOR SHORT TO GND
• Turn the engine switch off.
• Disconnect the fuel temperature sensor
connector.
• Inspect for continuity between fuel temperature
sensor terminal A (wiring harness-side) and
body GND.
• Is there continuity?
Yes Repair or replace the wiring harness for a possible short to
GND, then go to Step 8.
No Go to the next step.
6 INSPECT FUEL TEMPERATURE SENSOR
• Inspect the fuel temperature sensor.
• Is there any malfunction?
Yes Replace the fuel temperature sensor, then go to Step 8.
No Go to the next step.
7 INSPECT PCM CONNECTOR FOR POOR
CONNECTION
• Turn the engine switch off.
• Disconnect the PCM connector.
• Inspect for poor connection (such as damaged/
pulled-out pins, corrosion).
• Is there any malfunction?
Yes Repair or replace the terminal, then go to the next step.
No Go to the next step.
8 VERIFY TROUBLESHOOTING OF DTC P0182
COMPLETED
• Make sure to reconnect all disconnected
connectors.
• Clear the DTC from the PCM memory using
the WDS or equivalent.
• Start the engine.
• Is the same DTC present?
Yes Replace the PCM, then go to the next step.
No Go to the next step.
9 VERIFY AFTER REPAIR PROCEDURE
• Perform the Repair Verification Drive Mode.
(See F2–39 OBD DRIVE MODE.)
• Are any DTCs present?
Yes Go to the applicable DTC inspection.
(See F2–40 DTC TABLE.)
No DTC troubleshooting completed.


 To Next Page