82
SERVICIO Y AJUSTES
Retire el Aserrín de la
Ranura de la Ba rra Guía
Orificios del aceite
S Añada lubricante al orificio del engranaje
después de cada uso.
S Los rieles de la barra guía desarrollan pro-
tuberancias al gastarse. Sáquelas con una
lima plana.
S Si la superficie superior del riel está desnive-
lada, use una lima plana para restaurar la
forma cuadrada.
Ranura
gastada
Ranura
correcta
Encuadre los
Bordes del Riels
con una Lima
Cambie la barra guía si la ranura está gastada,
si la barra guía está torcida o resquebrajada o
si hay calentamiento excesivo o formación de
protuberancias en los rieles. Si es necesario
cambiar la barra guía, use exclusivamente la
barra guía especificada para su sierra en la lis-
ta de repuestos.
BUJIA
Deberá cambiarse la bujía anualmente para
asegurar que el motor arranque más fácil-
mente y marche mejor . El encendido es fijo y
no se puede ajustar .
1. Afloje los tres tornillos en la tapa del
cilindro.
2. Retire la tapa del cilindro.
3. Saquelacubiertadelabujía.
4. Retire la bujía del cilindro y deséchela.
5. Reemplácela con una bujía Champion
RCJ--7Y ajústela con una llave de 19 mm.
Apriete firmem ente. Separación de
electrodos: 0,5 mm.
6. Reinstale la cubierta de la bujía.
7. Reinstale la tapa del cilindro y tos tres
tornillos. Apriete firmemente.
Bujía
Tapa del
cilindro
Cubierta
de la
bujía
AFILADO DE LA CADENA
ADVERTENCIA: Las técnicas de
afilado de la cadena y/o el mantenimientodel
marcador de profundidad incorrectos au-
mentan las probabilidades de reculadas,
que pueden producir lesiones graves.
ADVERTENCIA: Use guantes pro-
tectores al manejar la cadena. La cadena
tiene filo y podría causarle graves cortadu-
ras, aun cuando ésta no se encuentre en
movimiento.
Condiciones que indican la necesidad de
afilar la cadena:
S Reducción del tamaño de las astillas de
madera. El tamaño de las astillas de madera
se reduce a medida que la cadena se desafi-
la, hasta volverse más un polvo que una as-
tilla. Observe que la madera muerta o podri-
da no produce una buena astilla.
S La sierra corta de lado o en ángulo.
S La sierra debe ser forzada a través del corte.
Herramientas necesarias:
S Lima redonda de 5/32 de pulgada (4 mm) de
diámetro y soporte para lima
S Lima plana
S Herramienta marcadora de profundidad
PARA AFILAR LA CADENA:
1. Mueva el interruptor ON/STOP a la posi-
ción STOP.
2. Verifique la tensión correcta de la cade-
na. Ajústela si es necesario.
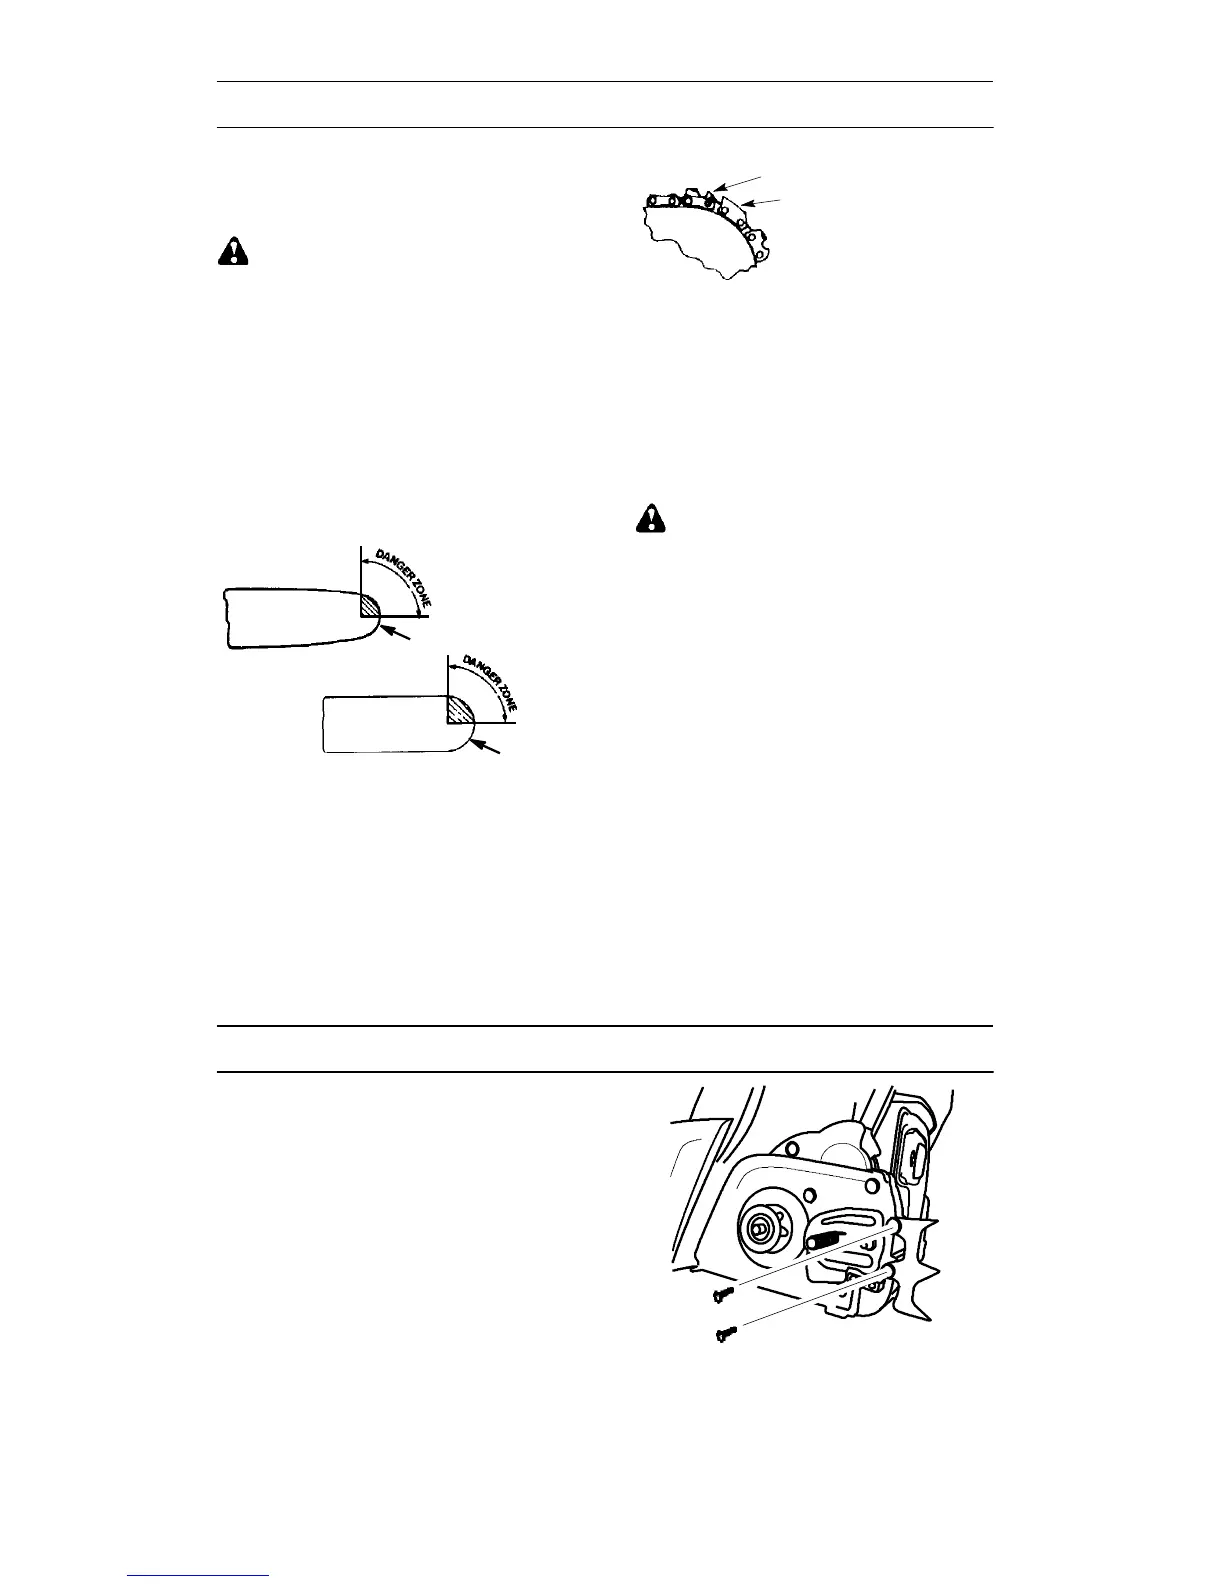
3. Afile las cuchillas.
S Para afilar las cuchillas, ubique el
nivel del soporte de la lima (90° )de
modo que se apoye sobre los bordes
superiores de la cuchilla y el
marcador de profundidad.
AVISO: La cadena tiene cuchillas
del lado izquierdo y del lado derecho.
Marcador de Profundida
Lima
Soporte para Lima
Cuchilla
90°
S Alinee las marcas de 30° del soporte
para lima, paralelas a la barra y al
centro de la cadena.
Cuchilla
Cuchilla
30°
Marca del Soporte
para Lima
S Afile primero las cuchillas de un lado de
la cadena. Lime desde el interior de
cada cuchilla hacia el exterior. Des-
pués, gire la sierra de cadena y repita
el proceso en el otro lado de la cadena.
7
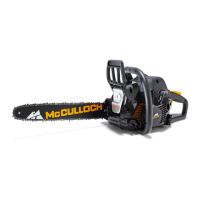
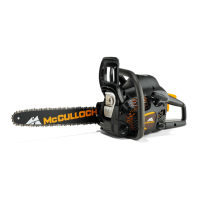
GENERAL SAFETY PRECAUTIONS
S Do not cut above shoulder height. It is diffi-
cult to maintain control of saw above
shoulder height.I
KICKBACK SAFETY FEA TURES
WARNING: The following features
are included on your saw to help reduce the
hazard of kickback; however , such features will
not totally eliminate this dangerous reaction.
As a chain saw user , do not rely only on safety
devices. Y ou must follow all safety precau-
tions, instructions, and maintenance in this
manual to help avoid kickback and other forces
which can result in serious injury .
S Reduced--Kickback Guide Bar , designed
with a small radius tip which reduces the
size of the kickback danger zone on the
bar tip. A Reduced--Kickback Guide Bar has
been demonstrated to significantly reduce
the number and seriousness of kickbacks.
Small Radius Tip
Reduced Kickback
Symmetrical
Guide Bar
Symmetrical Guide Bar
Large Radius Tip
S Low--Kickback Chain, designed with a
contoured depth gauge and guard link
which deflect kickback force and allow
wood to gradually ride into the cutter.
ickback Chain
Contoured Depth Gauge
Elongated Guard Link
Deflects Kickback
Force And Allows
Wood To Gradually
Ride Into Cutter
S Handguard, designed to reduce the chance
of your left hand contacting the chain if your
hand slips off the front handlebar .
S Position of front and rear handlebars, de-
signed with distance between handles and
“in-line” with each other. The spread and
“in-line” position of the hands provided by
this design work together to give balance
and resistance in controlling the pivot of
the saw back toward the operator if kick-
back occurs.
WARNING: DO NOT RELY UPON
ANY OF THE DEVICES BUILT INTO YOU R
SAW. YOU SHOULD USE THE SAW
PROPERLY AN D CAREFULLY TO AVOID
KICKBACK. Reduced--kickback guide bars
and low--kickback saw chains reduce the
chance and magnitude of kickback and are
recommended. Your saw has a low kickback
chain and bar as original equipment.Repairs
on a chain brake should be made by an au-
thorized servicing dealer. Take your unit to
the place of purchase if purchased from a
servicing dealer, or to the nearest authorized
master service dealer.
S Tip contact in some cases may cause a light-
nin g fast reverse REACTION, kicking the
guide bar up and back toward the operator .
S Pinching the saw chain along the top ofthe
guide bar may push the guide bar rapidly
back toward the operator.
S Either of these reactions may cause you to
lose control of the saw which could result
in serious injury. Do not rely exclusively
uponthesafety devices built into your saw .
ASSEMBLY
Protective gloves (not provided) should be
worn during assembly.
A TT ACHING THE BUMPER
SPIKE (if not already attached)
The bumper spike may be used as a pivot
when making a cut.
1. Loosen and remove the bar nuts and the
clutch cover from the saw.
2. Attach the bumper spike with the two
screws as illustrated.