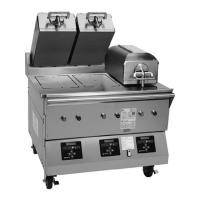
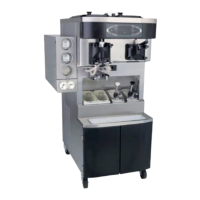
61
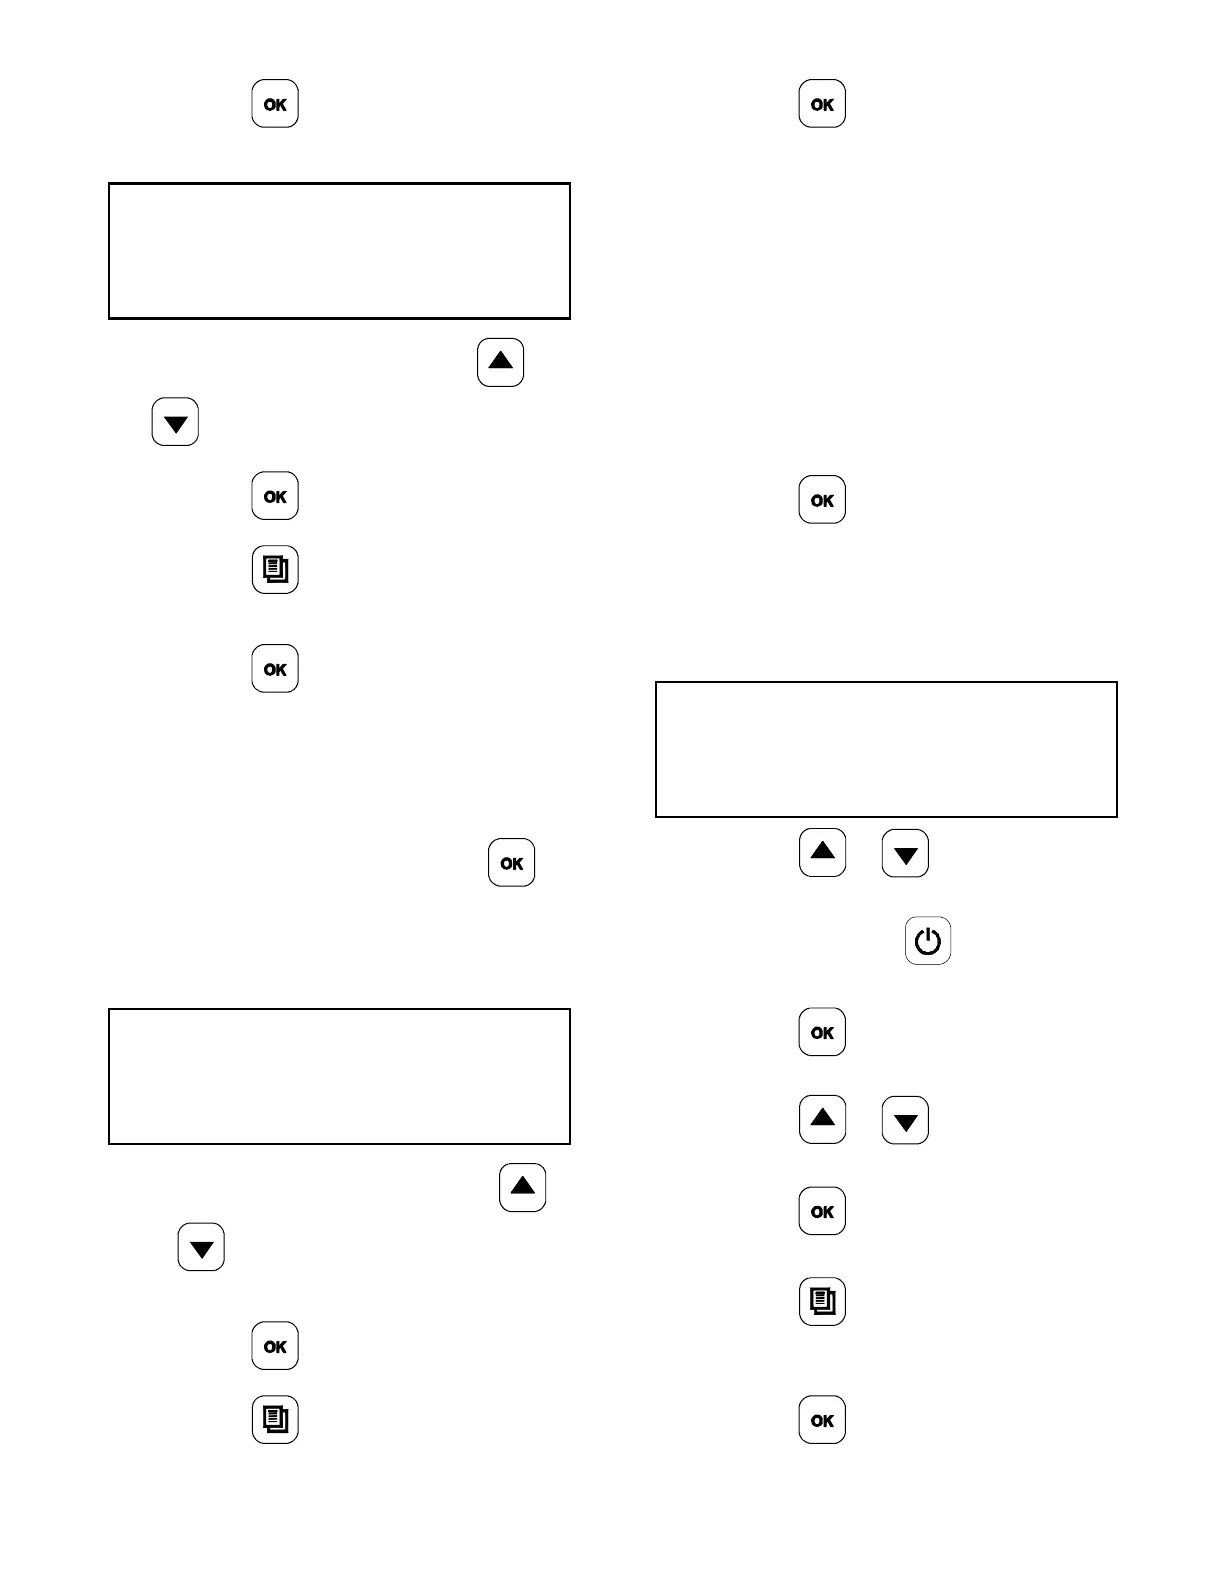
3. Press the key, the screen will
display “BOTTOM TEMP ___”.
10:1 - CLAM
BOTTOM TEMP: 356
4. To change the setting, press the or
keys to change the temperature.
5. Press the
key to save the changes.
6. Press the
keytoreturntothe
AM/PM AUTO Mode.
7. Press the
key to exit the
programming mode, or let the display time
out after 3-5 seconds.
Change Auto Selection Mode
1. After selecting the item, press the
key until the screen displays “AUTO
SELECTION”.
Example of a screen:
10:1 - CLAM
AUTO SELECTION: YES
2. To change the selection, press the
or keys until the desired selection
(YES or NO) is displayed .
3. Press the
key to save the changes.
4. Press the
keytwicetoreturntothe
AM/PM AUTO Mode.
5. Press the
key to exit the
programming mode, or let the display time
out after 3-5 seconds.
Changing Product Thickness Recognition
For Menu Item (Auto Gap)
IMPORTANT! Settings should NOT be
changed unless authorized by a Taylor
Service Representative. This change should
only be performed to adjust deformed product.
Before attempting to change the product
thickness settings, cook the deformed product
in the MANUAL mode.
1. Press the
key until the screen
displays “AUTO GAP”.
2. The screen will show two sets of numbers.
The first set of numbers is the minimum
gap of the item. The second set of
numbers is the maximum gap of the item.
10:1 - CLAM
AUTO GAP: 230 TO 315
3. Press the or keys to adjust the
minimum gap.
Note: Each press of the
key will move
the cursor to the next digit on the screen.
4. Press the
key to accept the
selection.
5. Press the
or keys to adjust the
maximum gap.
6. Press the
key to accept the
selection.
7. Press the
keytwicetoreturntothe
Operating Mode. The display will time-out
after 3-5 seconds.
8. Press the
key to exit the
Programming mode.