PowerBook G3 (1998) 5
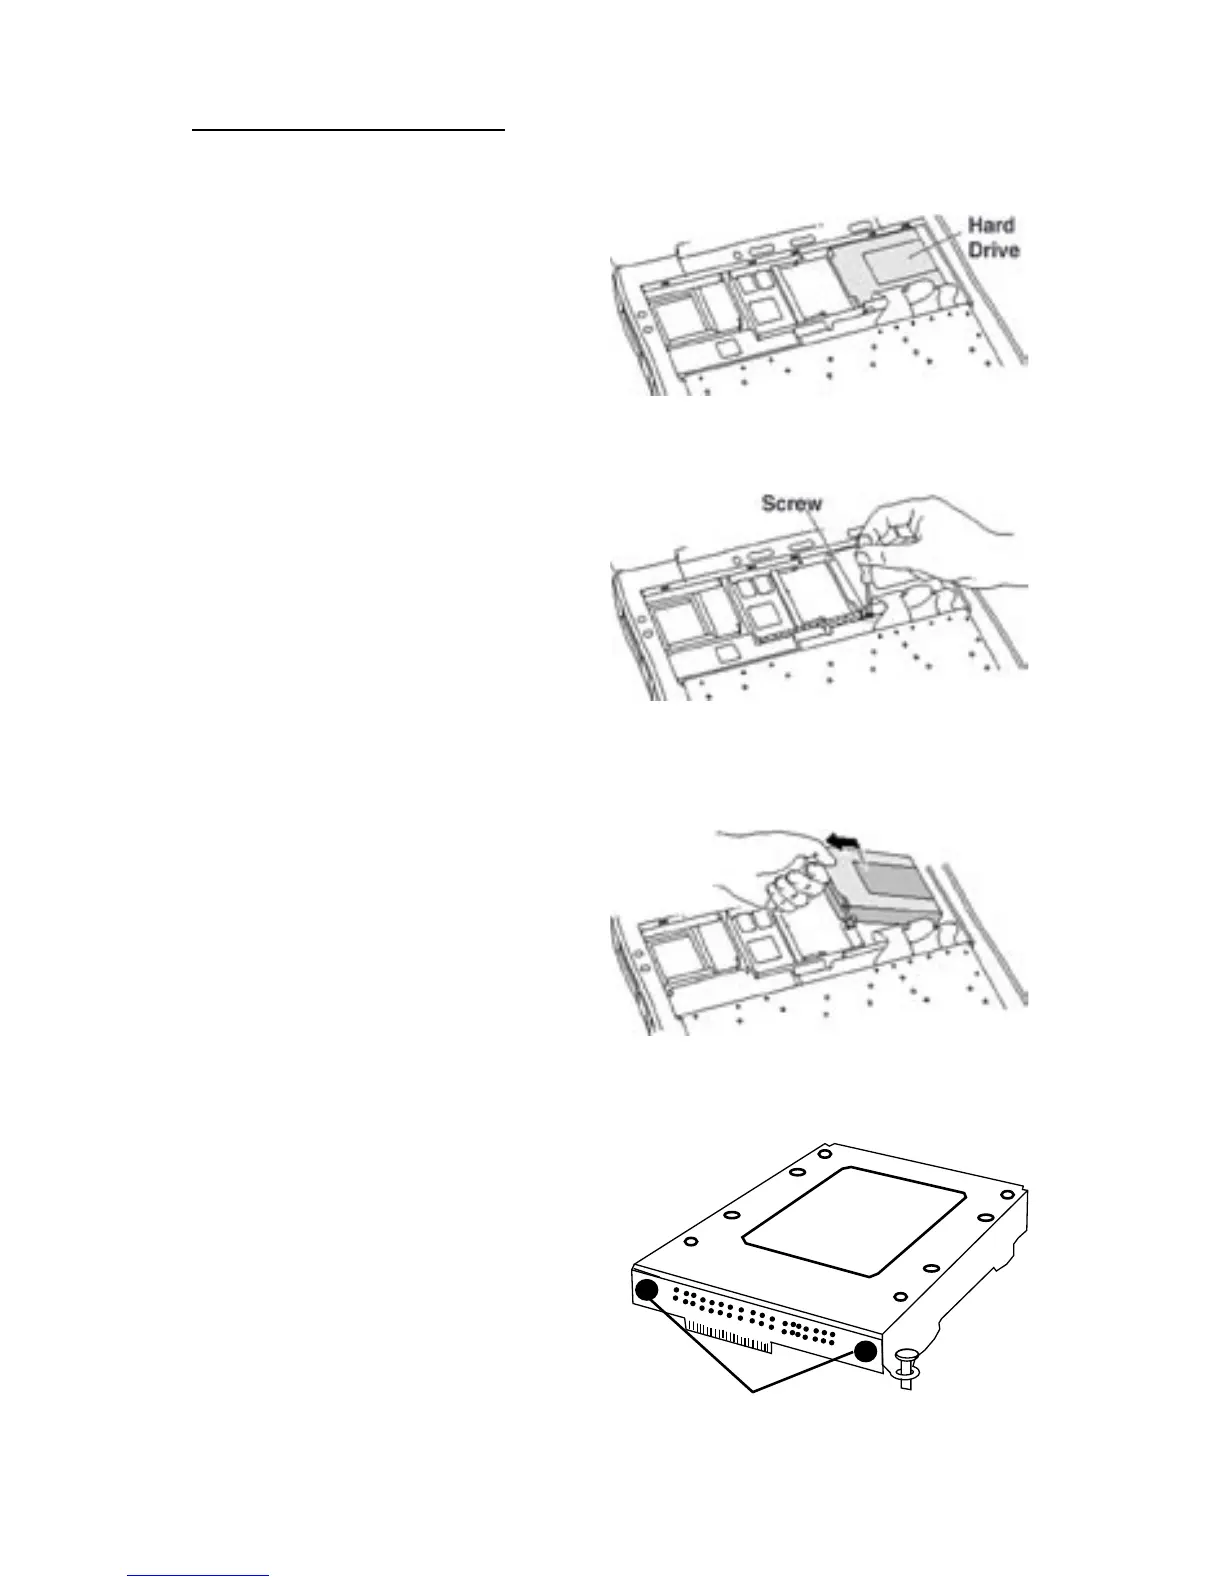
Step 9: Locate the original inter-
nal hard drive in the upper right
corner of the system base unit.
Step 10: Using the T8 Torx
screwdriver, loosen the screw that
secures the hard drive bracket
in place, noting that the screw
remains attached to the bracket
- do not try to completely remove
the screw from the bracket.
Step 11: Gently but rmly pull
up on the tab located on the left
side of the hard drive bracket
to remove the bracket from its
compartment in the computer’s
base unit.
Step 12: Remove the two screws
holding the the hard drive-to-logic
board connector onto the bracket.
 Loading...