aligned in locations where the view of Polaris is obstructed or
even before the skies get dark. The compass has an
adjustment to compensate for the local angle of Magnetic
Declination—the diff
erence between Magnetic North (which the
compass sho
ws) and true north (where the telescope should
be pointed).
Note: Magnetic Declination should not be confused with
the astronomical term “Declination” which, when used
with “Right Ascension,” describes the celestial coordinate
system.
1. Setting Magnetic Declination: In order to obtain an
accurate reading using the compass, first adjust the compass
to compensate for the Magnetic Declination of the observing
location.
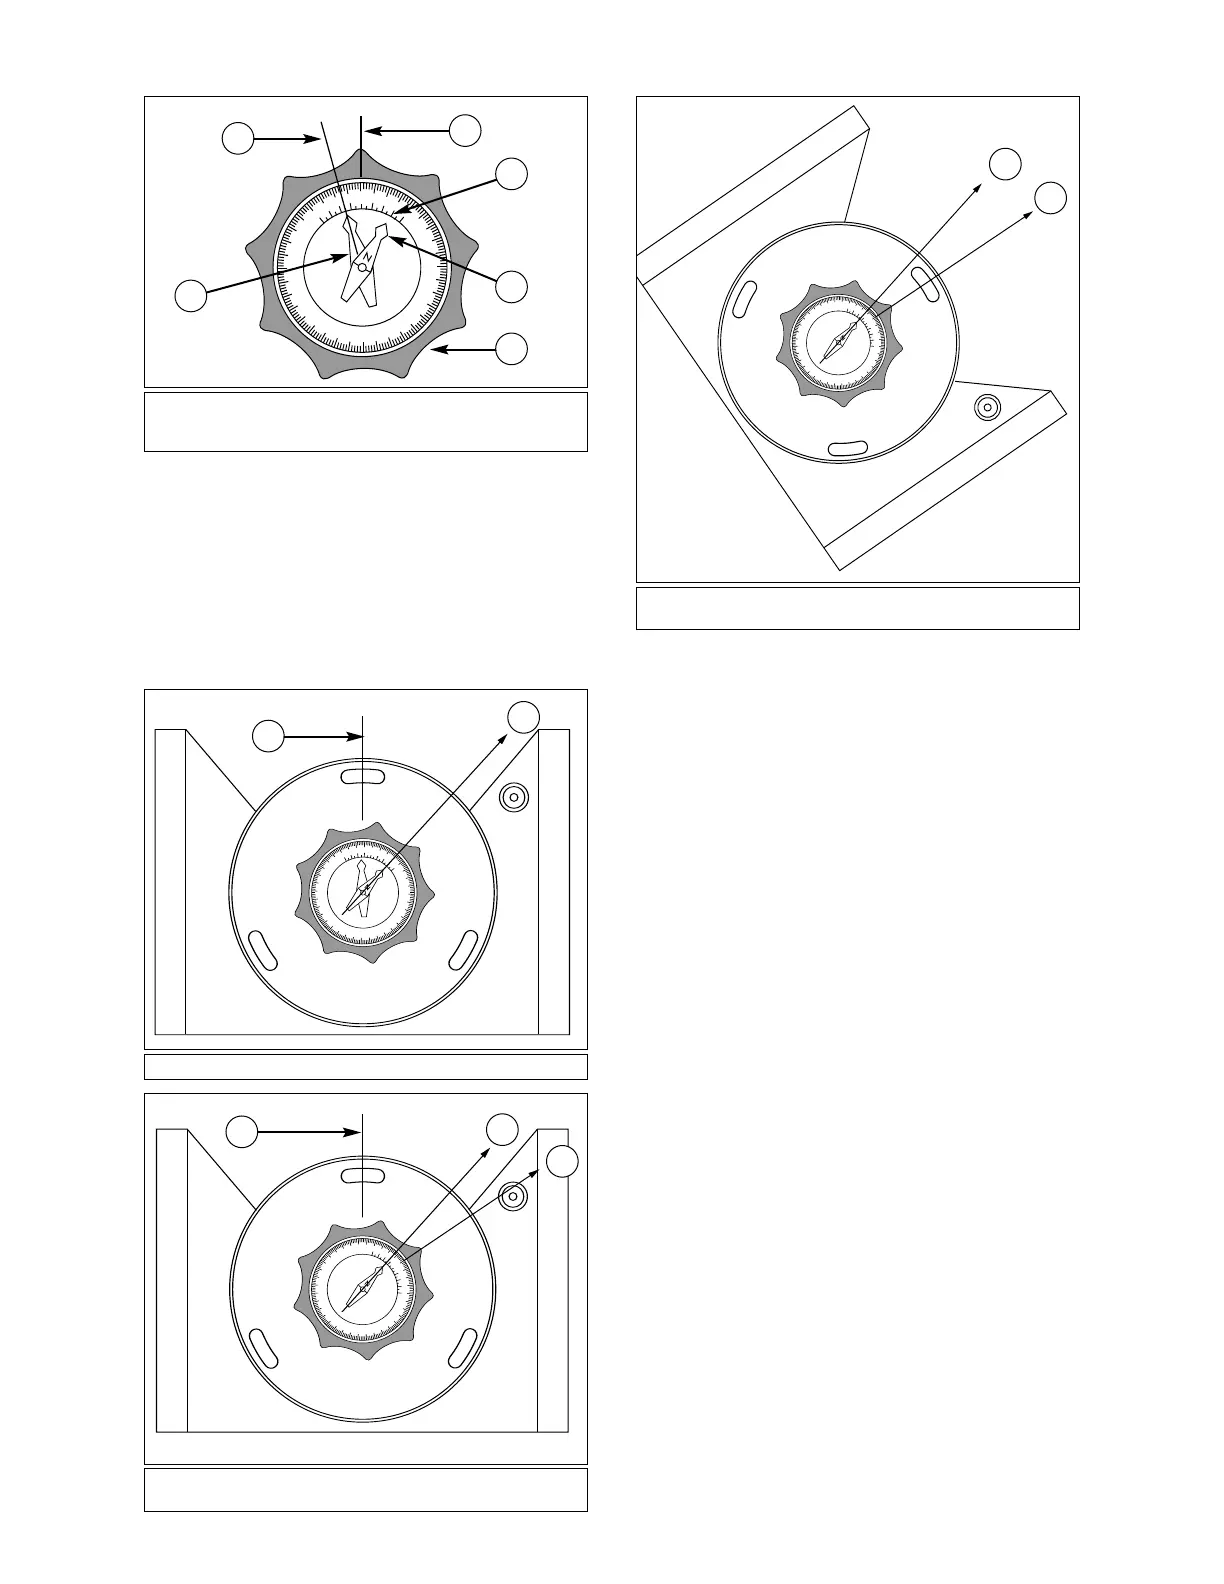
a. Determine the Magnetic Declination in the observing area
by utilizing the Magnetic Declination Map (Fig. 5).
b. Squeeze the clear central disk of the compass between
the thumb and index finger of your left hand.
c. With the right hand, rotate the outer dial until the orienting
arrow (6, Fig. 6) (the black arrow painted on the inside
clear surface) is lined up with the desired Magnetic
Declination angle on the declination scale (3, Fig. 6).
Notice that East Magnetic Declination is to the right of the
“North” position and West Magnetic Declination is left of
the “North” position. For example, (1, Fig. 6) shows the
correct setting f
or 16
° West Declination which covers
Providence, Rhode Island.
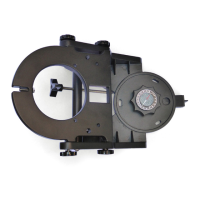
2. Compass Installation: The Magnetic Compass is now
set for the correct Magnetic Declination angle. To attach the
compass to the Ultrawedge, follow these steps:
a. Position the compass into the manual knob so that the
360
°
location on the direction scale (the “North” position)
lines up with one of the nine points of the knob (5, Fig. 6).
b. Press the compass firmly into the manual knob.
3.
Finding
T
rue Nor
th:
The Magnetic Compass is no
w
ready to use. Follow these simple steps for a quick and easy
azimuth alignment:
a. Slightly loosen the knob/compass and the three
buttonhead screws in the wedge floor to allow for rotation
of the Ultrawedge under the knob/compass. The magnetic
pointing arro
w will point to magnetic nor
th (2, Fig. 7).
b. Rotate the knob/compass so that the magnetic pointing
arrow lies directly over the painted black orientating arrow
(Fig.
8).
The
“Nor
th”
position on the direction scale (and
the point on the knob/compass) now point directly north.
c. Manually rotate the Ultrawedge in azimuth around the
threaded rod (without moving the knob/ compass) until the
centerline of the wedge is aligned with the point of the
Fig. 9: Ultrawedge. (1) Magnetic North; (2) Centerline of Wedge,
True North.
2
1
Fig. 7: Ultrawedge. (1) Centerline of Wedge; (2) Magnetic North.
2
1
Fig. 8: Ultrawedge. (1) Centerline of Wedge; (2) Magnetic North; (3)
True North.
2
3
1
Fig.
6:
Ma
gnetic Compass.
(1) 16
° West Declination; (2) Point of
Knob and “North” Line Up; (3) Declination Scale; (4) Magnetic
P
ointing Arrow; (5) Manual Knob; (6) Orientating Arrow.
2
4
3
5
6
1
3
 Loading...