EN
60
is not formatted in FAT32, reformat the
drive.
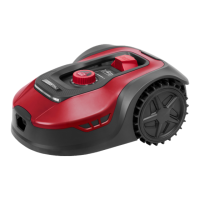
2. Place the robot lawn mower on a stable,
level and horizontal surface. Press the
power switch to turn o the mower.
3. Insert the USB drive in the USB port. The
USB port can be accessed by removing the
battery cover.
4. Press the mower’s power switch. The
update will begin automatically. Wait until
the display shows OK. Then remove the
USB drive and re-t the protective cover.
5. The instruction manual included with the
mower is based on the default software
at the time of production. More recent
software versions may contain features
that are not described in the instruction
manual.
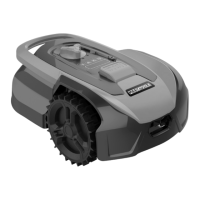
BLADE REPLACEMENT
WARNING!
• Turn o the robot lawnmower and wait
until all moving parts have come to a
complete standstill before replacing the
blades. Wear protective gloves when
changing the blades.
• Do not replace just one blade – always
replace all the blades at the same time.
• Screws that are damaged or worn or
cannot be tightened properly must
always be replaced with new screws. If
defective screws are not replaced with
new ones, the blades may become
unbalanced or fall o while the mower
is operating, which could cause serious
injury.
The blades have a service life of up to 2 months
when the mower is programmed for daily
mowing.
After tting new blades, make sure that the
blade disc is able to rotate freely.
CLEANING
WARNING!
• Turn o the robot lawnmower and wait
until all moving parts have come to a
complete standstill before cleaning.
Wear protective gloves.
The blade disc can be cleaned with a hose with
low pressure water (<1 MPa).