Replacing the vacuum pump
Vacuklav
®
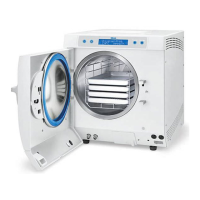
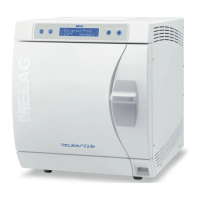
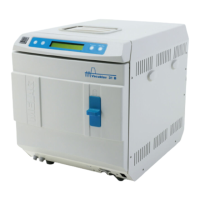
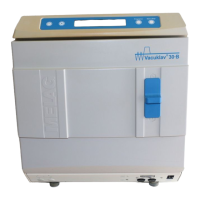
24 B+, 24 BL+, 30 B+/24-B, 24-B/L, 30-B
1/7
Rev. 1 - 22/3633AS_013-19_common_EN
Instructions for replacing the vacuum pump
Articles in the scope of delivery
Vacuum pump (art. no. ME57805) Qty.
Vacuum pump complete 1
Conversion set (art. no. ME22177) for Vacuklav 24B+, 24-B Qty.
Diverse hoses and fittings 8
Cable tie 3
Shrink-on hose 1
SV vacuum adjustable 1
QSS T-piece 1
Conversion set (art. no. ME22178) for Vacuklav 24BL+, 24-B/L Qty.
Diverse hoses and fittings 8
Cable tie 3
Shrink-on hose 1
SV vacuum adjustable 1
QSS T-piece 1
Conversion set (art. no. ME22176) for Vacuklav 30B+, 30-B Qty.
Diverse hoses and fittings 8
Cable tie 3
Shrink-on hose 1
SV vacuum adjustable 1
QSS T-piece 1
Air regulator 1
Tools required: open-end wrench (AF 10, 12, 14, 17), Allen key (5mm), Torx key (TX10, TX20), small Phillips
screwdriver (PH1), side cutter, heat gun
WARNING
Danger of electric shock from the live components
n Switch off the device power switch and disconnect the power cable.
n Determine absence of voltage on all poles.
CAUTION
Danger of injury
Should it be necessary to remove the casing in order to perform work on the device, take care
with sharp edges.
n Comply with the working safety regulations and wear suitable protective gloves.
1 Removing the old vacuum pump
Preparations:
1. Close the water inflow tap.
2. Empty the vacuum pump: Either start a vacuum test or working in the Diagnosis menu, actuate output
ACOUT3 for 5s.
3. Remove the device cover (depending on the version, TX20 or Phillips screwdriver PH1).