9
Cleaning and maintenance must
not be carried out by children,
unless they are 8 years or older
and are supervised. Keep the
appliance and the power cab-
le away from children under 8
years of age.
•Theappliancemaybeusedby
persons with reduced physical,
sensory or mental abilities or lack
of experience and/or knowledge
if they are supervised or have
been instructed in the safe use
of the appliance and have under-
stood the potential hazards.
•Childrenmustnotplaywiththe
appliance.
•Replacementofthepowercable
and all other repairs may only be
carried out by Melitta
®
Customer
Service or by an authorised repair
shop.
2. Before rst use
• Ensure that the mains voltage in your home corre-
sponds to that indicated on the identification label
on the base of the appliance.
•Connecttheappliancetothemainspower.Cable
which is not required, can be stored in the cable
spool .
•Setthecurrenttimeusingthebuttons‘H’and‘M’. It
is possible to speed this up by holding in the respec-
tive button. The display will switch to standby mode
after 15 minutes of no activity. Only the time and
possibly the timer symbol will be displayed. Press
any button to activate the full display again.
•Allappliancesaretestedforfaultfreeoperation
when they are produced. Some residual water may
be left behind after this test. Rinse the appliance
twice with the maximum amount of water without
a coee filter or ground coee in order to clean it.
To do this, fill the water tank up to the 8 cup
level marker, then press the setting for using ground
coee and turn the appliance on .
•Theappliancehasavarietyoffeaturesforthebest
coee enjoyment and ease of use. These features
are explained below.
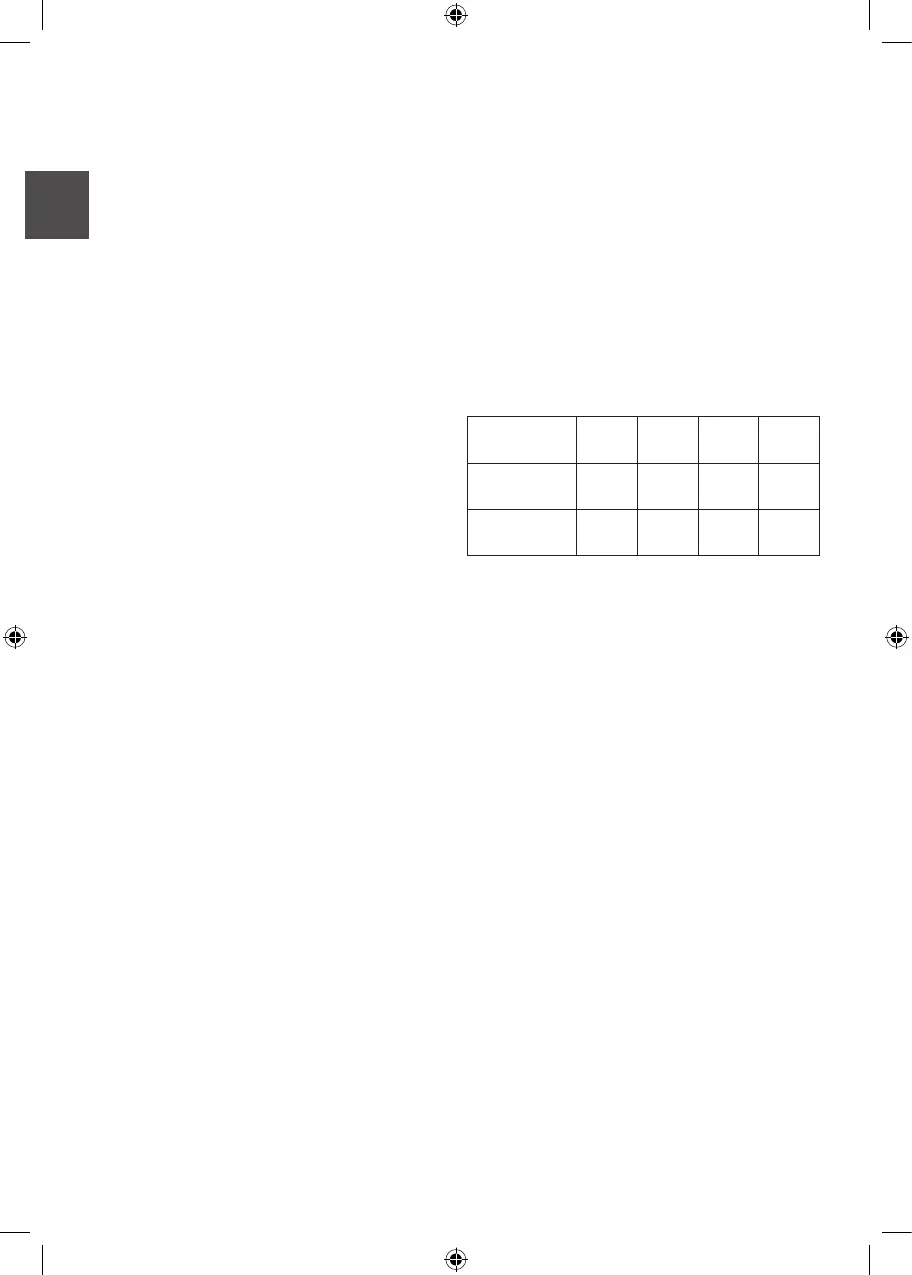
3. Set water hardness
Depending on water hardness lime scale may build up
in the appliance. This increases the appliance’s energy
consumption as lime scale on the heating element
can prevent the water heating eectively. To avoid
Please note:
•Waterhardnesscannotbeprogrammedwhilebrewing.
•Thelastwaterhardnesslevelchosenremainseven
after removing the power cable.
4. Setting the hotplate
Keeping coee warm on the hotplate aects the taste
of your coee. To avoid this you should enjoy your
coee fresh, by drinking it as soon after brewing as
possible. Unnecessary warming also uses valuable
energy. The factory settings for the appliance are for
40 minutes of warming. After this the hotplate turns
o automatically. This time can be changed as needed:
•Holddownthe“Start/Stop”button and by briefly
pressing the M-button set the desired time
(20, 40 or 60 minutes). The current warming
time will be shown in the display .
•Onceyouhavesetthedesiredwarmingtime
let go of the button. Your setting is now saved.
•Thelastsettingchosenremainsevenafterremoving
the power cable.
5. Coffee preparation
For aromatic coffee flavour and the best fit of your
coffee filter in the filter holder we recommend using
Melitta
®
coffee filters size 1x4
®
.
•Ensurethatthepowercableispluggedin.
•Openthelidonthewatertank.
•Pourtherequiredamountofcoldwaterintothe
water tank using the glass jug. With the help of the
level markings on the tank you can select the
required number of cups (2/4/6/8/10).
•Closethewatertanklidandplacetheglassjugwith
closed lid in the appliance.
•Setthenumberofcups to the amount of water
in the water tank . The number of cups is shown
Hardness
setting
I II III IV
°dH
<7°
dH
7-14°
dH
14-21°
dH
>21°
dH
Display
1
2 3 4
damage the appliance must be descaled regularly. The
descaling display helps you in this. If the CALC-button
is permanently lit this shows that the appliance needs
to be descaled.
The appliance is pre-set for a high level of water
hardness (level 4). You can find out the level of water
hardness in your area by asking your local water
provider or by using water hardness measuring strips
available in the shops. For softer water the descaling
display can be adjusted to descale less often.
•HolddowntheCALC-button and by briefly
pressing the m-button set the desired level of
water hardness. The hardness setting will then
show in the display
•Onceyouhavesetthedesiredlevelofwater
hardness, let go of the CALC-button.
Your settings are now saved.
•Thesettingsanddisplayareshowninthetable.