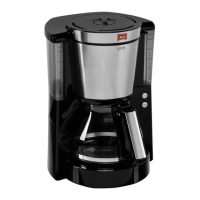
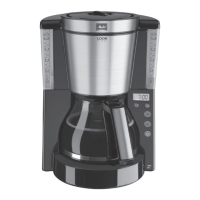
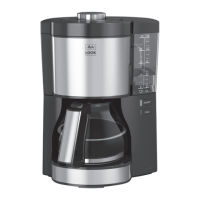
9
GB
dishwashing brushes or similar)
for stirring or cleaning and
do not fill with ice cubes or
carbonated liquids.
•Donotsubjecttheglassaskto
high temperature fluctuations.
2. Beforerstuse:
•Ensurethatthepowersupplyinyourhomecorres-
ponds to that on the model plate on the base of the
appliance.
•Connecttheappliancetoapowersource.Unused
cable can be stored in the base of the appliance.
•Allapplianceshavebeentestedduringproduction
for perfect functioning. Therefore there may be
for example water deposits remaining. Rinse the
appliance twice with the maximum amount of water
and without a filter bag or ground coee, in order to
clean it.
•Forthebestcoeeenjoymentandconvenientuse,
the appliance is equipped with various features.
These features are explained below.
3. Set water hardness
Depending on water hardness lime scale may build up
in the appliance. This increases the appliance’s energy
consumption as lime scale on the heating element can
prevent the water heating eectively. To avoid damage
the appliance must be descaled regularly. The descaling
display helps you in this. If the CALC-button is
permanently lit this shows that the appliance needs to
be descaled.
The appliance is pre-set for a high level of water
hardness (level 4). You can find out the level of water
hardness in your area by asking your local water
provider or by using water hardness measuring strips
available in the shops. For softer water the descaling
display can be adjusted to descale less often:
•HolddowntheCALCbutton for longer than 2
seconds. The CALC button starts to flash. In the
factory settings the CALC button flashes briefly four
times with the following pauses …………
•Youcansetthewaterhardnessatthreefurther
levels. Each time you briefly press the CALC button
the display changes to flashing one, two or three
times, each time followed by a pause
(……, ……, ……).
•Thesettingsanddisplayareshowninthefollowing
table 1.
•Onceyouhavesetthedesiredhardnesslevel,again
hold the CALC button down for longer than two
seconds. The light goes o and your settings are
saved.
Please note:
1. Water hardness cannot be programmed while
brewing.
2. The last water hardness level chosen remains even
after removing the power cable.
4. Making coffee
•Ensurethattheapplianceisconnectedtothepower
source.
•Openthelidonthewatertank.
•Fillthewatertankwiththedesiredamountofwater
using the therm jug. With the help of the water level
display on the tank you can choose the correct
number of cups. Small cup symbol = approx. 85ml
coee per cup, large cup symbol = approx. 125 ml
coee per cup.
•Closethelidonthewatertankandplacethetherm
jug with closed lid in the appliance.
•Opentheswivellter to the left.
•FoldaMelitta
®
filter bag 1x4
®
at the embossed seam
and place it in the filter holder. Press the filter bag
into the filter holder by hand, to ensure a good fit.
•Putthegroundcoeeintothelter.Theamount
depends on your personal taste. We recommend
using 6g of ground coee per large cup.
•Swivelthelterbackintotheappliance.Anaudible
click tells you it is inserted properly.
•WiththeMelitta
®
AromaSelector
®
you can
set the taste of your coee with just one hand:
From mild-aromatic (
) to strong-intensive (
).
•Turntheapplianceon. Brewing begins.
•Theapplianceswitchesoautomaticallyatthelatest
15 minutes after being switched on. This avoids un-
necessary use of electricity and saves energy. You can
of course turn the machine o manually at any time.
•Thedripstoppreventsyourcoeefromdripping,
when you remove the pot from the appliance.
•Withthehelpofthedetachableinnerlteryoucan
dispose of the filter bag simply and easily.
5. Using the insulated pot
•Thebrewedcoeeowsthroughthecentralvalvein
the insulated lid of the pot.
•Topourcoeepressdownonthesealinglever.
•Removethelidsimplybypressingthesealsonthe
side while lifting the lid up .
6. Cleaning and maintenance
External cleaning
•Thehousingcanbecleanedwithasoftdampcloth.
•Thejuglid,thelterinsertandtheswivellter
can be washed in the dishwasher.
Descaling:
The CALC button lights up again if the appliance has
been turned o without descaling. The CALC
button will go o again only after the descaling
programme has been completely finished.
Based on the water hardness level you have set (see
point 3) the descaling programme should be run
promptly after the CALC button lights up.
•Followthemanufacturersinstructionsregarding
amounts and pour the descaler into the water tank.
We recommend using Melitta
®
Anti Calc Filter Café
Machines.
•BrieypresstheCALCbutton, it will start to flash.
•Thedescalingprocesswillnowrunautomatically.
To remove even stubborn limescale the descaling
process takes 25 minutes.
 Loading...

