
M
Megan HerreraAug 5, 2025
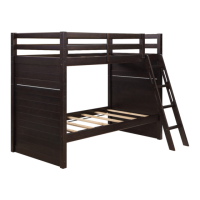
Why does my Member's Mark Indoor Furnishing bed creak?
- TTimothy HernandezAug 5, 2025
If your Member's Mark Indoor Furnishing bed is creaking, the most likely cause is loose fasteners. To resolve this, you should periodically check all bolts, screws, and brackets and tighten them as needed.