LEFT HAND NON-RATCHETING
90-855347R1 JANUARY 1999 Page 6B-21
4. Use bearing removal and replacement tool (91-31229A5) or equivalent to press bear-
ings out of bearing carrier.
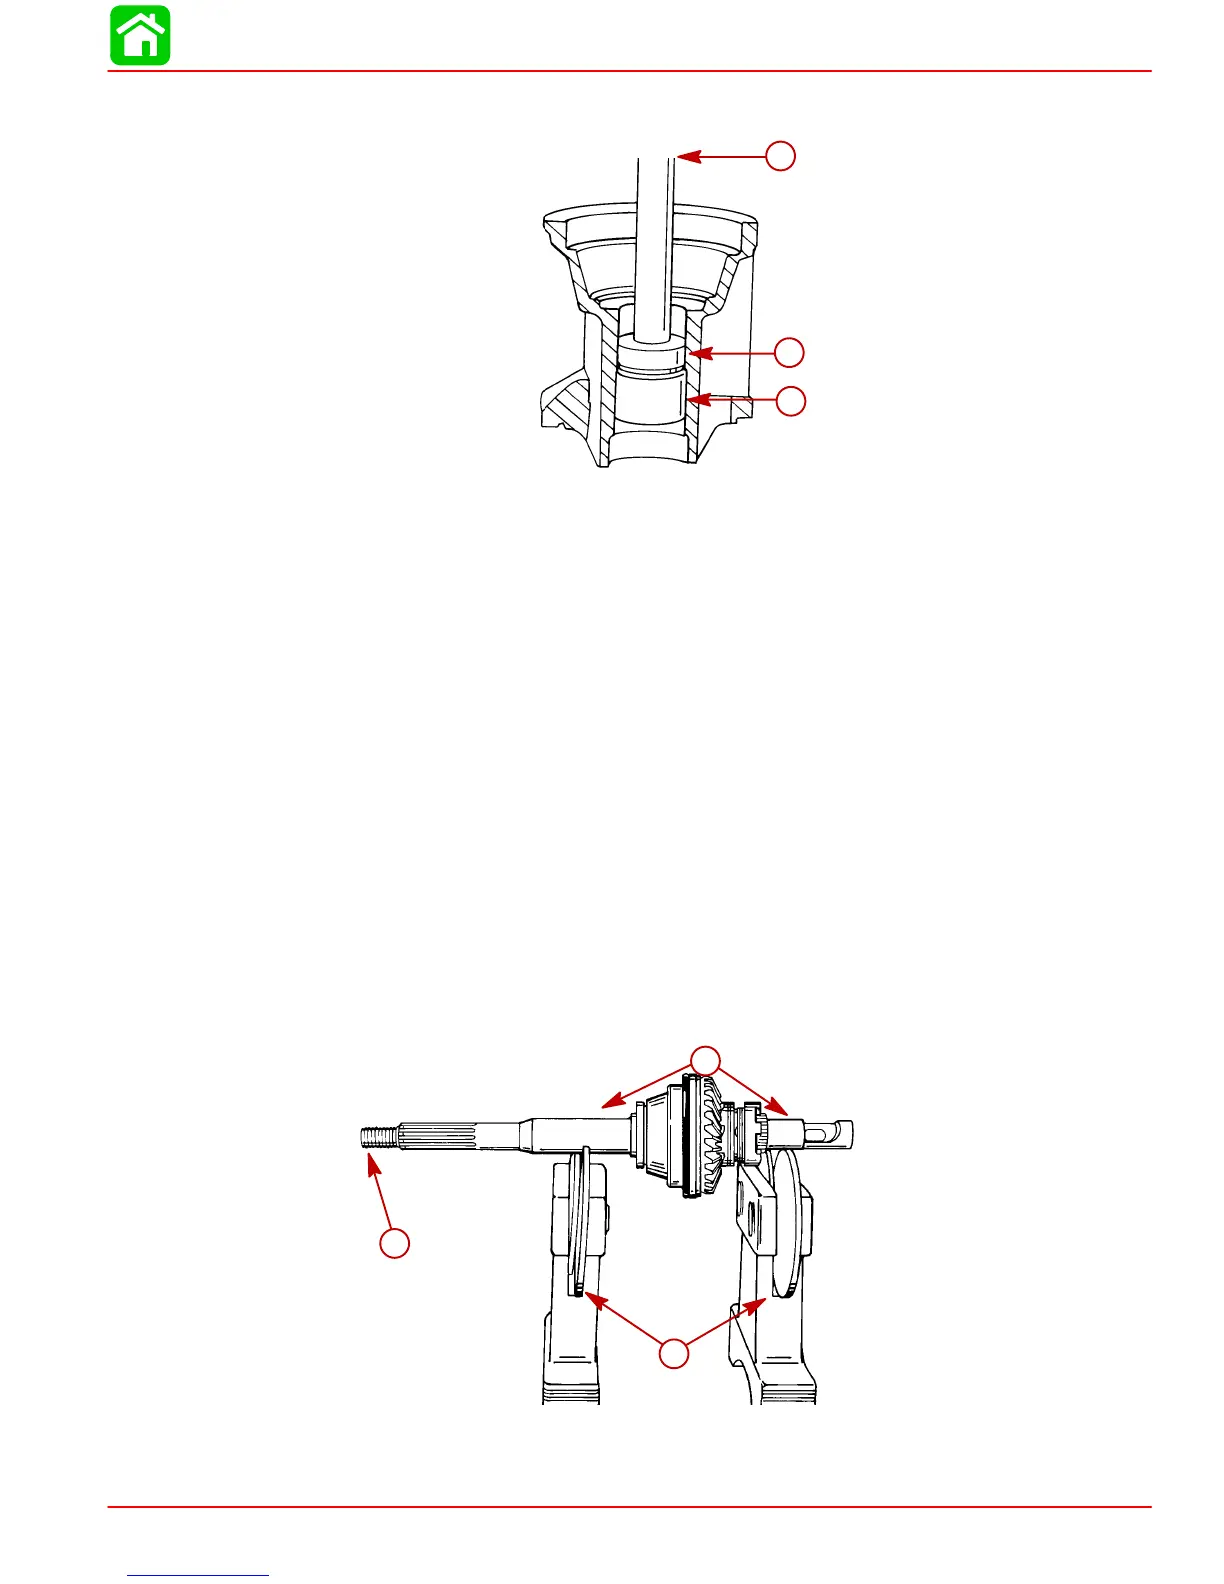
51885
a
b
c
a-Needle Bearing
b-Push Rod
c-Mandrel
Propeller Shaft
INSPECTION
1. Clean propeller shaft assembly with solvent and dry with compressed air.
2. Inspect bearing carrier oil seal surfaces for grooves. Run fingernail across seal sur-
face to check for groove. Replace shaft if groove is found.
3. Visually check bearing surfaces of propeller shaft for pitting, grooves, scoring, uneven
wear or discoloration (bluish color) from overheating. Replace shaft and correspond-
ing needle bearing if any of the above conditions are found. (Bearing carrier needle
bearing contacts propeller shaft just in front of oil seal surface. Reverse gear bearing
contacts propeller shaft in front of sliding clutch splines.)
4. Inspect propeller shaft splines for wear and/or corrosion damage.
5. Check propeller shaft for straightness. Use either method, following:
Balance Wheels
Place propeller shaft on balance wheels, as shown. Rotate propeller shaft and observe
propeller end of shaft for “wobble.” Replace shaft if any wobble is observed.
51877
b
a
c
a-Balance Wheels
b-Bearing Surfaces
c-Watch for Wobble
 Loading...


