LEFT HAND NON-RATCHETING
90-855347R1 JANUARY 1999 Page 6B-45
12. If backlash is less than the specifications, then a larger shim should be installed. Con-
versely, if the backlash indicated is greater than specifications, then a smaller shim
should be installed.
NOTE: By adding or subtracting 0.002
in. (0.051 mm) shim, the backlash will change ap-
proximately 0.002 in. (0.051 mm).
51882
a
a-Shim
13. If forward gear backlash is within specifications, then Bearing Preload Tool, Dial Indi-
cator, Backlash Indicator Tool/Dial Indicator Holder, PVC pipe, forward gear assem-
bly, bearing adaptor, bearing carrier and test propeller shaft can all be removed from
the gear case.
Propeller Shaft/Forward Gear Bearing Adapter/Bearing Carrier
REASSEMBLY
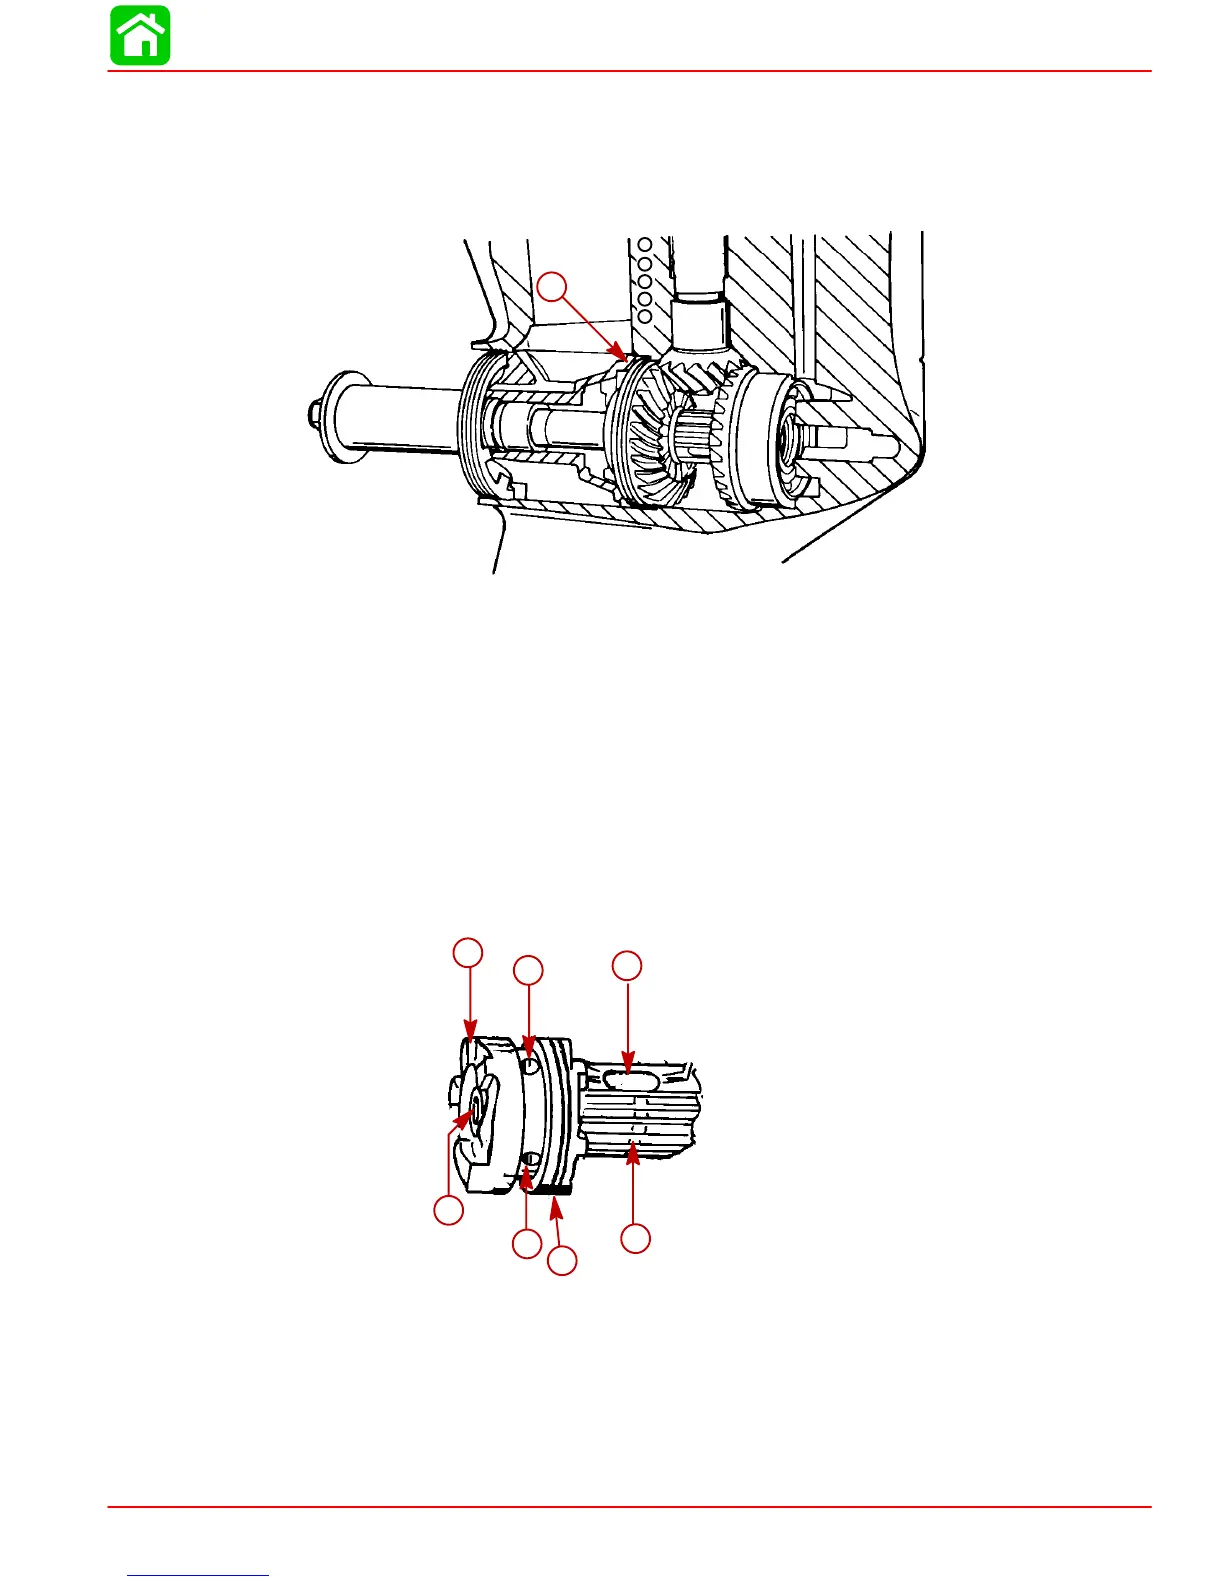
1. Position sliding clutch onto propeller shaft. “GROOVED RINGS” are for manufactur-
ing purposes only and may be positioned towards either gear. Cross pin hole and det-
ent hole in sliding clutch must line up with cross pin slot and detent notch in propeller
shaft.
51913
a
b
c
d
e
f
g
a-Sliding Clutch
b-Propeller Shaft
c-Grooved Rings
d-Cross Pin Hole
e-Detent Hole
f-Cross Pin Slot
g-Detent Notches
 Loading...


