23
CAL 2 CALIBRATION
CAL 2 Calibration
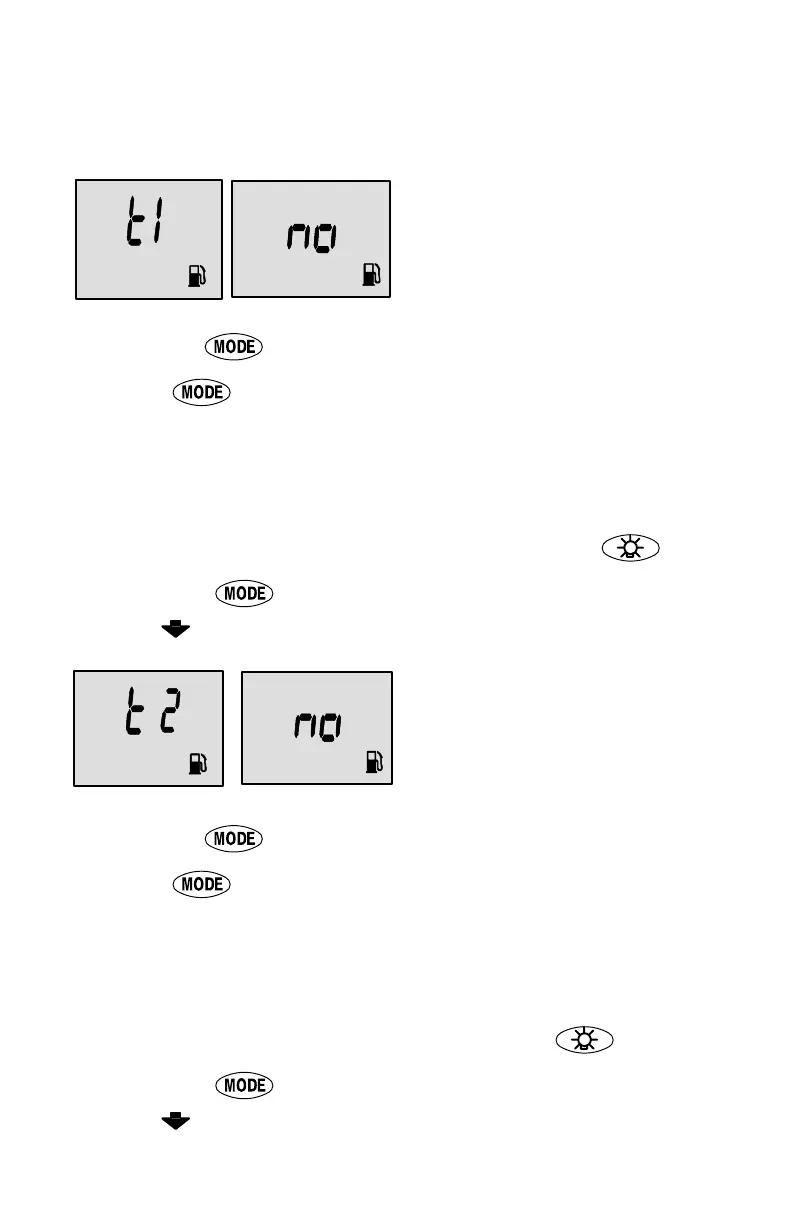
Tank 1 (fuel) Capacity
Setting
“t1” = tank 1
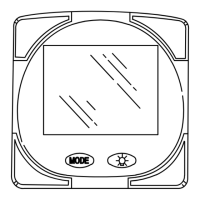
1. Press the button until “t1” is displayed. “t1” = tank 1.
2. Press
once more. The word “no” and the fuel icon will be
displayed.
NOTE:The word “no” will not go away unless the gauge sees a tank
connected to the system. With no tank connected, you will not be able
to enter a capacity.
3. Enter the capacity of tank 1 in gallons/liters using the
key.
4. Press the
button to save and move to the next func-
tion.
Tank 2 Capacity Setting
NOTE:Tank 2 does not have to
be a fuel tank. It could represent
an oil tank for example.
“t2” = tank 2
1. Press the button until “t2” is displayed. “t2” = tank 2.
2. Press
once more. The word “no” and the fuel icon will be
displayed.
NOTE:The word “no” will not go away unless the gauge sees a tank
connected to the system. With no tank connected, you will not be able
to enter a capacity.
3. Enter the capacity of tank 2 in gallons using the
key.
4. Press the
button to save and move to the next func-
tion.
 Loading...