Do you have a question about the Merlin Commander Extreme MS125MYQ and is the answer not in the manual?
Ensure door is balanced and not binding; examine installation for wear.
Wear gloves, goggles, and avoid loose clothing during installation to prevent injury.
Remove ropes, chains, and locks from the garage door before opener installation.
Installation must comply with local building codes and AS/NZS 60335-2-95.
Test the safety reverse system monthly with a 40mm obstacle.
Proper use of the manual release cord for emergencies.
Recommends The Protector System for enhanced safety, especially with children.
Guidelines for installing wall controls and warning labels for safety.
Operate safely, keep path clear, avoid damp spaces, reinforce light doors.
An outside quick release accessory is needed if no service entrance door is present.
Check wall/ceiling supports and prepare for opener mounting.
Test door balance, check for binding, and maximum lift force.
Suitable for residential sectional doors up to 20 m².
A 240V GPO must be near the powerhead; it's not supplied with the opener.
Lists all parts included in the opener and rail cartons.
Lists tools needed for installation.
Lists all hardware supplied with the opener.
Provides power for universal receivers, active when door is open.
Details connections for wired accessories like push buttons and sensors.
Explains UP, PROG, DOWN, LEARN buttons for programming and control.
LED indicates modes; Green button allows manual activation.
Connects the rail assembly to the opener powerhead.
Adjusts chain tension for proper operation.
Secures both chain rail and X-rail assemblies to the opener.
Guidance on correctly locating the header bracket.
Instructions for wall or ceiling mounting the header bracket.
Connects the rail assembly to the mounted header bracket.
Specific placement advice for sectional door openers.
Steps to hang the opener using the chain rail system.
Steps to hang the opener using the X-rail system.
Secures the door bracket to the garage door.
Connects the door arm components to the trolley.
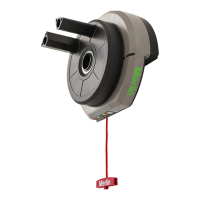
How to disengage and re-engage the opener manually.
Sets the door's full open and close positions and operating force.
Guide to automatically setting the opener's force.
Steps for manually learning and setting the opener force.
Verifies the safety reverse system functions correctly.
How to choose between NORMAL and SLOW door travel speeds.
Configures the opener for reduced standby power consumption.
Instructions for installing The Protector System (IR Beams).
Links transmitters to control the courtesy light.
How to activate and set the automatic door closing timer.
Guide to mounting the wireless wall control.
Specifies where to affix safety warning labels.
Sets a secondary stop position for ventilation or access.
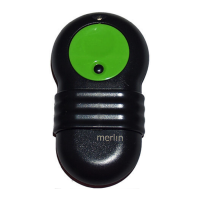
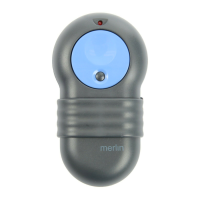
Programs additional remote controls or keypads to the opener.
Instructions for setting and changing the keypad entry PIN.
How to use the opener with various controls and manually.
Monthly and annual maintenance tasks for the opener.
Guide on replacing batteries in remote controls.
Lists optional accessories for the opener.
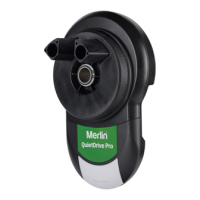
Visual reference for common replacement parts.
Lists and illustrates replacement parts for the opener itself.
Lists and illustrates replacement parts for the rail assembly.
Solutions for when the opener doesn't operate via controls or remotes.
Addresses remote control range and functionality problems.
Diagnosing and resolving doors reversing unexpectedly or stopping mid-travel.
Troubleshooting the opener operating by itself.
Resolving issues where the door stops before closing or shows operation errors.
Solutions for opener strain, humming, or carriage not moving.
Opener behavior during power loss and interpreting control panel error codes.
A chart mapping diagnostic codes to symptoms and their possible resolutions.
Detailed electrical, mechanical, and dimensional specifications for the opener.
Conditions and actions that will void the product's warranty.
Legal liability exclusions for Australia and New Zealand.
Contact information for Chamberlain service centers.
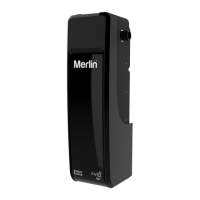
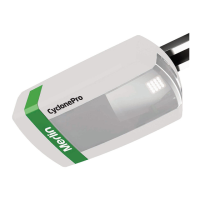
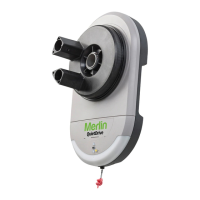
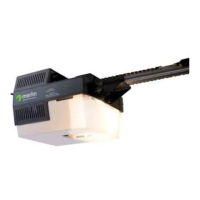
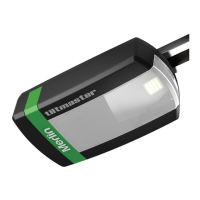
The Merlin Commander Extreme MS125MYQ is a sectional garage door opener designed for residential sectional doors up to 20 m². It is equipped with a battery backup system and is compatible with myQ technology, allowing for smart control and monitoring of your garage door.
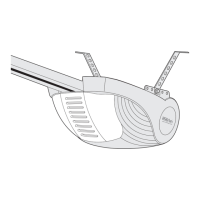
The Commander Extreme MS125MYQ operates by driving a chain or X-rail system to open and close the garage door. It features programmable travel limits, which define the door's stopping points in both the UP and DOWN positions. The opener also includes an automatic force setting that adjusts to the door's movement, ensuring safe and efficient operation. In cases where manual force adjustment is needed, a manual learn mode is available.
A crucial safety feature is the safety reverse system. The door is designed to reverse on contact with a 40 mm obstacle placed on the floor, preventing serious injury or property damage. Regular testing of this system is essential. The opener also supports the optional "The Protector System™" (IR Beams), which creates an invisible beam across the garage door opening. If this beam is broken while the door is closing, the door will reverse to the open position, providing an additional layer of safety, especially for homes with young children. This system is strongly recommended for all installations and is mandatory when the closing force exceeds 400 N (40 kgf) or when operating in SLOW speed mode for doors over 150 kg.
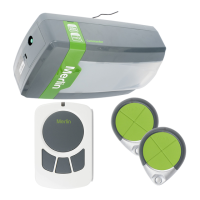
The opener can be activated using various devices, including the opener control panel (UP and DOWN buttons, Green O.S.C.), an outside keyswitch or keyless entry system (if installed), and remote control transmitters. The courtesy light on the opener illuminates when activated, when power is restored after an interruption, or when initially plugged in, and turns off automatically after 2.5 minutes.
The Commander Extreme MS125MYQ offers several features to enhance convenience and safety:
Regular maintenance is crucial for the safe and reliable operation of your Merlin Commander Extreme MS125MYQ garage door opener:
| Manufacturer | Merlin |
|---|---|
| Product Name | Commander Extreme MS125MYQ |
| Category | Garage Door Opener |
| Motor Type | DC |
| MyQ Compatibility | Yes |
| Horsepower | 1.25 HP |
| Safety Features | Auto-reverse, photoelectric sensors |
| Security | Rolling code technology |