Home
MERLYN
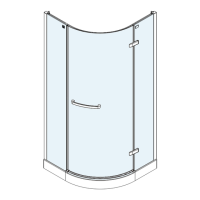
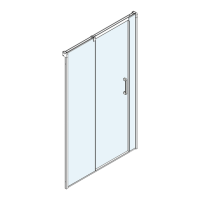
Bathroom Fixtures
6 Series
MERLYN 6 Series Installation Guide
5
of 1
of 1 rating
16 pages
Give review
Manual
Specs
To Next Page
To Next Page
To Previous Page
To Previous Page
Loading...
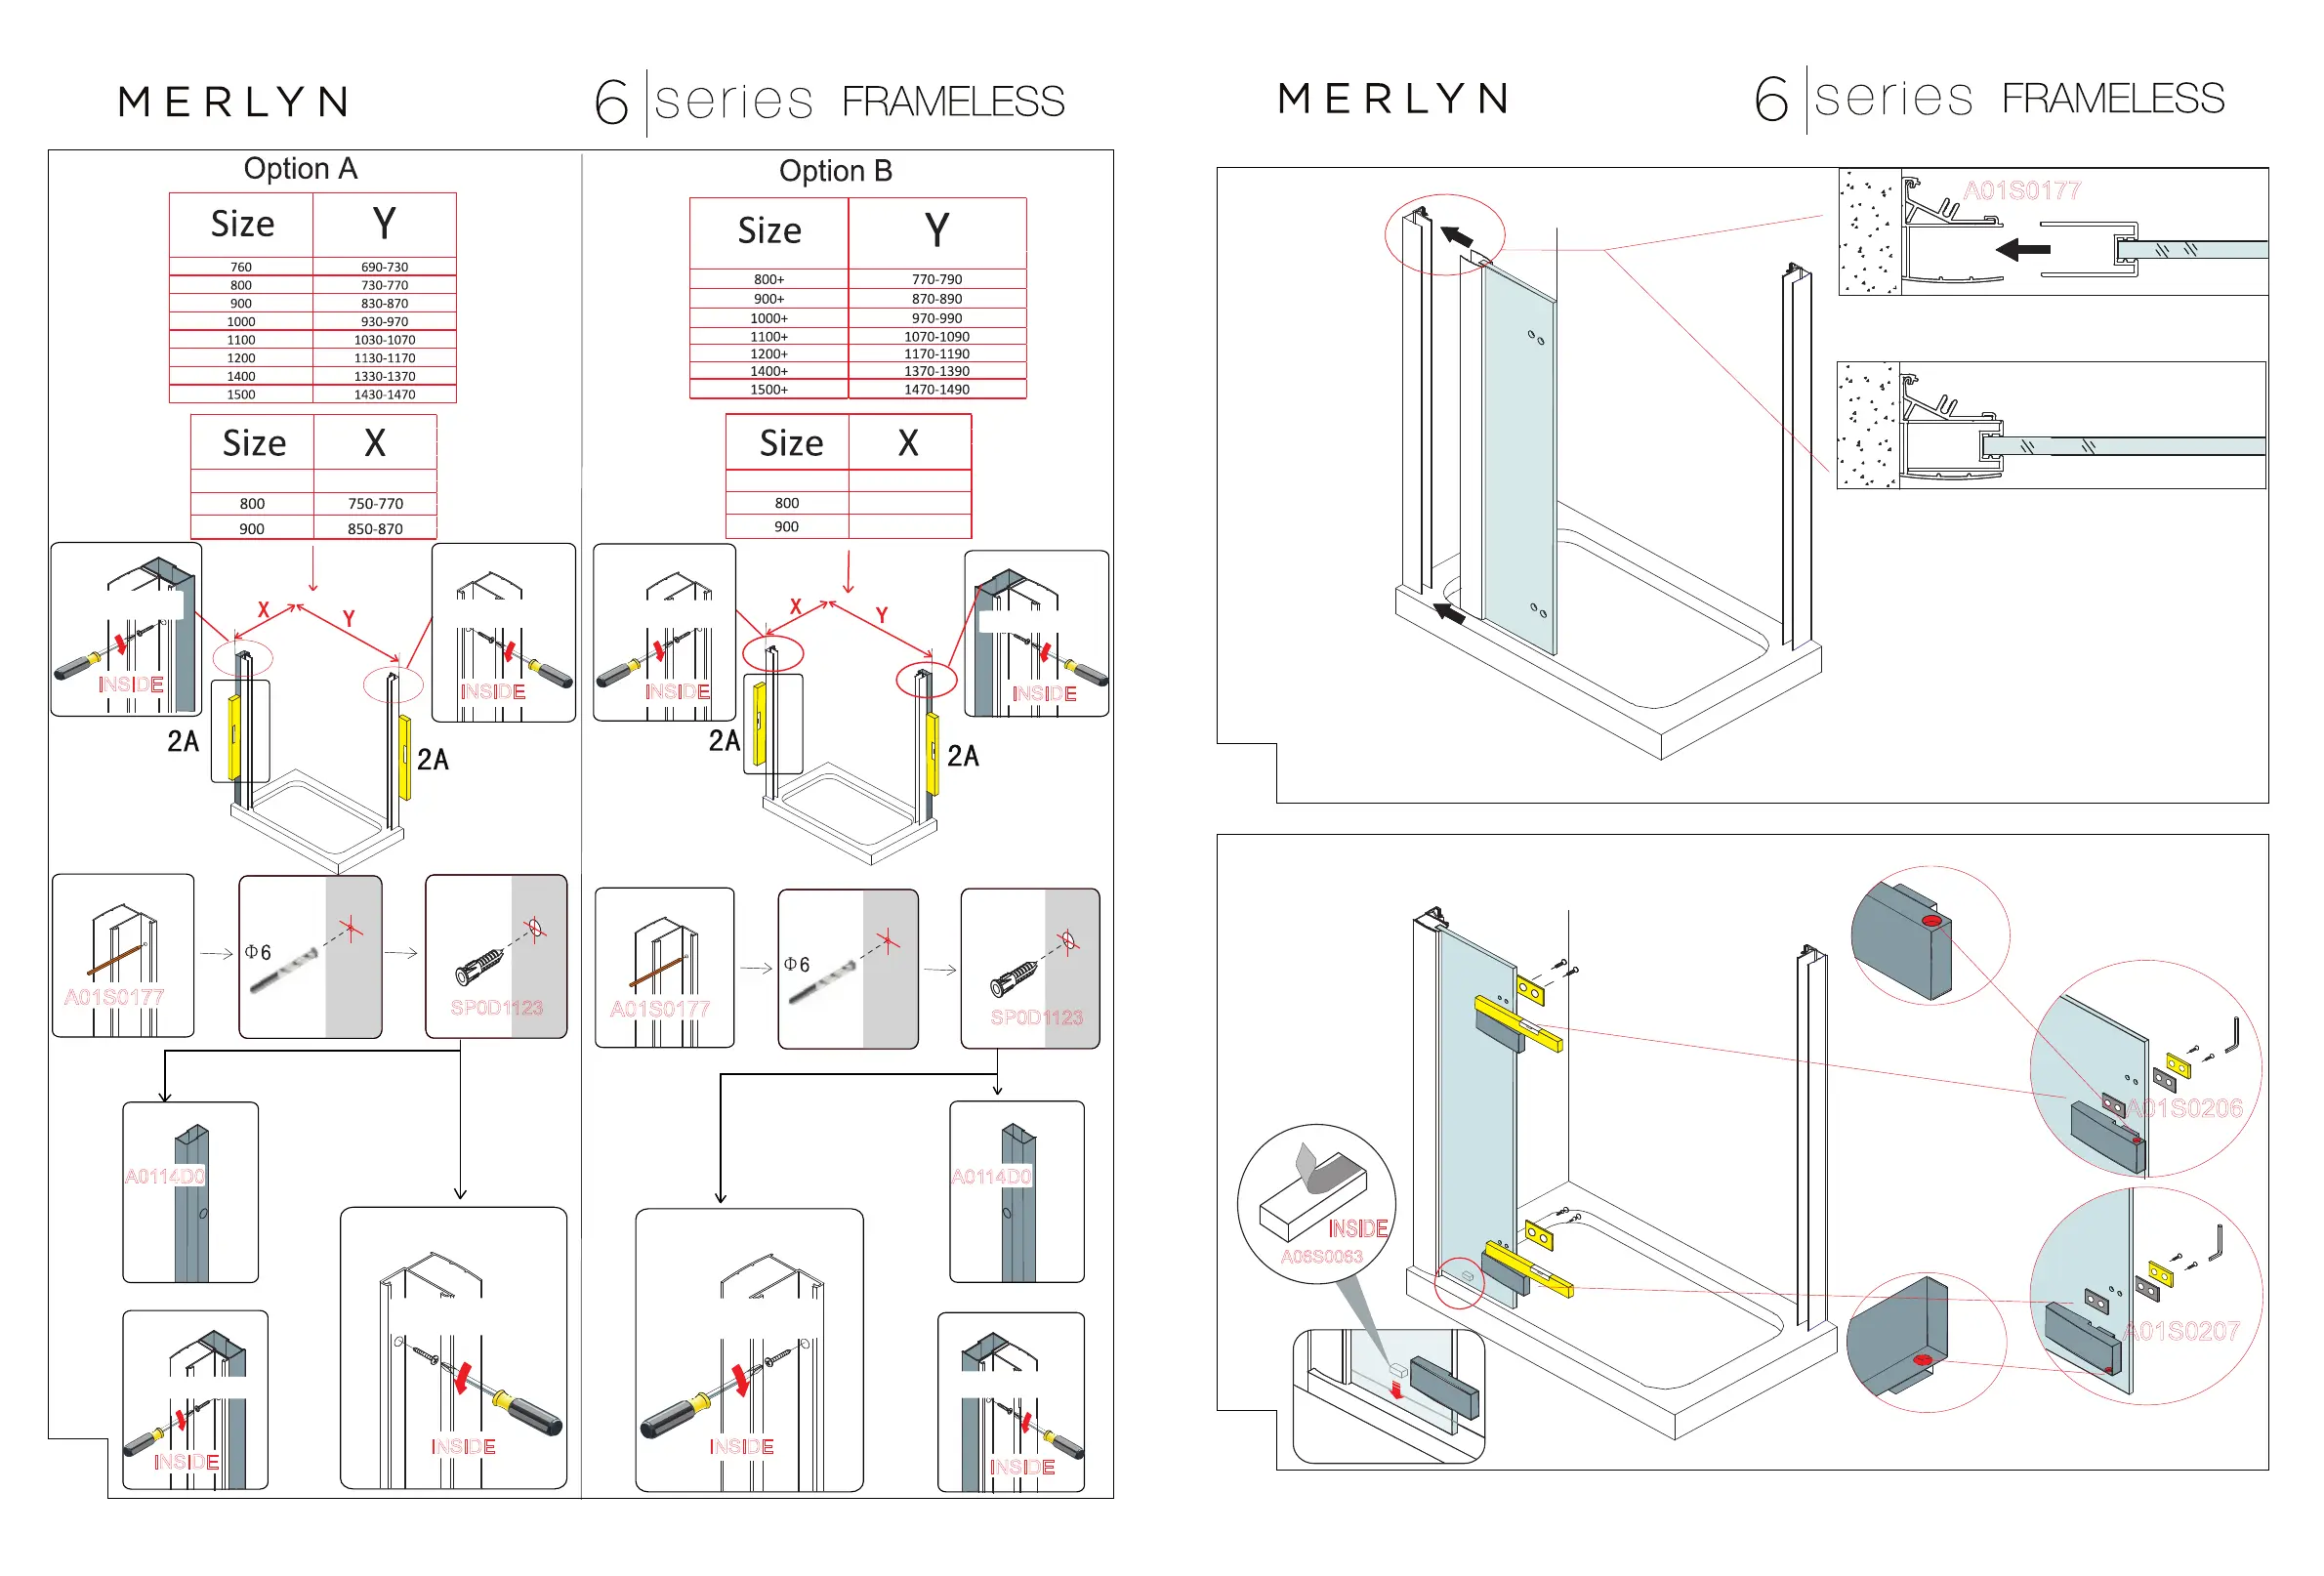
2
19.
3
4
20.
3A
3B
INSIDE
NOTE: Ensure the hinge
pins (red) are in
correct position
and both hinges
are level.
2F
2E
2E
2F
2B
2C
2D
2B
2C
2D
2E
2E
2E
2E
2F
2F
750-790
850-890
SP0D0ST450
SP0D0ST430
SP0D0ST430
SP0D0ST450
SP0D1
123
SP0D1
123
SP0D0ST450
SP0D0ST450
SP0D0ST430
SP0D0ST430
INSIDE
INSIDE
INSIDE
INSIDE
A01
14D0
A01
14D0
A01S0177
A01S0177
INSIDE
INSIDE
INSIDE
INSIDE
760
710-730
760
710-750
A01S0177
A06S0063
A01S0206
A01S0207
10
12
Other manuals for MERLYN 6 Series
Quick Start Guide
8 pages
Installation Instructions
8 pages
Fitting Instructions
2 pages
Assembly Instructions
8 pages
5
Based on 1 rating
Ask a question
Give review
Questions and Answers:
Need help?
Do you have a question about the MERLYN 6 Series and is the answer not in the manual?
Ask a question
MERLYN 6 Series Specifications
General
Glass Thickness
6 mm
Style
Modern
Warranty
Lifetime
Finish
Chrome
Type
Shower Enclosure
Material
Glass, Aluminium
Installation Type
Wall Mounted
Related product manuals
MERLYN 8 Series
12 pages
MERLYN ARYSTO
10 pages
 Loading...