EasyManua.ls Logo

Metra Electronics 95-5817 User Manual

Metra Electronics 95-5817
8 pages
To Next Page IconTo Next Page
Page #1 background imageLoading...
Page #1 background image
INSTALLATION INSTRUCTIONS FOR PART 95-5817
95-5817
KIT FEATURES
A)
Double Din Trim Brackets • B) Filler Bar
KIT COMPONENTS
Dremel or Suitable Cutting Tool
Small Flat Blade Screwdriver
Panel Removal Tool • Socket Wrench
Metra 86-5618 Removal Keys
1-800-221-0932
© COPYRIGHT 2009-10 METRA ELECTRONICS CORPORATION
www.metraonline.com
A
APPLICATIONS
Double DIN Unit Provision
Stacked ISO Mounts Units Provision
NOTE: Sub dash modifications are
necessary to use this dash kit.
You will need to trim the sub dash
to gain suitable depth and height.
NOTE: Once the kit is snapped in,
it cannot be
removed without dash panel removal.
B
TOOLS REQUIRED:
WIRING AND ANTENNA CONNECTIONS (Sold Separately)
Wiring Harness:
See www.metraonline.com for specific interface
applications
Antenna Adapter:
Not required.
FORD
Explorer 1995-2001
Explorer Sport Trac 2001-2005
Ranger 1995-2009
Crown Victoria 1995-2009
Econoline 1997-2008
Escape 2001-2007
Windstar 1999-2003
Excursion 2000-2005
Super Duty 1999-2004
LINCOLN
Continental 1995-1997
Mark VIII 1996-1998
Town Car 1995-2002
MAZD
A
B-Series Pickup 1995-2009
MERCUR
Y
Grand Marquis 1995-2009
Marauder 2003-2004
Mountaineer 1997-2001
Mariner 2005-2007
Question and Answer IconNeed help?

Do you have a question about the Metra Electronics 95-5817 and is the answer not in the manual?

Metra Electronics 95-5817 Specifications

General IconGeneral
TypeDash Kit
ColorBlack
ISO DDIN radio provisionYes
Painted scratch-resistant matte blackYes
Product TypeDash Kit
MaterialPlastic
BrandMetra Electronics
Part Number95-5817
InstallationEasy installation
Compatibility2008-2014 Chevrolet Malibu

Summary

Dash Disassembly

Radio Removal

Disconnect battery, use removal keys to slide out radio, unplug and remove.

Dash Cavity Obstruction Removal

Cut and remove obstructions in dash cavity, being careful not to cut harnesses.

Kit and Unit Assembly

Double DIN/Stacked ISO Mount Unit Provision

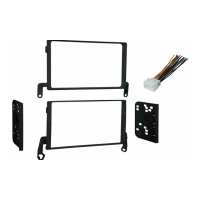
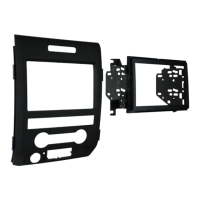
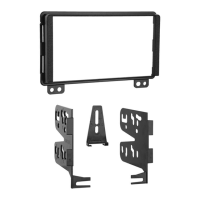
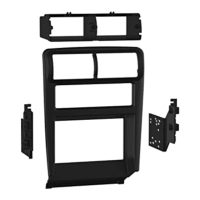
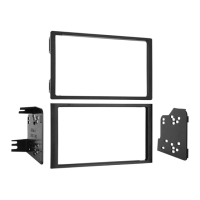
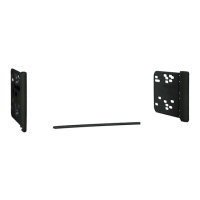
Attach double DIN brackets to the unit using provided screws for mounting.

Factory Wiring Harness Connection

Connect the factory wiring harness using a mating adapter, taping unused wires.

Final Assembly and Wiring

Radio and Filler Bar Installation

Slide the assembled unit into the dash and clip the filler bar into the opening.

Final Wiring Connections and EIA Code

Make final wiring connections using the EIA color code chart for proper operation.

Related product manuals