95-9310B
4
(Figure I)
(Figure J)
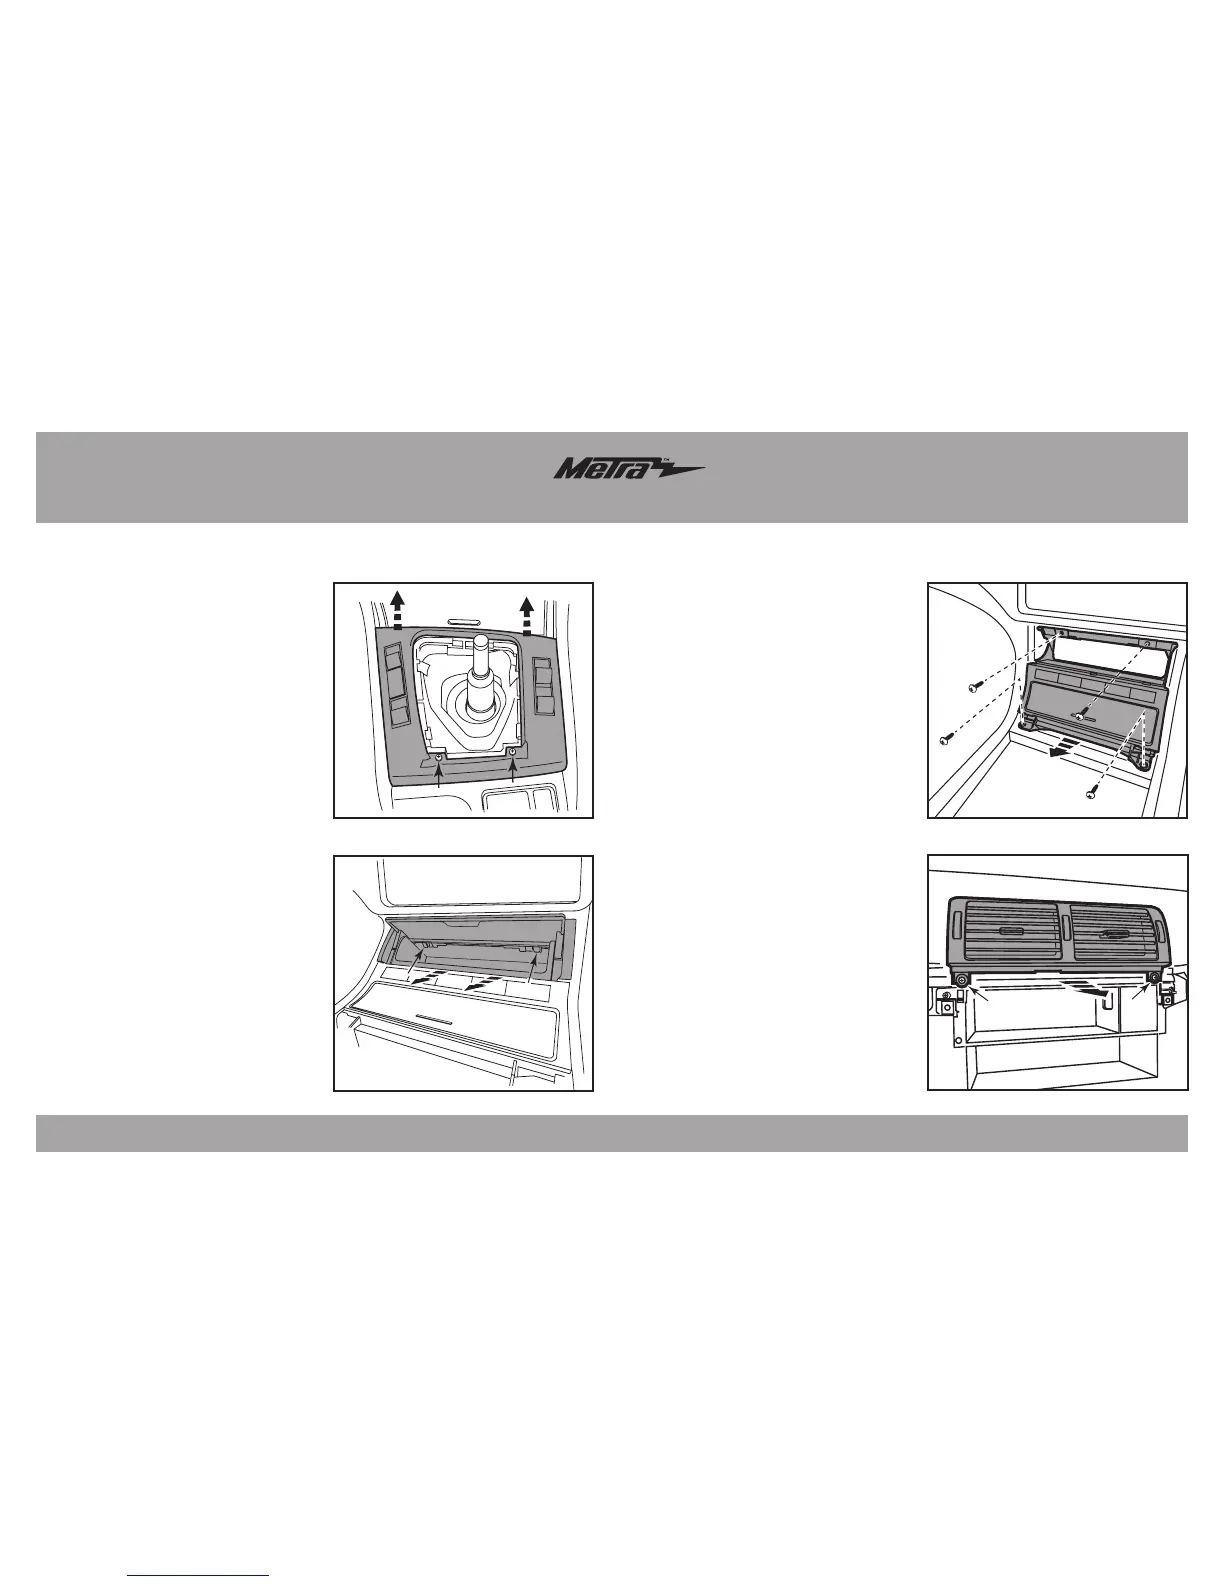
10. Remove (2) Phillips screws, and
then unclip and move aside the
vent assembly above the radio
opening. It is not necessary to
remove the assembly. But if
desired, there will be a cable
attached to the assembly that will
need to be removed. (Figure J)
11. For non-NAV equipped cars,
remove (2) Phillips screws
securing the plastic radio/climate
housing from radio/climate cavity,
and then remove.
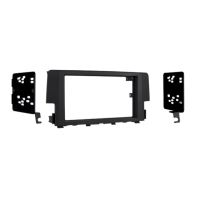
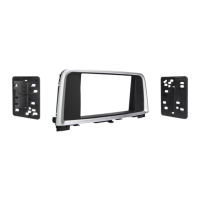
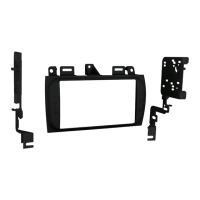
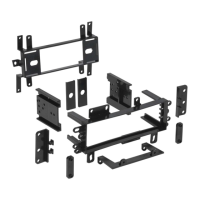
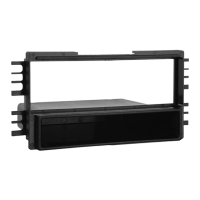
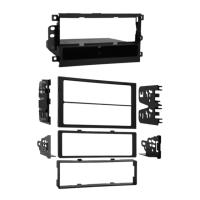
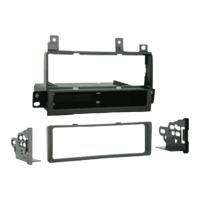
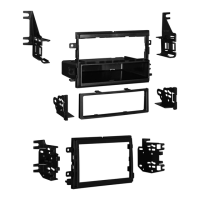
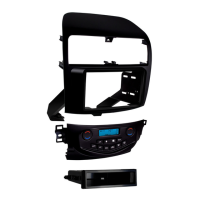
Continue to kit assembly
Dash Disassembly
(Figure G)
(Figure H)
7. Remove (2) Phillips screws
securing the shift selector trim
panel, and then unclip and remove
the panel. (Figure G)
8. Open the upper door on the lower
switch panel. Using a pick tool, or
something suitable, disengage (2)
clips in the upper corners of the
tray to remove the tray and door.
(Figure H)
9. Remove (4) Phillips screws now
exposed securing the lower switch
panel, and then unplug and remove
the panel. (Figure I)
Note: All of the switches
will need to be removed and
installed into the new switch
panel provided. (Figure I)