Do you have a question about the Metra Electronics 99-5810 and is the answer not in the manual?
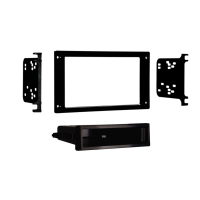
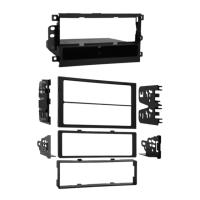
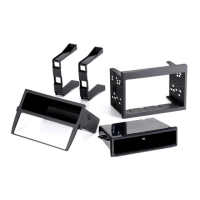
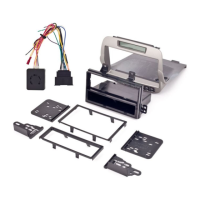
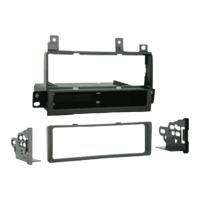
Details the availability of DIN and ISO DIN head unit provisions with pockets for installation.
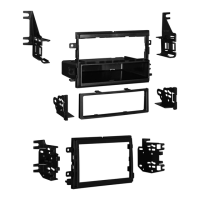
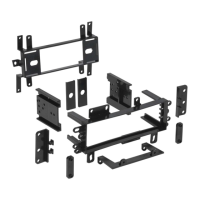
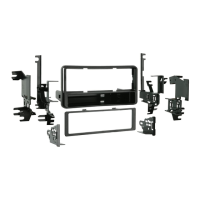
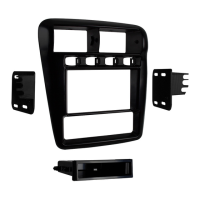
Lists the essential parts included in the kit: Radio Housing, ISO Brackets, and ISO Trim Plate.
Specifies the necessary tools for installation, including a small flat blade screwdriver and a socket wrench set.
Disconnect the battery and remove specific bolts from the instrument cluster and clock panel areas.
Carefully remove the main dash panel surrounding the radio and instrument cluster, followed by radio securing bolts.
Slide the DIN cage into the radio housing and secure it by bending the metal locking tabs.
Insert the aftermarket head unit into the secured cage.
Mount the ISO brackets to the aftermarket head unit using the provided screws.
Slide the head unit into the radio opening until side clips engage, then snap the trim plate into the housing.
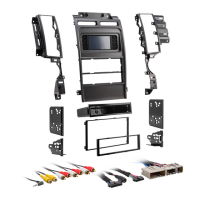
Connect the factory wiring harness using mating adapters, strip, splice, solder, and tape wires as per EIA color code.
Reconnect the battery, test the unit, and reassemble dash components in reverse order of disassembly.
| Brand | Metra Electronics |
|---|---|
| Model | 99-5810 |
| Category | Car Receiver |
| Color | Black |
| Material | Plastic |
| Installation Type | Dash Kit |
| Dash Kit Type | Double DIN |
| ISO DDIN radio provision | Yes |
| Wiring Harness | Not included |
| Antenna Adapter | Not included |