EasyManua.ls Logo

Metra Electronics 99-9605B User Manual

Metra Electronics 99-9605B
16 pages
To Next Page IconTo Next Page
Page #1 background imageLoading...
Page #1 background image
REV. 1/25/2017 INST99-9605B
INSTALLATION INSTRUCTIONS FOR PART 99-9605B
METRA. The World’s best kits.
®
metraonline.com
© COPYRIGHT 2017 METRA ELECTRONICS CORPORATION
CAUTION!
All accessories, switches, climate controls panels,
and especially air bag indicator lights must be connected before
cycling the ignition. Also, do not remove the factory radio with
the key in the on position, or while the vehicle is running.
• ISO DIN radio provision with pocket
(NAV models only)
• ISO DDIN radio provision
• Provision for HVAC relocation
(vehicle must have a lower console)
Painted matte black
A) Radio housing • B) Radio brackets • C) Pocket • D) HVAC trim panel with pocket • E) (6) #8 x 3/8” Phillips screws
KIT FEATURES
KIT COMPONENTS
WIRING & ANTENNA CONNECTIONS
Wiring Harness: • 70-9401 • 70-1787 (amplified models) (sold separately)
Antenna Adapter: • 40-VW10
• Panel removal tool • Phillips screwdriver
Torx T-20 screwdriver • Cutting tool
• 86-9001 radio removal keys (qty. 2 for NAV models)
TOOLS REQUIRED
Porsche 911 (996) 1999-2005
Porsche Boxster (986) 1997-2004
99-9605B
A
Table of Contents
B
C
ED
Dash Disassembly ..............................................2-4
Kit Preparation ....................................................... 5
Kit Assembly
ISO DIN radio provision with pocket ...................... 6
ISO DDIN radio provision ...................................... 7
Models without factory NAV ................................. 7
Question and Answer IconNeed help?

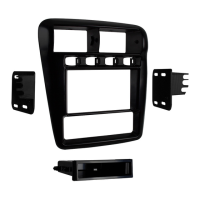
Do you have a question about the Metra Electronics 99-9605B and is the answer not in the manual?

Metra Electronics 99-9605B Specifications

General IconGeneral
BrandMetra Electronics
Model99-9605B
CategoryCar Receiver
ColorBlack
MaterialPlastic
DIN CompatibilitySingle DIN

Summary

Dash Disassembly

Upper Dash Component Removal

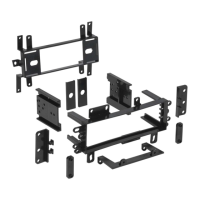
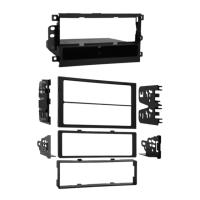
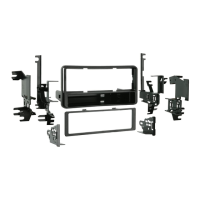
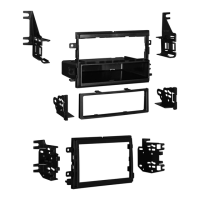
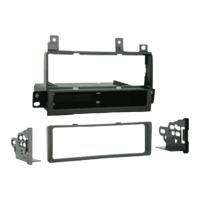
Steps to remove upper dash panels, HVAC trim, and radio assembly.

Lower Dash Trim and Pocket Removal

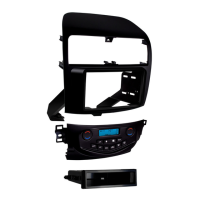
Procedures for removing lower console trim and factory CD tray/pocket.

DSP Controller Relocation Procedure

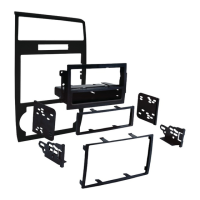
Steps to relocate the DSP controller for amplifier function.

Kit Preparation

Radio Frame Assembly Modification

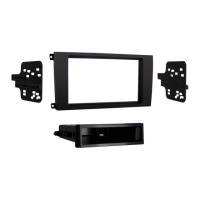
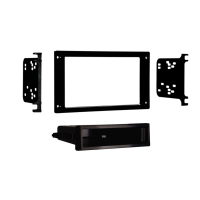
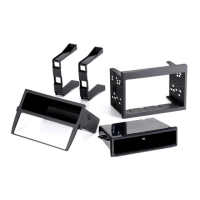
Cutting the center bar and mounting points in the radio frame.

Climate Control Wiring Rerouting

Rerouting climate control wiring to the lower console area.

Kit Assembly

ISO DIN Radio with Pocket Assembly (NAV)

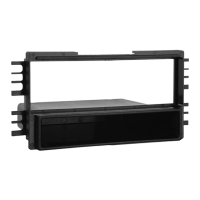
Securing pocket, sliding radio into housing, and mounting assembly.

ISO DDIN Radio Installation

Installing ISO DDIN radio into housing, frame, and connecting wiring.

Non-Navigation Model HVAC Reassembly

Securing HVAC controls and climate trim panel in lower console.

Related product manuals