EasyManua.ls Logo

Metra Electronics 99-3010S-LC User Manual

Metra Electronics 99-3010S-LC
7 pages
To Next Page IconTo Next Page
Page #1 background imageLoading...
Page #1 background image
METRA. The World’s best kits.
®
Installation instructions for 99-3010S-LC
®
CAUTION!
All accessories, switches, climate controls panels, and
especially air bag indicator lights must be connected before cycling
the ignition. Also, do not remove the factory radio with the key in the
on position, or while the vehicle is running.
A) Radio trim panel • B) Radio housing • C) ISO brackets • D) ISO trim plate • E) ISO DDIN brackets
F) ISO DDIN trim plate • G) Pocket • H) Axxess interface and harness (not shown)
KIT COMPONENTS
WIRING & ANTENNA CONNECTIONS (sold separately)
Wiring Harness:
Axxess interface included
Antenna Adapter:
40-EU55
Panel removal tool • Phillips screwdriver
7mm socket wrench • T-20 Torx Wrench • Cutting tool
TOOLS REQUIRED
DIN radio provision with pocket
ISO DIN radio provision with pocket
ISO DDIN radio provision
Painted silver to match factory finish
KIT FEATURES
Chevrolet Camaro 2010-2015
99-3010S-LC
A B C D E
F G
Question and Answer IconNeed help?

Do you have a question about the Metra Electronics 99-3010S-LC and is the answer not in the manual?

Metra Electronics 99-3010S-LC Specifications

General IconGeneral
ColorSilver
MaterialPlastic
ISO DDIN radio provisionYes
Painted silver to match the factory finishYes
Wiring and Antenna ConnectionsIncluded
BrandMetra Electronics
Model99-3010S-LC
CategoryCar Receiver
Product TypeDash Kit

Summary

Dash Disassembly

Kit Preparation

Kit Assembly

DIN radio provision with pocket

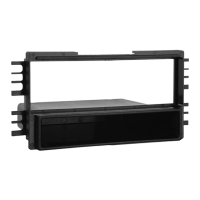
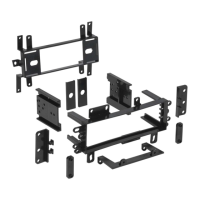
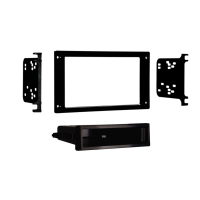
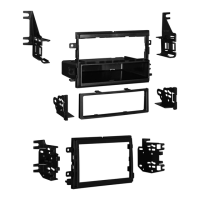
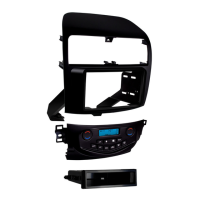
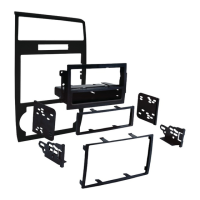
Steps for installing a single DIN radio with a pocket into the dash.

ISO DIN radio provision with pocket

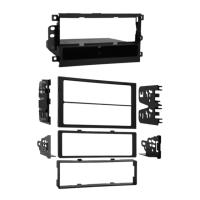
Steps for installing a single DIN radio with ISO brackets and pocket.

ISO DDIN radio provision

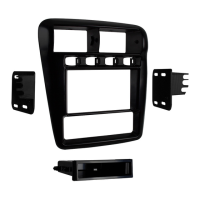
Steps for installing a double DIN radio with ISO brackets.

Axxess Interface Installation

Connections to be made

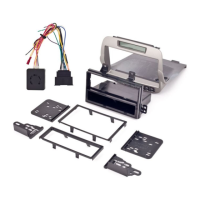
Details on wiring connections between the 3010S-LC harness and the aftermarket radio.

Installing the Axxess interface

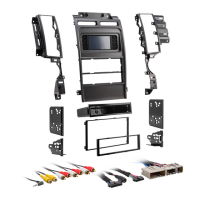
Physical connection of the Axxess interface and wiring harness.

Initializing the Axxess interface

Procedures to initialize the Axxess interface after installation.

Vehicle customization with optional AX-LCD

Using AX-LCD for retention of vehicle personalization menu.

Changing display backlight color

Steps to change the display backlight color via button inputs.

Related product manuals