5
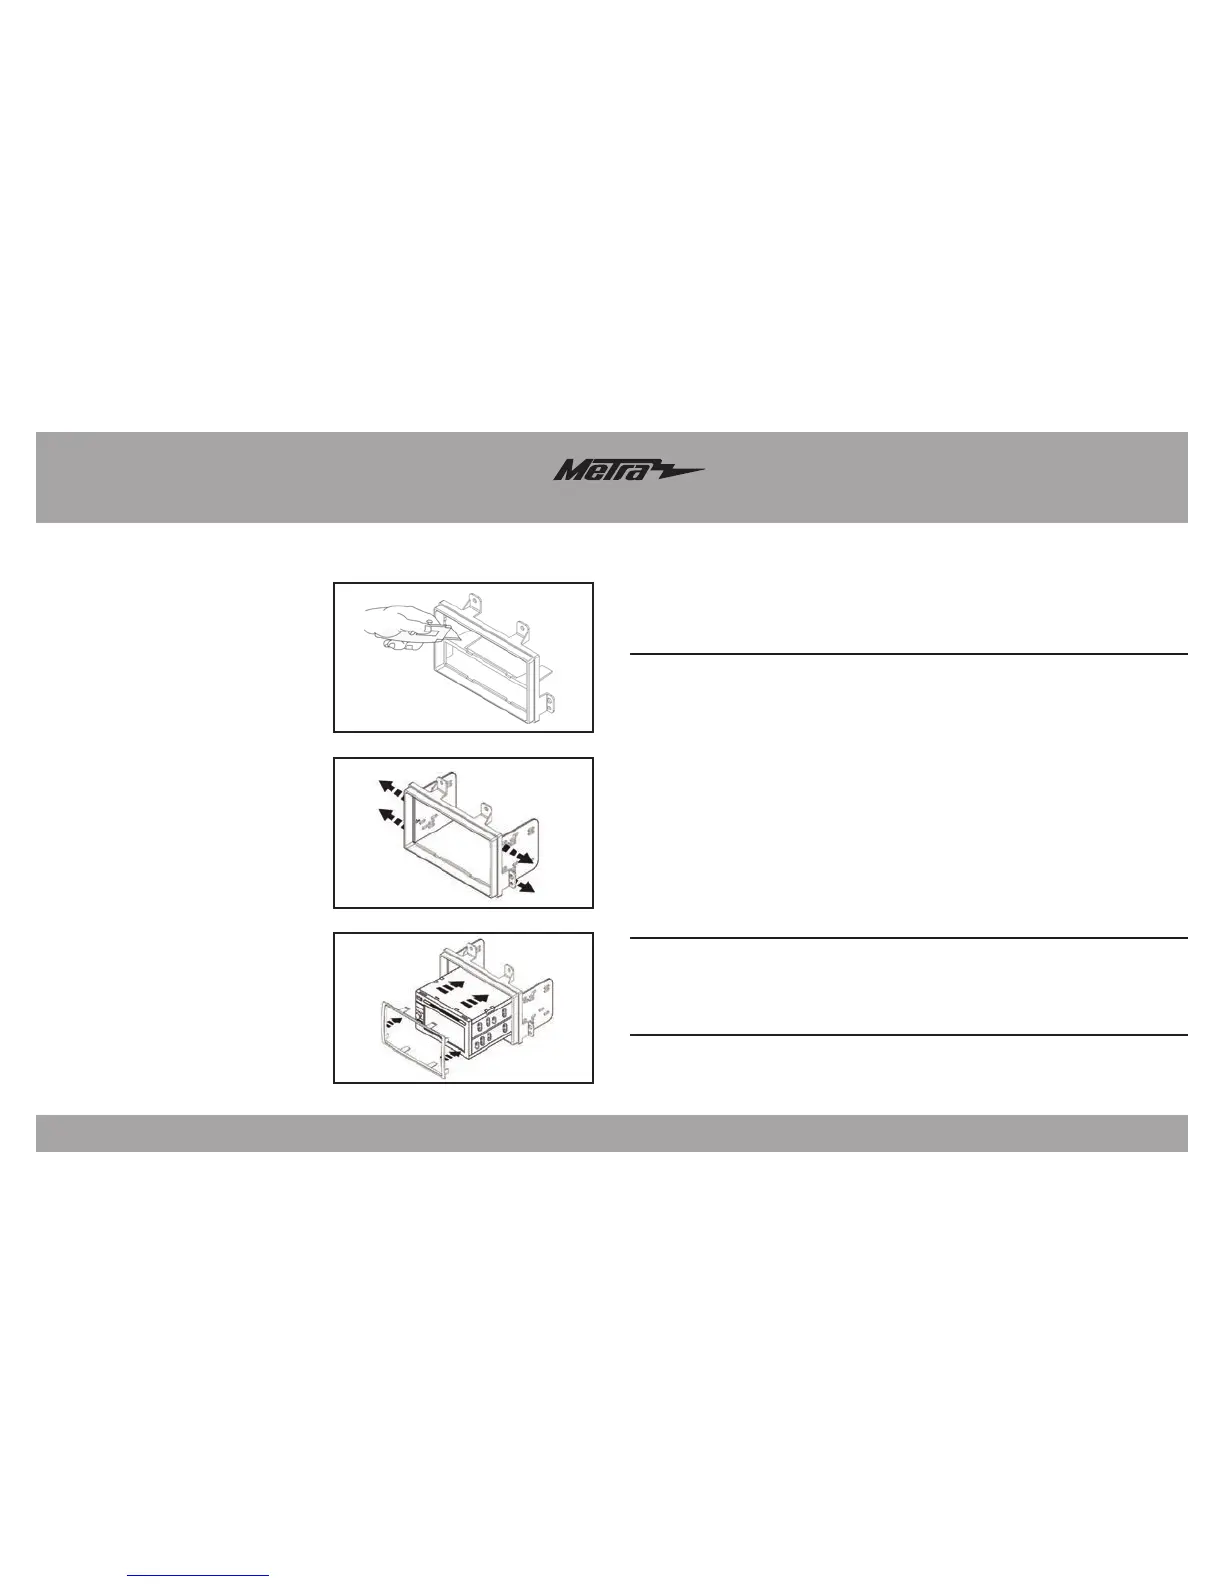
ISO DDIN radio provision
1. Cut and remove the center support.
(Figure A)
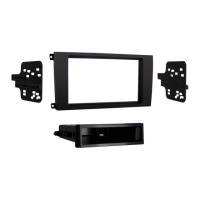
2. Snap the ISO DDIN brackets to the
inside edge of the radio housing.
(Figure B)
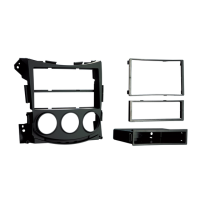
3. Slide the radio into the bracket/
radio housing assembly and secure
it using the screws supplied with
the radio. (Figure C)
4. Snap the ISO DDIN trim plate into
the radio housing. (Figure C)
5. Continue to Axxess Interface
Installation, and once completed,
reassemble the dash in reverse
order of disassembly using the
99-3010S-LC radio trim panel
instead of the factory panel.
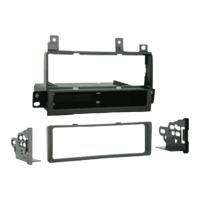
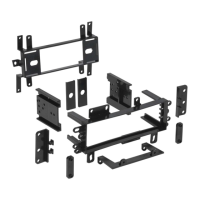
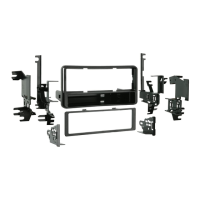
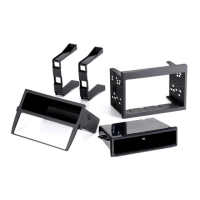
Kit Assembly
(Figure B)
(Figure C)
(Figure A)
Axxess interface
Installation
• Wire cutter • Crimping tool • Tape • Solder gun
• Connectors (butt-connectors, bell caps, etc.)
TOOLS REQUIRED
• 3010S-LC interface • 3010S-LC harness
INTERFACE COMPONENTS
FEATURES
• Provides accessory power (12-volt 10-amp)
• Retains R.A.P. (retained accessory power)
• Provides NAV outputs (parking brake, reverse, and speed sense)
• Used in non-amplified models
• Used in models without OnStar
• Retains all warning chimes
• High level speaker input
• Retains balance and fade
• Micro “B” USB updatable
 Loading...