INSTALLATION INSTRUCTIONS
99-5839CH
Metra. The World’s Best Kits.
®
MetraOnline.com © COPYRIGHT 2019 METRA ELECTRONICS CORPORATION REV. 4/16/19 INST99-5839CH
Attention! Let the vehicle sit with the key
out of the ignition for a few minutes before
removing the factory radio. When testing the
aftermarket equipment, ensure that all factory
equipment is connected before cycling the
key to ignition.
KIT FEATURES
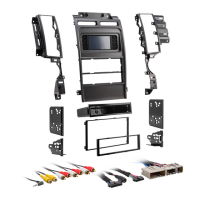
• ISO DIN radio provision with pocket
• ISO DDIN radio provision
• Touchscreen interface for climate and personalization features
• Painted charcoal with a matte black center
KIT COMPONENTS
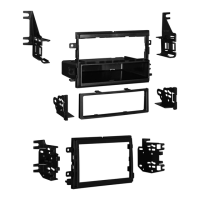
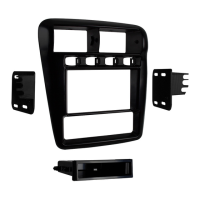
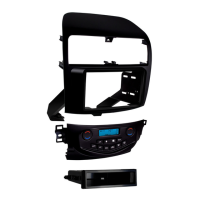
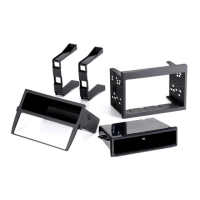
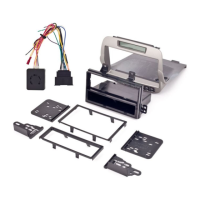
• A) Radio/Display trim panel • B) Radio/Display sub-trim panel upper (a) • C) Radio/Display sub-trim panel lower (b) • D) Radio brackets upper (a)
• E) Radio brackets lower (b) • F) Pocket • G) (4) Panel clips • H) (12) #6 x 3/8” Phillips pan-head screws • I) (8) #8 x 3/8” Phillips truss-head screws
• J) Touchscreen display assembly and wiring harness • K) Antenna adapter (not shown)
TOOLS REQUIRED
• Panel removal tool • Phillips screwdriver
• 9/32” socket wrench
TABLE OF CONTENTS
Dash Disassembly ..................................................2
Kit Preparation .......................................................3
Kit Assembly
–ISO DIN radio provision with pocket ..................4
–ISO DDIN radio provision .....................................5
Axxess Interface Installation ............................6-13
Final Assembly ..................................................... 10
WIRING & ANTENNA CONNECTIONS
Wiring Harness: Axxess interface built
into touchscreen
Antenna Adapter: Included with kit
Steering wheel control interface: Included with kit
A B C D
H I J
E F G
Ford Mustang 2010-2014
Visit MetraOnline.com for more detailed information about the product and up-to-date vehicle
specific applications
 Loading...