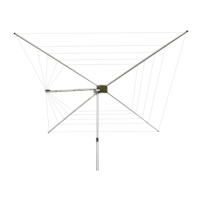
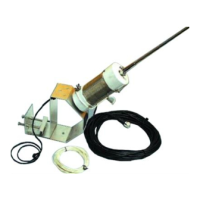
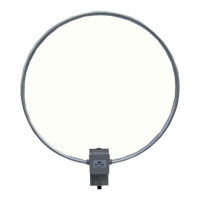
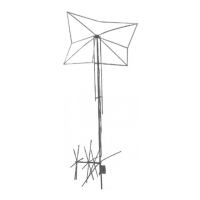
MFJ-1798 Vertical Antenna Instructions
8
After the antenna is assembled, you must double check the
hardware for proper tightening and assembly. The resonant
frequency and SWR can be tested with the antenna only a few feet
above ground on a temporary support before raising it to the
final tower or rooftop position.
NOTE:
Wear safety glasses whenever working near or on this
antenna.
WARNING! You can be killed if the antenna, feed line, or the
equipment used to install the antenna accidentally contacts any
utility lines. Never install an antenna near power lines!
1.
Be especially careful while moving or installing this antenna. This antenna is bulky enough to
cause a loss of balance if handled by an inexperienced person, or if the counterpoise or a
capacitance spoke accidentally becomes snagged on a gutter, a tree limb, or any other object.
2.
Mount the antenna high enough to place it completely out of reach, or protect it with a fence.
The ends of the capacitance spokes and other areas of the antenna can cause eye injury, serious
RF burns, or both.
3.
Be sure the mast is sturdy enough to support 20 pounds of weight and a wind load of
approximately 3 square feet.
Step By Step Assembly Procedure
1- Prepare a temporary 5'-6' ground-level mounting mast. This temporary mast will simplify the
initial testing and adjustment of this antenna. It is also a good idea to have one or two stable
supports (table, saw horses, etc.) and a 6' step ladder available at the assembly location.
2- Be sure the parts are separated in the groups listed earlier. Be sure all of the parts are available
BEFORE beginning the actual antenna assembly.
3- Gather the following tools for the basic assembly. At minimum, these consist of:
• - #1 Philips screwdriver for capacitance spokes screws
• - #2 Philips screwdriver for other 6-32 and 10-32 screws
• - 1/4" standard screwdriver or 5/16" nut driver for hose clamp
• - 3/8 open end wrench for stub adjustments
• - Two 7/16 open end wrenches or one wrench and a 7/16" nut driver for
U bolts and coupling bolts
• - Wire cutter for trimming capacitance spokes and counterpoise wire
• - Safety glasses
• - One soldering iron