3BP 3AG1
EN
How do I evaluate my blood pressure?
The higher value is the one that determines the evaluation.
Example: a readout value between 150/85 or 120/98 mmHg indi-
cates «blood pressure too high».
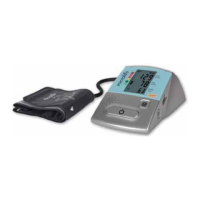
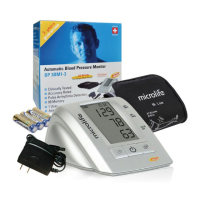
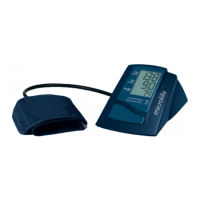
3. Using the Device for the First Time
Inserting the batteries
After you have unpacked your device, first insert the batteries. The
battery compartment
5
is at the back of the device. Insert the
batteries (4 x 1.5 V, size AA), thereby observing the indicated polarity.
Selecting the correct cuff
Microlife offers 3 different cuff sizes: S, M and L. Select the cuff
size to match the circumference of your upper arms (measured by
close fitting in the centre of the upper arm). M is the correct size for
most people.
Only use Microlife cuffs.
Contact your local Microlife Service if the enclosed cuff 6 does
not fit.
Connect the cuff to the device by inserting the cuff connector 7
into the cuff socket 3 as far as it will go.
If you buy a spare Microlife cuff (size S, 17-22cm), please
remove the cuff connector from the cuff tube from the cuff
supplied with the original device and insert this cuff connector
into the tube of the spare cuff (only valid for cuff size S).
4. Taking a Blood Pressure Measurement
Checklist for taking a reliable measurement
1. Avoid activity, eating or smoking immediately before the
measurement.
2. Sit down on a back-supported chair and relax for 5 minutes.
Keep the feet flat on the floor and do not cross your legs.
3. Always measure on the same arm (normally left).
4. Remove close-fitting garments from the upper arm. To avoid
constriction, shirt sleeves should not be rolled up - they do not
interfere with the cuff if they are laid flat.
5. Always ensure that the correct cuff size is used (marking on the
cuff).
Fit the cuff closely, but not too tight.
Make sure that the cuff is positioned 2 cm above the elbow.
The artery mark on the cuff (ca. 3 cm long bar) must lie over
the artery which runs down the inner side of the arm.
Support your arm so it is relaxed.
Ensure that the cuff is at the same height as your heart.
6. Press the ON/OFF button 1 to start the measurement.
7. The cuff will now pump up automatically. Relax, do not move
and do not tense your arm muscles until the measurement
result is displayed. Breathe normally and do not talk.
8. When the correct pressure is reached, the pumping stops and
the pressure falls gradually. If the required pressure was not
reached, the device will automatically pump some more air into
the cuff.
9. During the measurement, the heart symbol AM flashes in the
display and a beep sounds every time a heartbeat is detected.
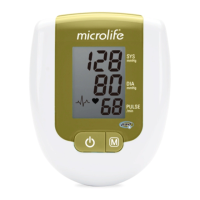
10.The result, comprising the systolic 9 and the diastolic AT
blood pressure and the pulse rate AK is displayed and a long
beep is heard. Note also the explanations on further display
symbols in this booklet.
11.When the device has finished measuring, remove the cuff.
12.Switch off the device. (The monitor does switch off automati-
cally after approx. 1 min.).
You can stop the measurement at any time by pressing the
ON/OFF button (e.g. if you feel uneasy or an unpleasant
pressure sensation).
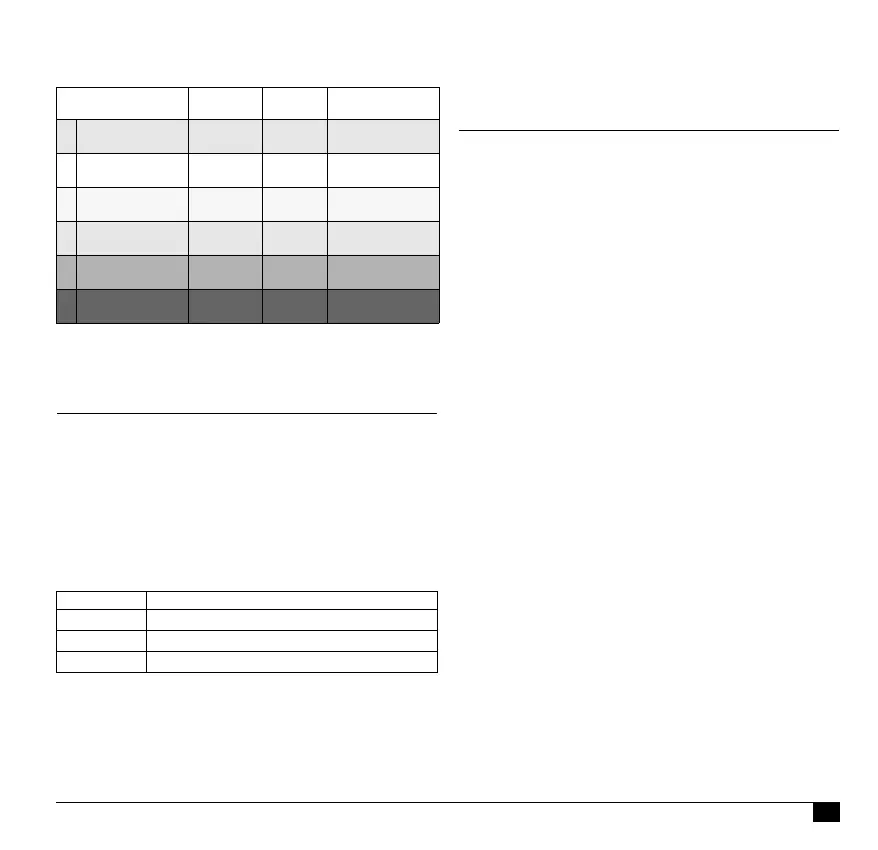
Table for classifying blood pressure values in adults in accordance
with the World Health Organisation (WHO) in 2003. Data in mmHg.
Range Systolic Diastolic
Recommenda-
tion
1. blood pressure
normal
< 120 < 80 Self-check
2. blood pressure
normal
120 - 129 80 - 84 Self-check
3. blood pressure
slightly high
130 - 139 85 - 89 Consult your
doctor
4. blood pressure too
high
140 - 159 90 - 99 Seek medical
advice
5. blood pressure far
too high
160 - 179 100 - 109 Seek medical
advice
6. blood pressure
dangerously high
≥180 ≥110 Urgently seek
medical advice!
Cuff size for circumference of upper arm
S 17 - 22 cm (6.75 - 8.75 inches)
M 22 - 32 cm (8.75 - 12.5 inches)
L 32 - 42 cm (12.5 - 16.5 inches)
 Loading...