45 M1179886
j. Secure Right Closure Steel – Using the back of the tweezers, press continuously and rmly along the
surface of the steel for 80 sec.
k. Tape Right Closure Steel – Place black tape over the steel. Black tape should fully cover steel and
overlap onto the C-cover.
l. Smooth Right Closure Steel Tape – Use Spudger to smooth out and atten the tape to secure the steel.
Ensure that all metal keyboard covers have the mylar tape on top of the steel before nal assembly of the
keyboard.
11. Fit C-cover – Follow steps 2-4 of the C-cover reassembly instructions. Do not install any Feet screws.
12. Check AB-cover alignment – Close the device and conrm ushness of feeler gauge to display module
cover across the entire front edge.
a. If ush, move to next step in this section.
b. If not ush, follow steps for removing AB-hinge screws and steps for 9a thru 9c again until ush.
Then follow steps for C-cover reassembly.
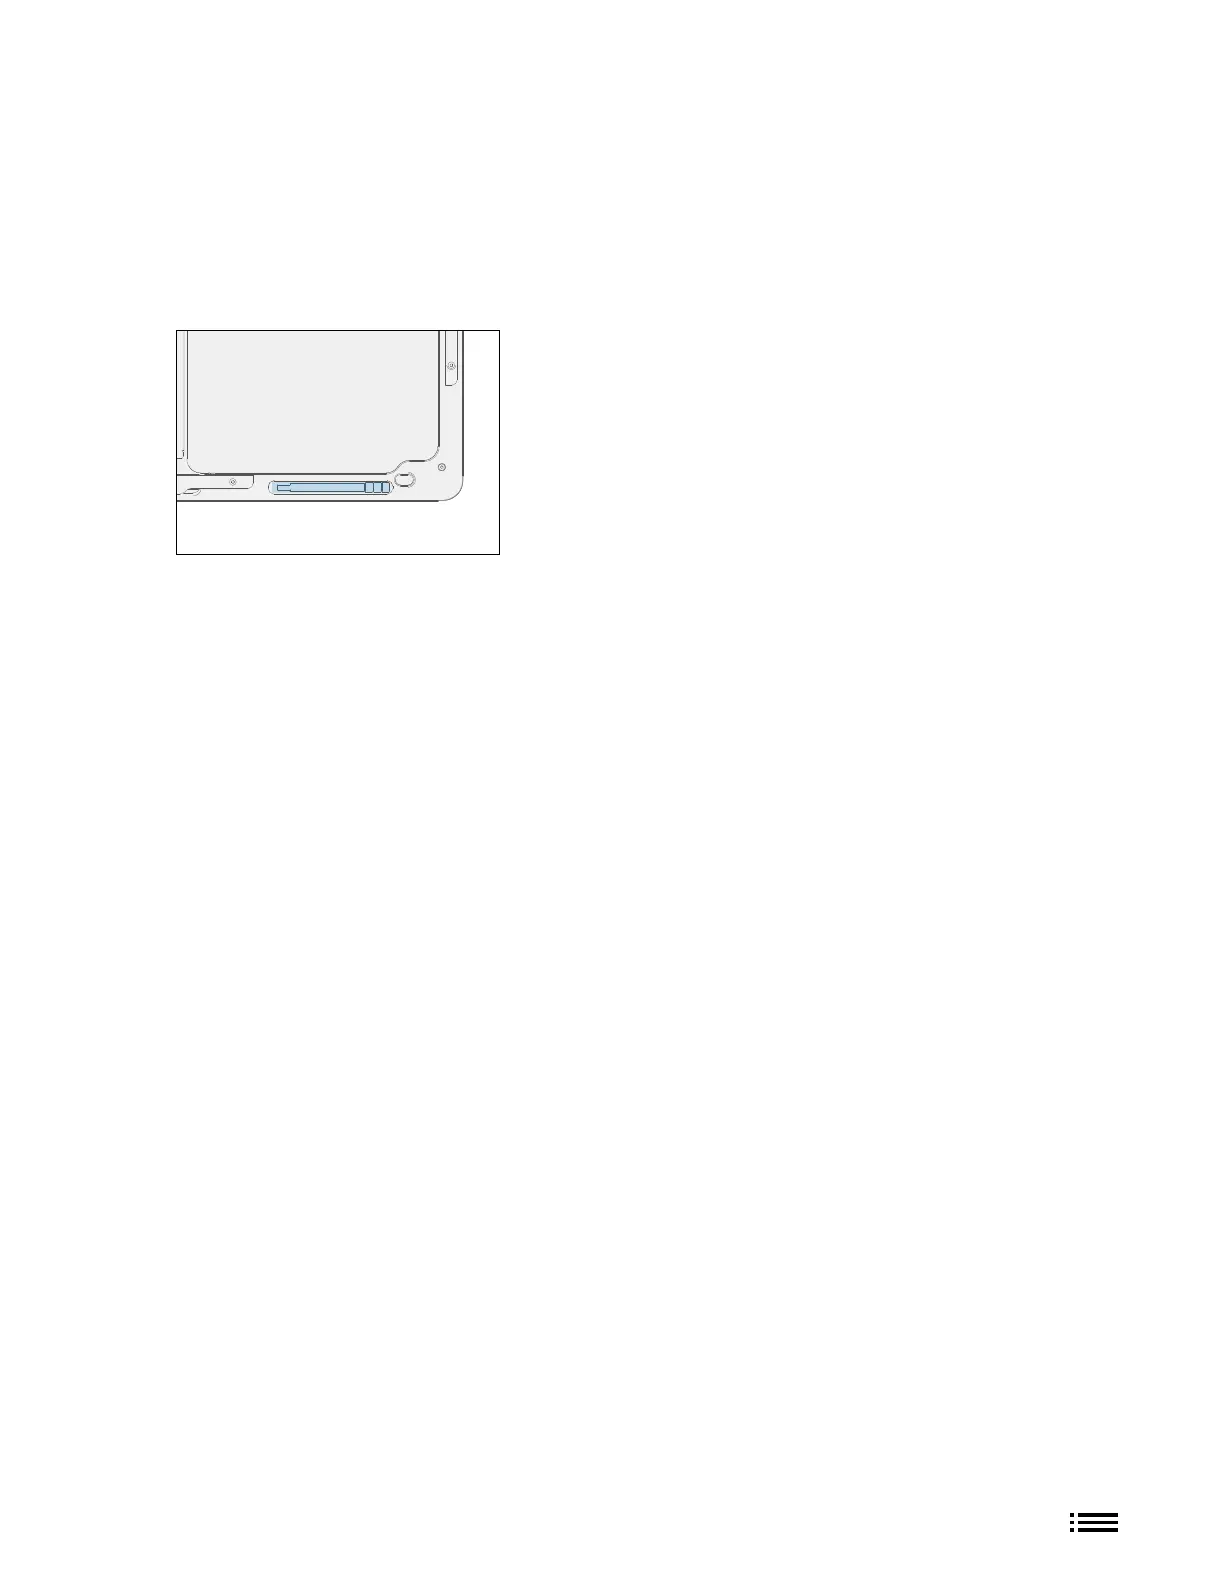
13. rSSD Install – Follow steps for Procedure – Installation (rSSD) section (page 37).
14. C-cover Install – Follow steps for Procedure – Installation (C-cover Keyboard metal type) section (page 27).
15. Run SDT – Power on device. Validate full device functionality by running SDT tool.
a. If an SDT failure occurs, assess failure to determine if caused by any improper or missed step in the repair
process and correct.
b. Any failure that is not correctable should result in device exchange.
16. Install Feet – If SDT tests pass and no further actions are to be performed on the device, follow steps for
Procedure – Installation (Non-Skid Feet) section (page 20).