22 M1179886
Alternate Procedure – Installation (Non-Skid Feet)
IMPORTANT: Any further repairs that are required on the device should be carried out prior to feet
installation. Do not reuse feet previously removed from a device.
1. Prepare new front feet and press into place – To reassemble front foot, remove protective sheet to expose
adhesive on foot. Align the 3 posts with their respective pockets on the bottom side of the unit and hand
press the foot in until the foot sits at. Complete previous steps for the other front foot.
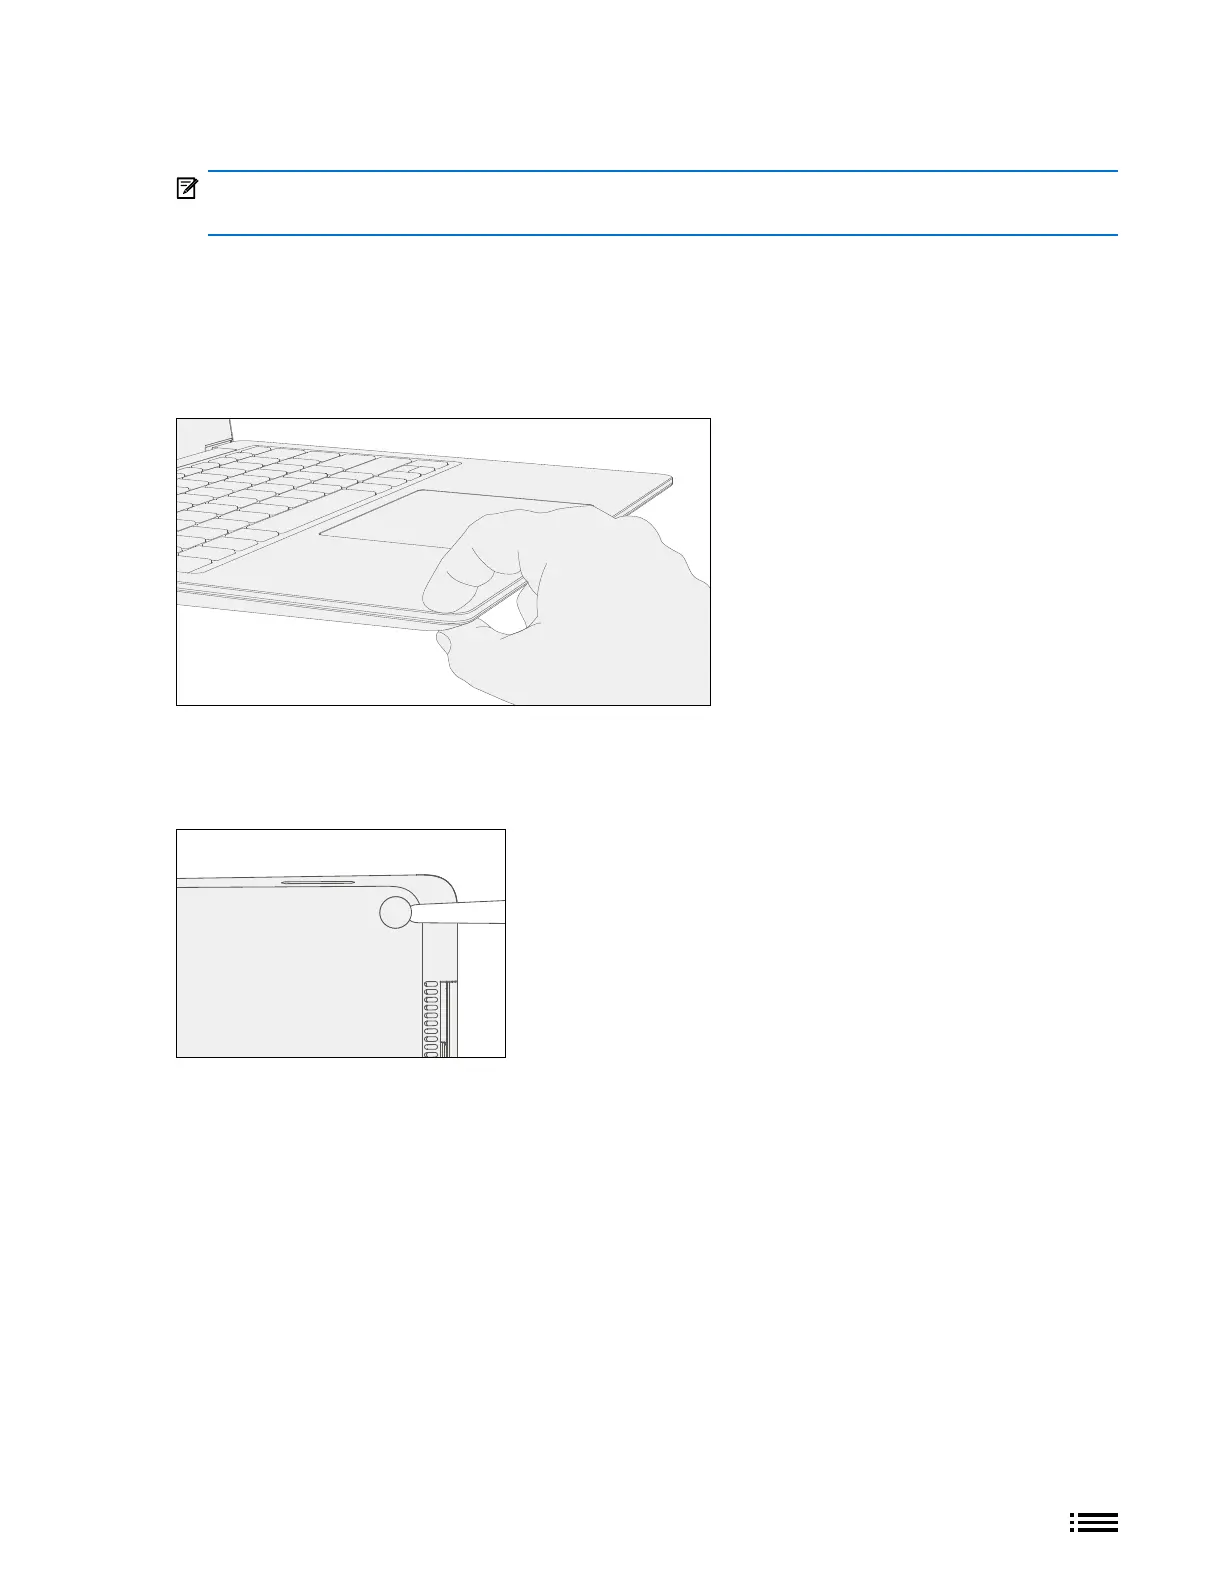
2. Pinch replaced feet – Placing the keyboard and foot between your thumb and index nger as shown, pinch
the foot tightly with your thumb and hold for 20 seconds.
3. Inspect for anomalies – Inspect feet after pinching to ensure no cosmetic damage or gaps between the foot
and the chassis exist.
a. If gap exists, use a feeler gauge to verify gap is smaller than 0.05 mm. If gap is larger, replace foot.
4. Prepare new back feet and press into place – To reassemble the back feet, remove protective sheet to
expose adhesive on foot. Insert the foot into the pocket on the bottom side of the unit and hand press the
foot in until the foot sits at.