Page 30 of 87
The sides of the front panel clamp to the bottom of the Xbox with some good force so you have to
pull twist and push harder than you might expect. Using the screw driver or other prying device
attempt to move the front panel and the bottom plastic away from each other, moving the inside
portion inward is easier than bending the front clamp outward but a little of each should get the
job done. Once the front panel is pushed out just slightly go after the 3 tabs by pushing down.
There will be a bit of stress on these so be careful. If all goes well you should hear a little pop
when you push down on the first tab and notice the front panel move out slightly. Once you get
to that point the rest is easy hit the other two tabs and rotate the faceplate.
THOMSON XBOX LASER INSTALLATION
Begin with a replacement Thomson Laser
Remove your Thomson DVD drive from your Xbox
Once you have access to your DVD drive you will need to remove the top cover and open the
tray. Helpful articles for those activities Laser cleaning, also you can use the Xbox to eject the
tray and then unplug the main power cord, this will leave the tray open, and the console can then
be disassembled with the tray open.
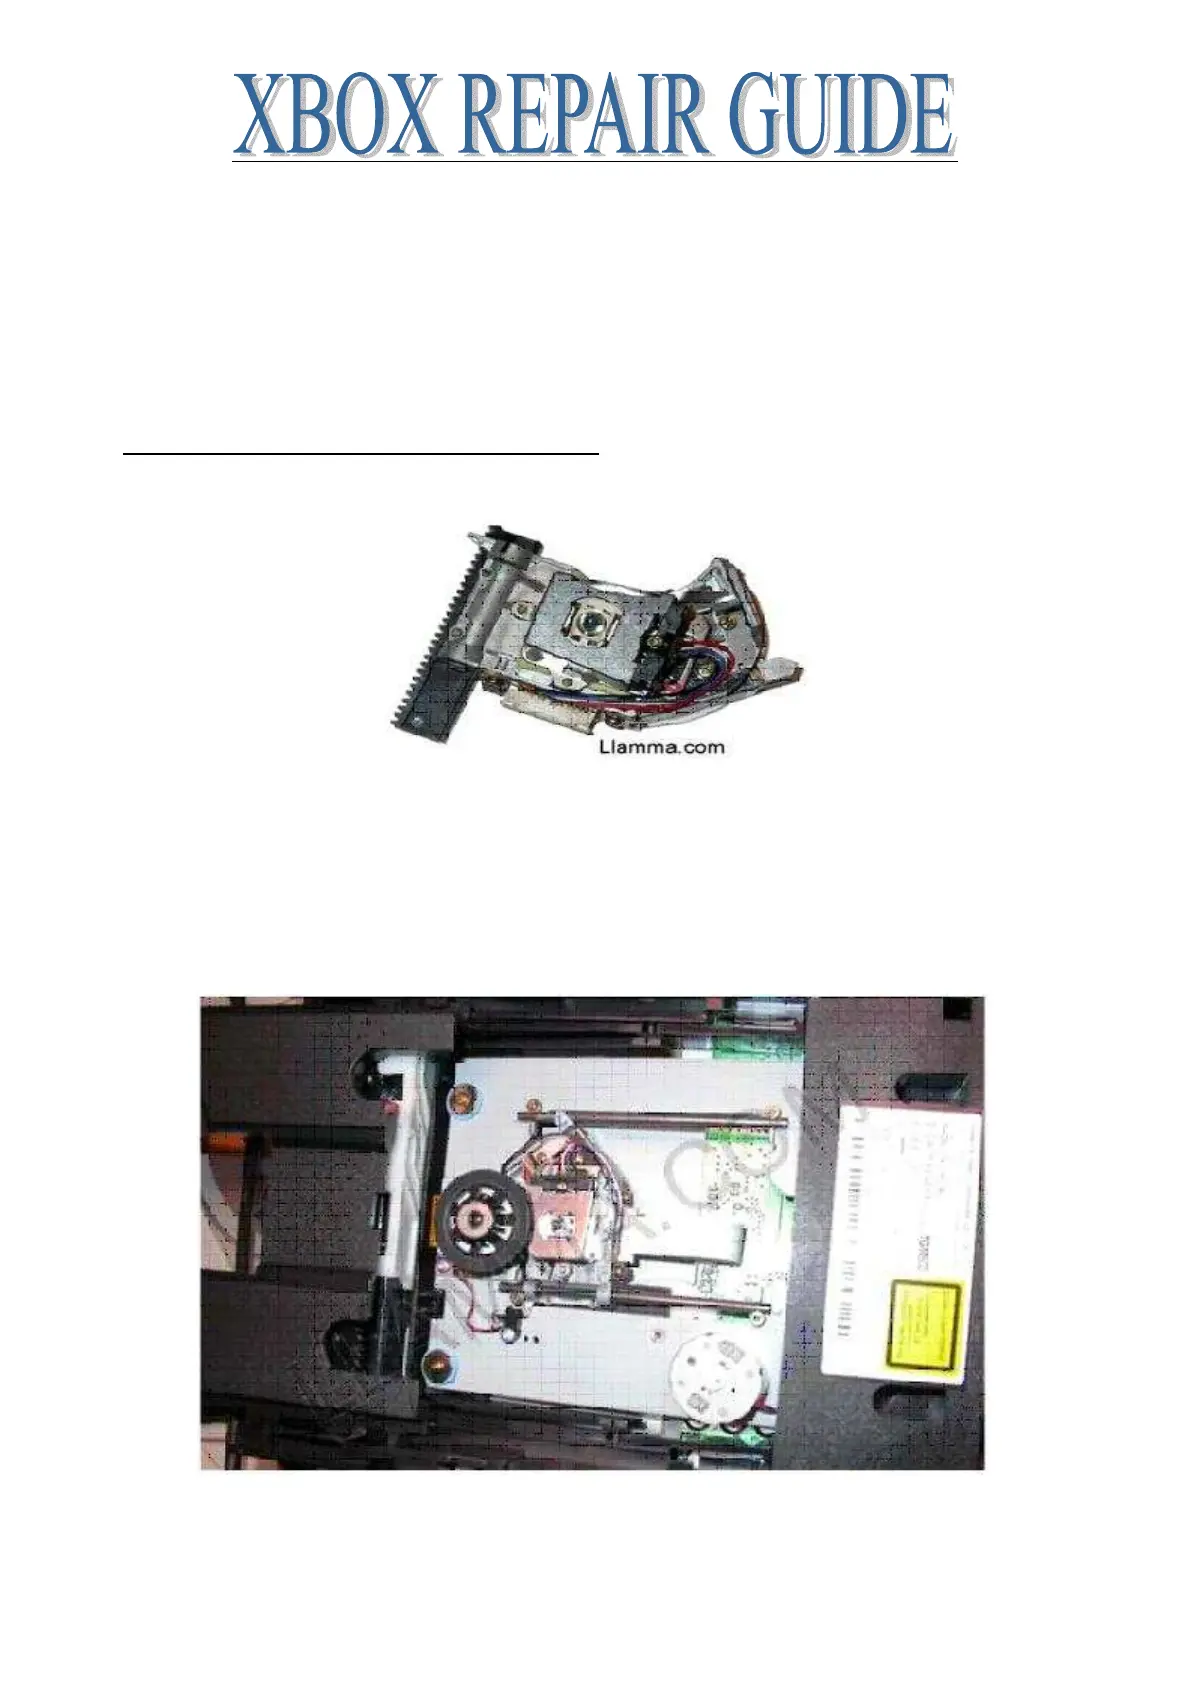
Now you should see something like this
Our first activities will be to remove the ribbon cable that attaches to the Laser by moving the clip
towards the rear of the drive see the arrows in this picture. The ribbon cable comes out freely once
the clip has been released. You should not have to use any force at all to remove the ribbon cable.