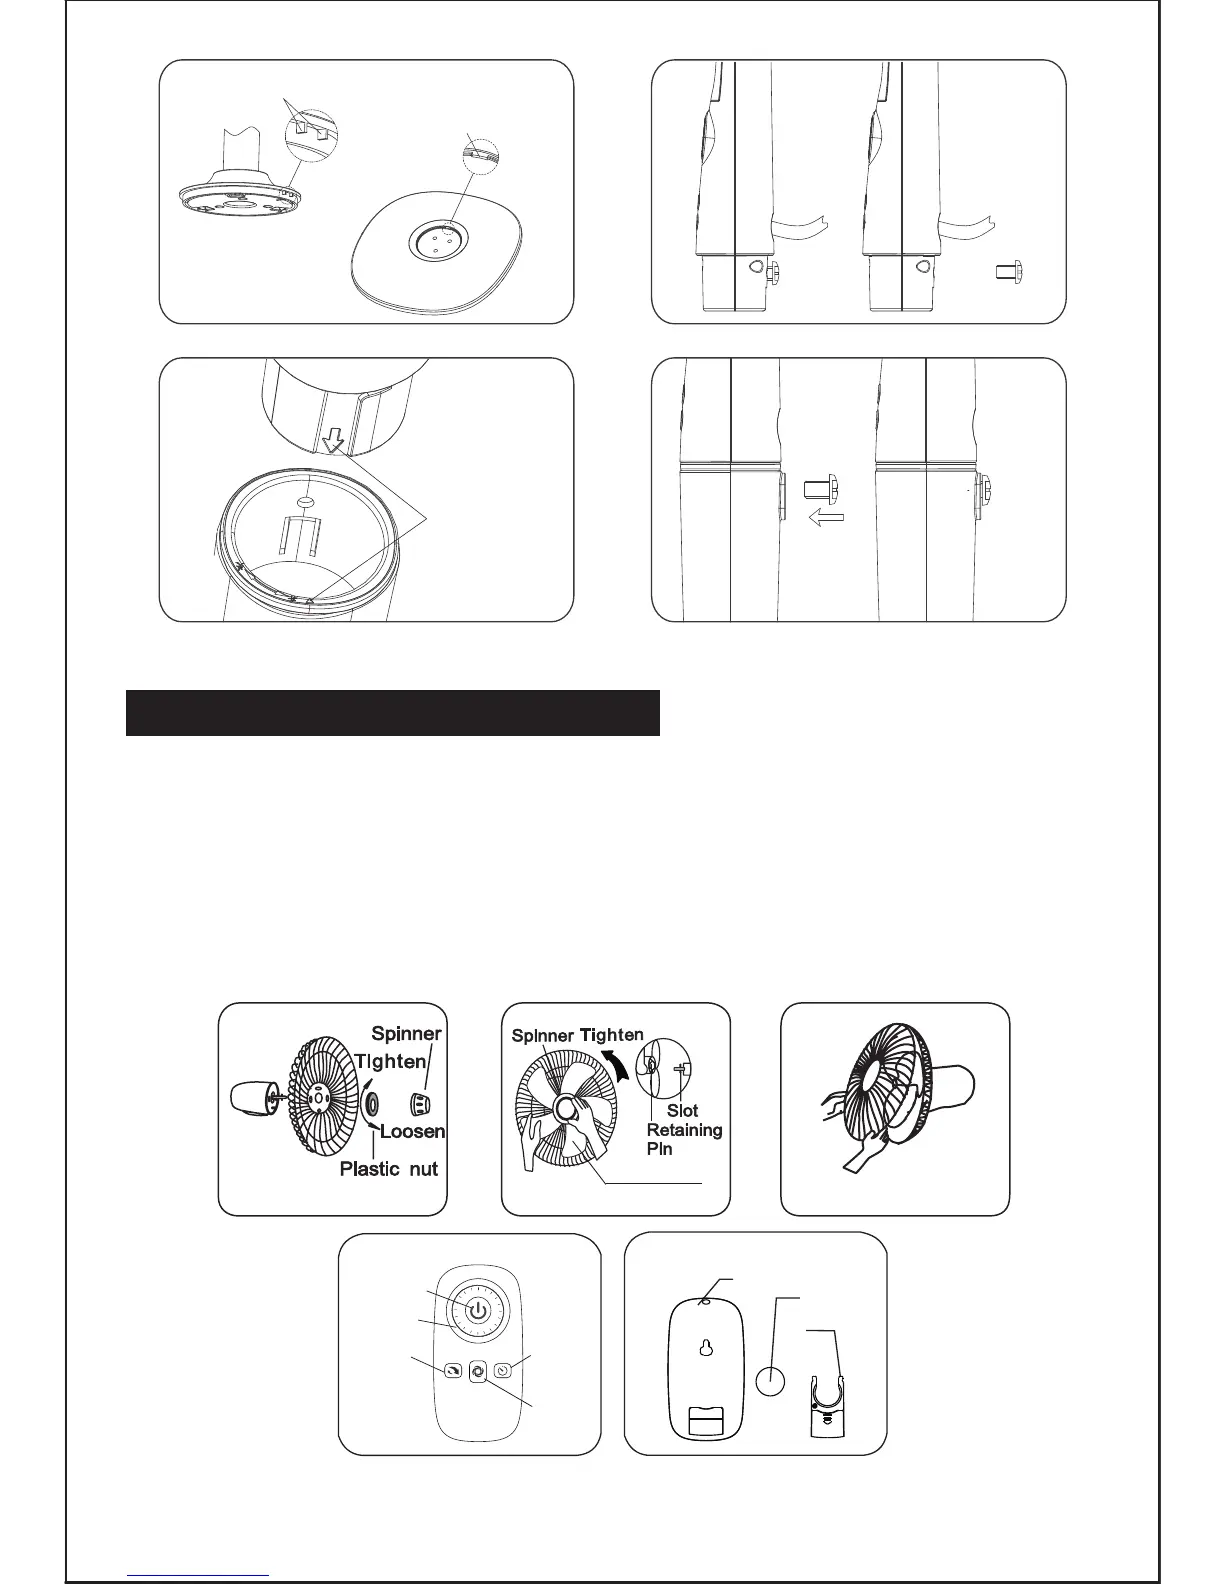
3
Fig.1 Fig.2
Fig.3 Fig.4
Positioned fixed rope
Positioned fixed gap
Position logo
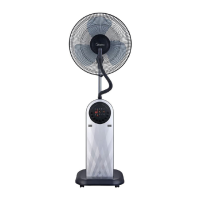
GRILL & FAN BLADE ASSEMBLY
1. Unscrew the spinner clockwise (or take the spinner out from the bag) and the
plastic nut counterclockwise to remove both of them. Fix the rear grill to the
motor then tighten the plastic nut again. (Fig.1)
2. Insert the blade into shaft, and make sure the rotor shaft pin is fitted into groove
of the blade. Turn the spinner counterclockwise to tighten the blade. (Fig.2)
3. Fix the front grill and the rear grill with circlip clip and then use the fasten clip to
tighten the fan grill. (Fig.3)
Fig.7
Fig.5 Fig.6
Blade Set
Fig.8 Fig.9
On/Off
Drive plate
OSC
Mode
PRO/Timer
Remote controller
Battery
Battery cover