7
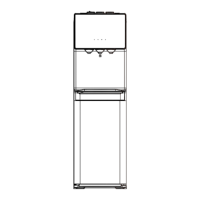
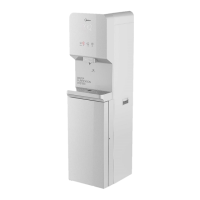
3-2. Machine Installation
WARNING! To avoid a hazard due to instability of the appliance, it must be fixed in accordance
with the instructions.
Bracket
The hole for
tighten screw
5 6
1-2. Loosen the screw of the left or right bottom angle
just as the picture shown.
3. Use the screw to fix the bracket on the left or right
bottom angle of the water purifier.
4. Make a hole on the floor's or the desk's surface where
the water dispenser will be installed.
5. Fix the bracket on the floor by screw tightly.
6. Tighten the screw.
Water purifier
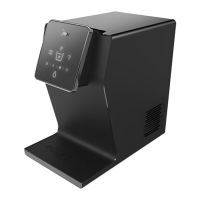
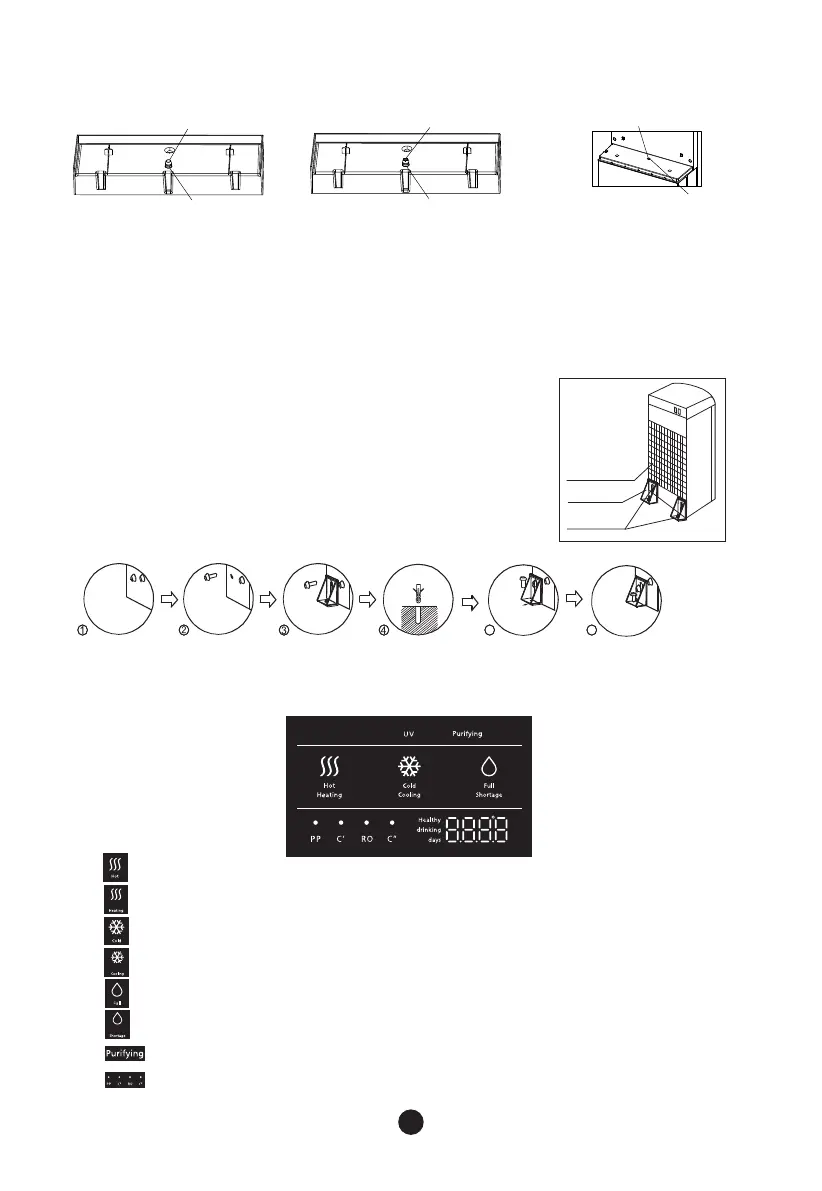
3-3.The display panel is shown as below:
14:Water tray discharge treatment
Large sealing
Small sealing
Sealing ring
Sealing ring
Water tray drainage outlet
Drainage hole of the front housing
Step 2, install the big sealing
plug in the drainage hole of the
front housing, and then press
it in place with the water tray.
When the water can't be
smoothly discharged from
the water tray, please
install the sealing ring on
the drainage outlet slot of
the water tray.
If the remaining water in the water
tray won't be received with water
tank, the big and small sealing plugs
shall be adopted.
Step 1, install the small sealing plug
in the drainage outlet of the water tray,
and ensure installing in place.
1. “ ” When displays as this, it indicates that water heating is completed.
2. “ ”When displays as this, it indicates that water is heating.
3. “ ”When displays as this, it indicates that water cooling is completed.
4. “ ”When displays as this, it indicates that water is cooling.
5. “ ”It indicates that there's insufficient water in the machine.
6. “ ”It indicates that there's sufficient water in the machine.
7. “ ”When it is on, it indicates that the machine is purifying water.
8. “ ”When indicator in this area flashes, it indicates that the filter of corresponding
level expires, please replace the filter.
 Loading...