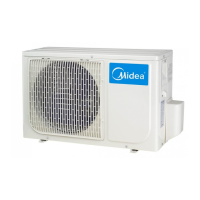
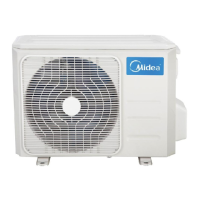
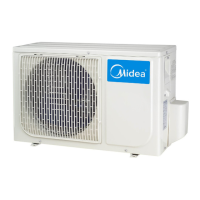
How to remove the fan ass’y.
1) Remove the top cover, right
front side panel and front
panel from item 1.step 1~4
.
2) Remove the hex nut fixing
the fan.
3) Remove the fan.
4) Remove the electrical
control box cover after
remove 5 screws.
5) Disconnect the fan motor
connector CN25(5p,white) on
the PCB board.
6) Remove the fan motor after
unfastening four fixing screws.
How to remove the electrical
parts.
1) Perform work of item 1, 2.
2) Disconnect the following
connection wires and
connectors on the IPM.
P: (+, red), connected to P2 on PCB.
N: (-, blue), connected to P4 on PCB.
UVW: (blue-red-black), connected to
compressor.
CN1: (5p, white),connected to CN7 on PCB.
CN202:(2p, white),connected to CN8 on PFC.
CN3: (2p, white), connected to CN34 on
PCB.
3) Remove the IPM board after
removing the two screws.
 Loading...

