18
Final Check: Review the installation and check for any gaps
or openings to the outdoor air. Cover these gaps with the
provided foam ensuring no outdoor air leaks inside. See
image for areas to check for gaps.
Fig. 25
IF AC IS BLOCKED BY STORM WINDOW
Add wood as shown, or remove storm window before air
conditioner is installed.
If storm window frame must remain, be sure the
drain holes or slots are not caulked or painted shut.
Accumulated rain water or condensation must be
allowed to drain out.
You must secure the support bracket to the added wood
piece using the provided 1” Type A Screws. Refer to the
Open Window Bracket installation step.
1. The drain plug should remain in place for optimal
performance.
2. If you need to store the unit for an extended period, it
is recommended to remove the drain plug fi rst, drain
the water and then reinstall the drain plug and pack it
for storage.
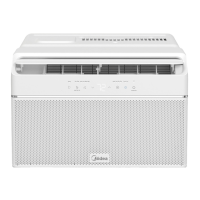
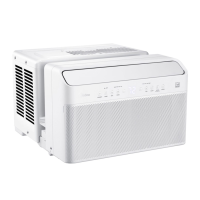
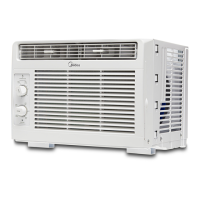
The location of the drain plug and guide label are shown
as below.
Fig. 26
Fig. 27
6. Drain Plug
Check
for Gaps
Check for Gaps
SASH
OUTSIDE INSIDE
1-1/2" min
(38 mm)
Board thickness as
required, for proper
pitch to rear, along
entire sill. Fasten
with nails or screws.
Storm window
rame or other
obstruction.
Storm window
frame or other
obstruction.
Board thickness as
required, for
proper
pitch to rear, along
entire sill. Fasten
with nails or
screws.
1-1/2” min
(3.8 cm)
INSIDE
SASH
OUTSIDE
Drain Plug

 Loading...


