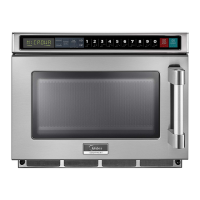
ES-27
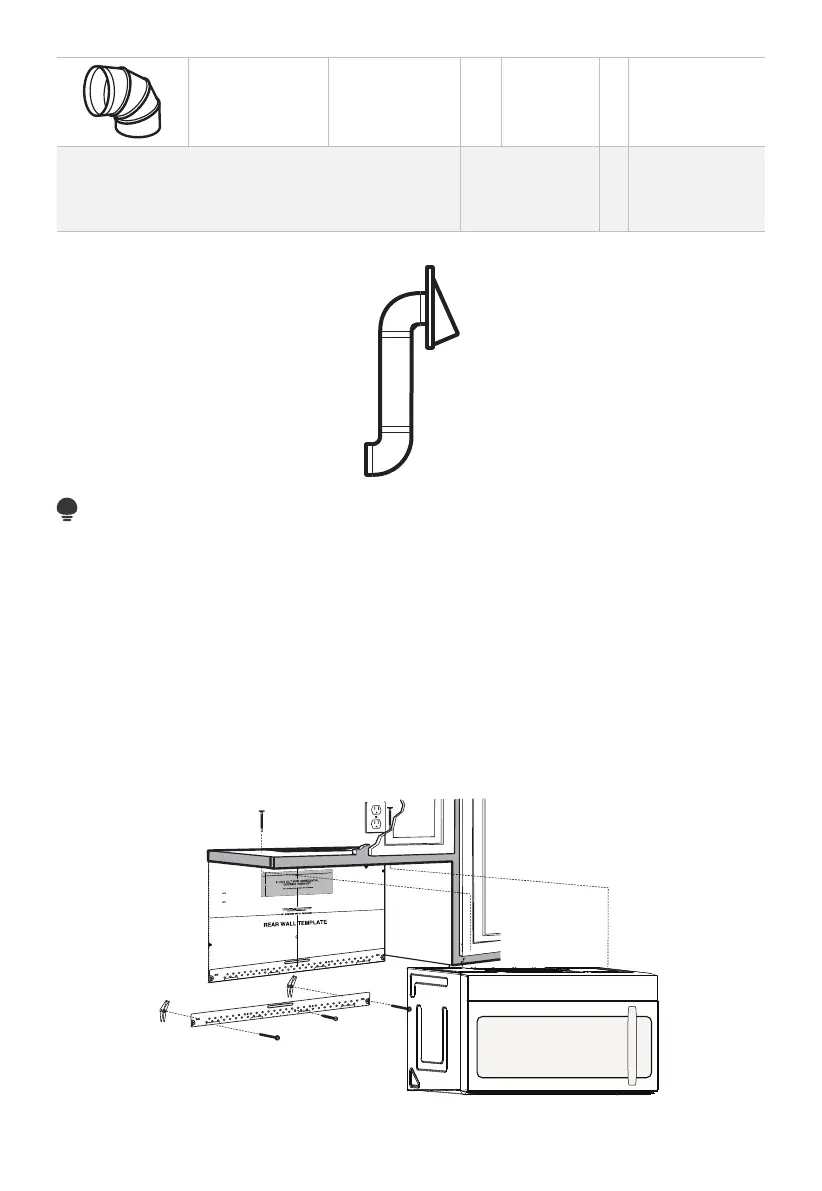
Codo de 90° 10 pies (3 m) x (2) = 20 pies (3 m)
Las longitudes equivalentes de los conductos se
basan en pruebas reales y reflejan los requisitos
para un buen desempeño de la ventilación con
cualquier campana de ventilación.
Longitud Total = 63 pies (19.2 m)
NOTA:
Para el escape trasero, se debe tener cuidado de alinear el escape con el espacio entre
las vigas, o se debe preparar la pared en el momento de construirla dejando suficiente
espacio entre las vigas de la pared para acomodar el escape.
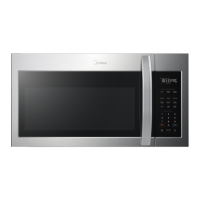
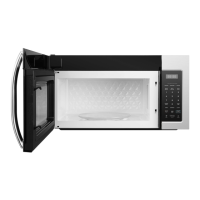
A. ESCAPE SUPERIOR EXTERIOR (Conducto Vertical)
REVISIÓN DE LA INSTALACIÓN
A1. Fije la placa de montaje a la pared
A2. Preparar el gabinete superior
A3. Configurar el ventilador del microondas para escape exterior/superior
A4. Comprobar el funcionamiento de la compuerta
A5. Montar el horno microondas
A6. Ajustar el adaptador del escape
A7. Conectar los conductos
12"
4"
NOTE:
READ AND F
O
I
T
I
S
V
ERY
LLO
I
W
MPO
T
HE
R
D
TANT T
O
IRECTIO
IN THE INSTALLATI
ON
INSTRU
CTIO
N
N
S
S
BE
F
O
RE
PRO
H
T
H
TI W G N I D E E
C
IS
REAR
W
ALL
TEM
PL
A
TE
.
ll Templ
a
te s
erv
es t
o
p
1
ou
a
. Us
mo
u
tl
e
t.
ntin
e
a l
T
hi
s
Rea
g
p
rW
l
a
a
t
e
a
nd
to
lo
ca
te
th
e
h
ori
z
o
s
o
n
itio
ta
n
l e
t
h
xh
e b
au
o
st
t
t
o
m
ionedto check
tha
t
th
e
t
e
mplate
s
o
p si
it
pl
ar
k hol
es
to a
li
gn with holes
in the
L
oca
t
mounting
RTANT
e and m
:
ate
.
IMPO
E
AT LEA
THE CENT
HE LO
CATIO
L
OC
AT
E
RL
INE
ST
.
O
NE STUD ON EI F O
E D I SRE H
T
SP
AC
E
AREA.
MAR
K
T
D TO
GGLE
BO
NF
LT
S
O
IN
R 2 ADD
IT
THE MO
IO
UN
NA
TING
L, EVENL
PLA
TE
Y
Trim the r
e
ar wal
l template a
long
the
dott
ed
l
ine.
k
h
ole
s to
a
l
i g
n with h
ole
s
in t
he
m
ounting
L
oca
te a
n
d
mar
O
RT
AN
T
plate.
:IMP
AT LEA
THE
CENT
HE
L
OCATIO
SP
LOCATE
ER
L
I
NE.
I E N
O
D
U T
S E
N O
TS THER SI
D
E OF
AR
EA.
MARK
ACED
T
T
OG
G
LE B
O
N
FO
LTS IN
R 2
ADDITION
THE
MO
UN
A
T
ING
L,
EV
ENL
PLATE
Y
Trim the rear
w
a
l
l te
m
plate along
t
he do
tt
ed
lin
e.
3/8"
TOEDGE
2. L
o
c
c
cu
a
te
r
a
e
a
tely
v
nd
el
.
m
a
r
k a
t leas
t
o
d
u
ts
e
n
o
n
th r
o
t
f
e
l
e
igh
t
si
d
e of
t
he cente
rl
eni
.
r
It is im
p
o
rta
nt to
u
s
e
at l
e
ts
a one
wood
sc
rew
mo
ro
unte
d
wa
v
fi
e.
r
M
ml
y
ar
i
k
n
t
a
w
s
o
a
tud
d
di
t
i
to
s
up
p
ona
l,
ev
or
en
t
the
w
ly
s
e
pa
ight
ced
e mic
f
e
o
r
s
i
n
t
he
th
s
e
u
m
ppl
ar
k
ied to
ed
l
o
g
c
g
le bo
l
ation
t
s
s
.
.
Wh
ere t
her
e is
lo
o
f
a
c
th
3. Dr
a
th
s
i
tio
at
ll
tu
n
h
d
s
ol
d
ri
l
l a
3/1
6"
h
ole for
w
oo
d
sc
r
e
w
s
.
F
o
r
h
o
l
es
do
,
h t i
w
p
u
e
a
stud, dri
l
l
5/8
" h
oles
fo
r
e bo
n
o
lts
t
li
n
.
NO
T
t
oggl
IN
STAL
L
T
HE
MO
U
N
TI
NG
P
L
ATE
AT
4.
R
e
T
m
HI
S
T
D
O
th
IME.
e te
o
v
e
mp
l
a
te fr
omth
e r
ea
r
wall
.
5.Re
v
ie
w
the I
n
stall
a
t s n I n
o i
t ruc
t
i
on bo
o
k for you
r
instal
l
a
t
io
n s
it
ua
tio
n
.
Dar
le
vu
el
t
a
ala
hojapa
raco
ns
ul
t
ar
la
v
e
r
si
ón
en
Espa
ño
l.
 Loading...