DM13-01.01.16en Air-cooled Package
Service manual 63
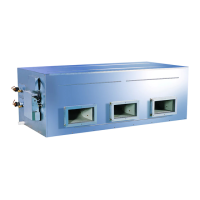
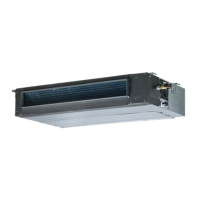
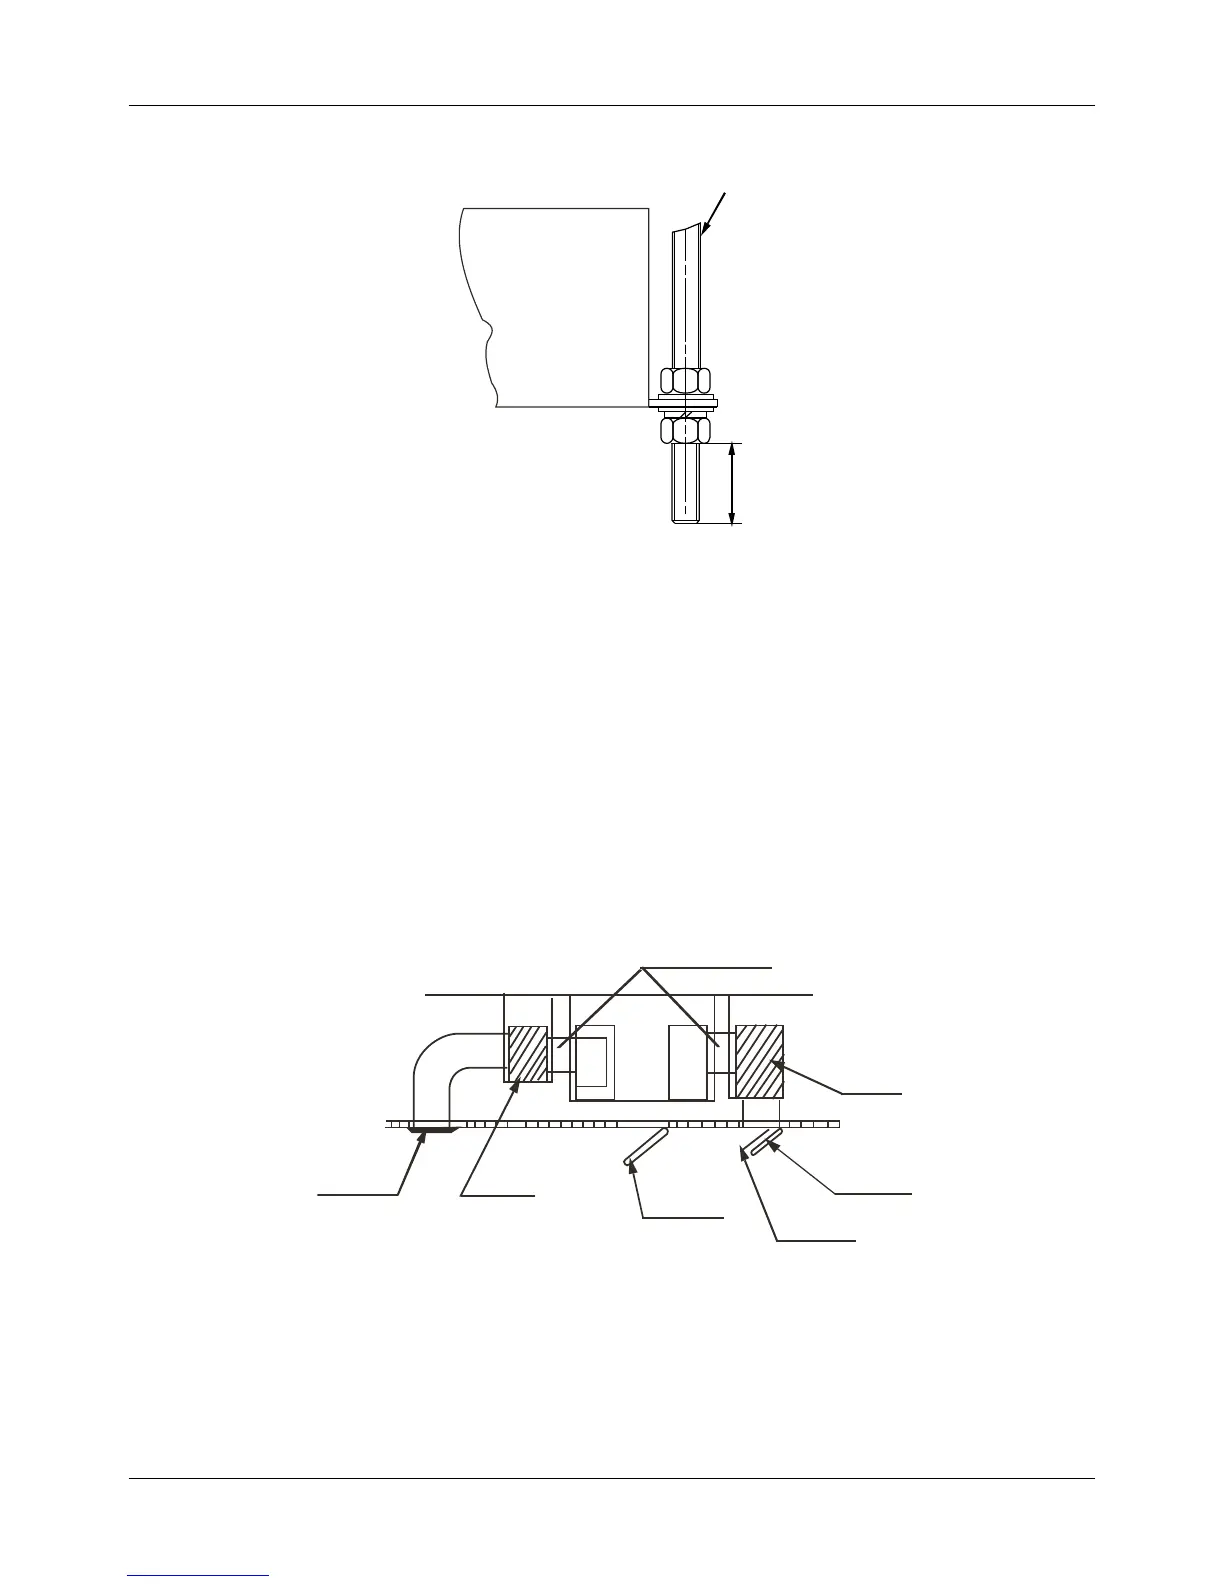
2.1.3 Suspending the Indoor Unit
Use a hoisting device to hoist the indoor unit, align it with the installation screw, adjust the horizontality and
then tighten it. (Fig-8)
Unit body
Pendant bolt
≥
3
0
m
m
Fig-8
2.1.4 Design and Connection of Duct
The duct design must comply with the national heating air conditioner pipeline design specifications.
The duct accessories and materials must be produced by professional manufacturers.
In order to prevent air flow shorting, do not keep the air inlet pipe near the air outlet pipe.
Install a filter at an easy-to-maintain place such as intake pipe. (Otherwise, the duct will gather on the air
heat exchanger and lead to fault and water leak of the air conditioner.)
In order to suppress noise effectively, install noise suppression and sound insulation devices, especially in
the noise-sensitive spaces such as meeting rooms.
For connection of the flange plane, use non-flammable canvas adapter to prevent transmission of vibration.
For its size, see the indoor unit outline diagram. Use M6X20 screws (configured on site) for connection.
All pipelines must be connected closely and soundly without leak of air. The pipelines must be adiabatic and
free from condensation.
Key points of duct connection (Fig-9)
Inspection
Canvas adapter
Muffle
 Loading...