4
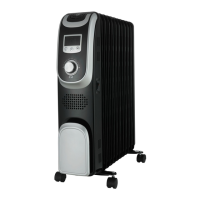
Fig 1.
INSTALLATION INSTRUCTION
Warning! Before you install your heater, please make sure the heater is
in Off position and is disconnected from power supply.
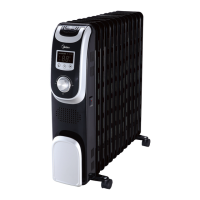
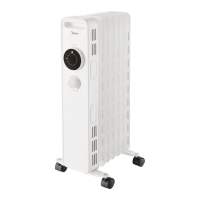
A. For free-standing use
Accessories for free-standing use:
Ÿ Insert pic
Ÿ Wheel plates: 2pcs
Ÿ Short screws: 4pcs
1) Turn the heater body upside down.
2) Fix the two wheel plates to the heater with the
four screws supplied.
3) Turn the heater to its normal position and put it
in an even and stable place.
4) The heater is ready to use as free-standing
now.
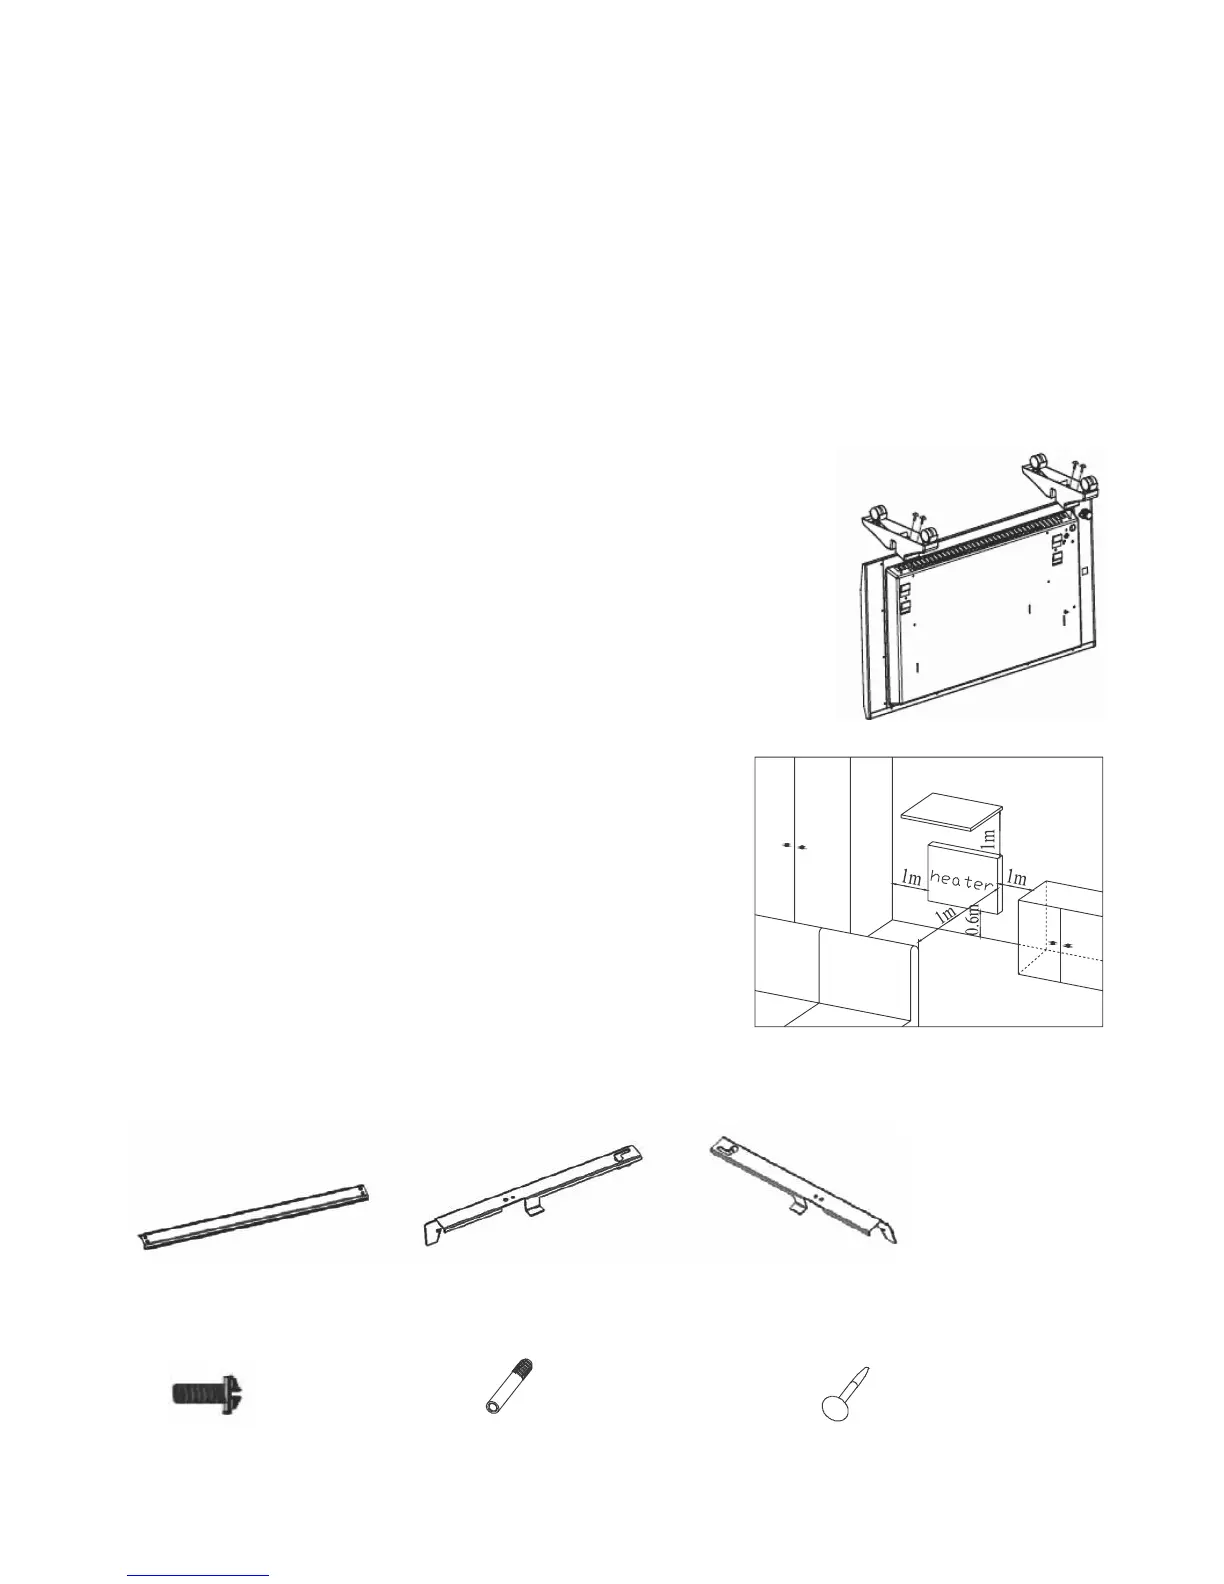
B. For wall mounted use
When mounting the heater on the wall,
make sure the minimum distance (1m to
the wall and 0.6m below the floor) as
specified in Fig 1 should be available.
Accessories for wall mounted:
Screw D x6 Expansion bolts H x2 Long bolts I x2
Bracket A x1 Bracket B x1 Bracket C x1