638
5
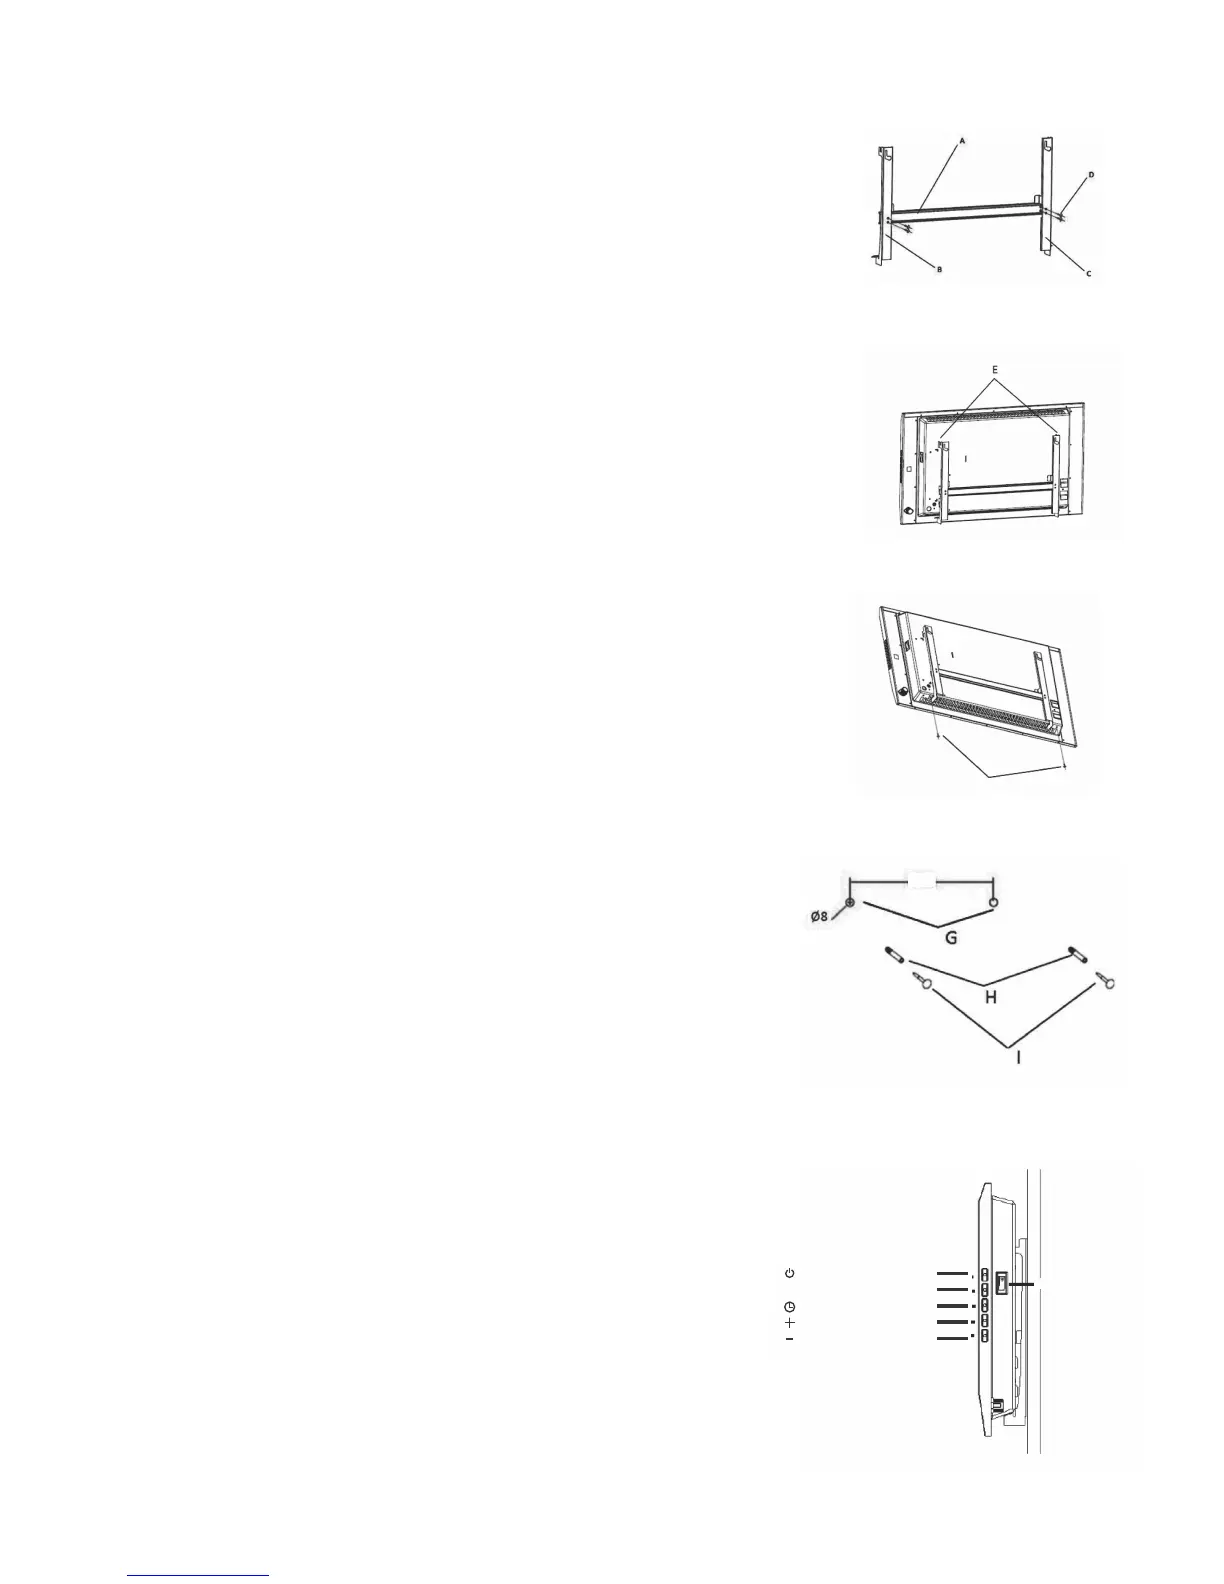
Please follows below steps to install as a wall mounted heater:
1. Take the brackets A, B and C and assemble
them together with four screws (D), see Fig
2.
2. Insert the bracket assembly into the back
holes (E) of the heater body, see Fig 3 and
then slide the assembly up to match the
inclined plane of the back cover.
3. Fix the bracket assembly to the heater body
with 2 screws (D), see Fig 4.
4. Drill 2 holes with a distance of 638mm
between (G) with a diameter of 8 mm;
insert 2 expansion bolts (H) and 2 long bolts
(I) into the hole. The explored length of the
long bolts should be over 5mm, see Fig 5.
Warning! When drilling holes, always check
to ensure there is no wiring, pipe work, etc
in the area to be drilled.
5. Hang the product on the 2 bolts and slide it
to a stable position. See Fig 6.
Fig 3.
Fig 4.
Fig 2.
D
Fig 5.
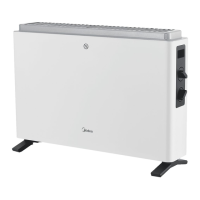
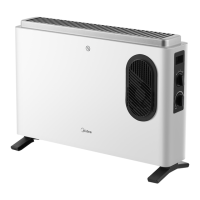
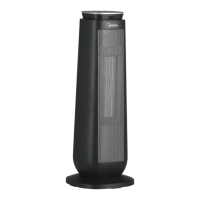
Display & function ON/OFF
Heating mode: HIGH/LOW
Timer setting
Temperature/timer increase
Temperature/timer decrease
M
Fig 6.
Main power switch
 Loading...