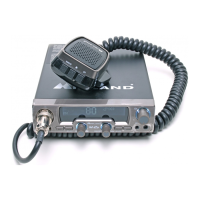
2 | Midland 88 Instruction Guide Midland 88 Instruction Guide | 3
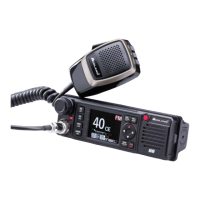
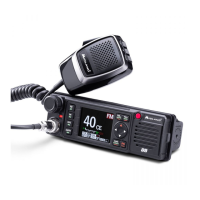
Main features
• DIN SIZE multi-function CB
• Wide TFT color display
• Power supply: 12V-24V
• Metal chassis
• Channel number or channel number+frequency band displayed
• AM/FM multi-band radio
• Automatic digital squelch adjustable in dierent levels
• SWR protection
• S-Meter
• RF-gain
• Emergency function
• Scan
• Dual Watch
• 4 memory channels
• Vox (only for export version)
• PA function
• Roger Beep
• Emergency channels 9/19
• Noise Blanker e HIC audio filter
• Display backlight
• Keypad backlight
• Automatic turning on
• Microphone with UP/DOWN/Priority channel controls
Installing the radio
Mounting bracket
Safety and convenience are the primary considerations for mounting any piece of
mobile equipment. All controls must be readily available to the operator without in-
terfering with the movements necessary for safe operation of the vehicle. To install
the transceiver select a location that will minimize danger to your passengers and
yourself while the vehicle is in motion; the location should be well-ventilated and
shielded from direct sunlight.
1. Install the mounting bracket into the vehicle using the supplied screws.
2. Fix the radio onto the bracket using the supplied self-tapping screws and
tighten them properly, considering also the strong vibrations undergone by the
vehicle.
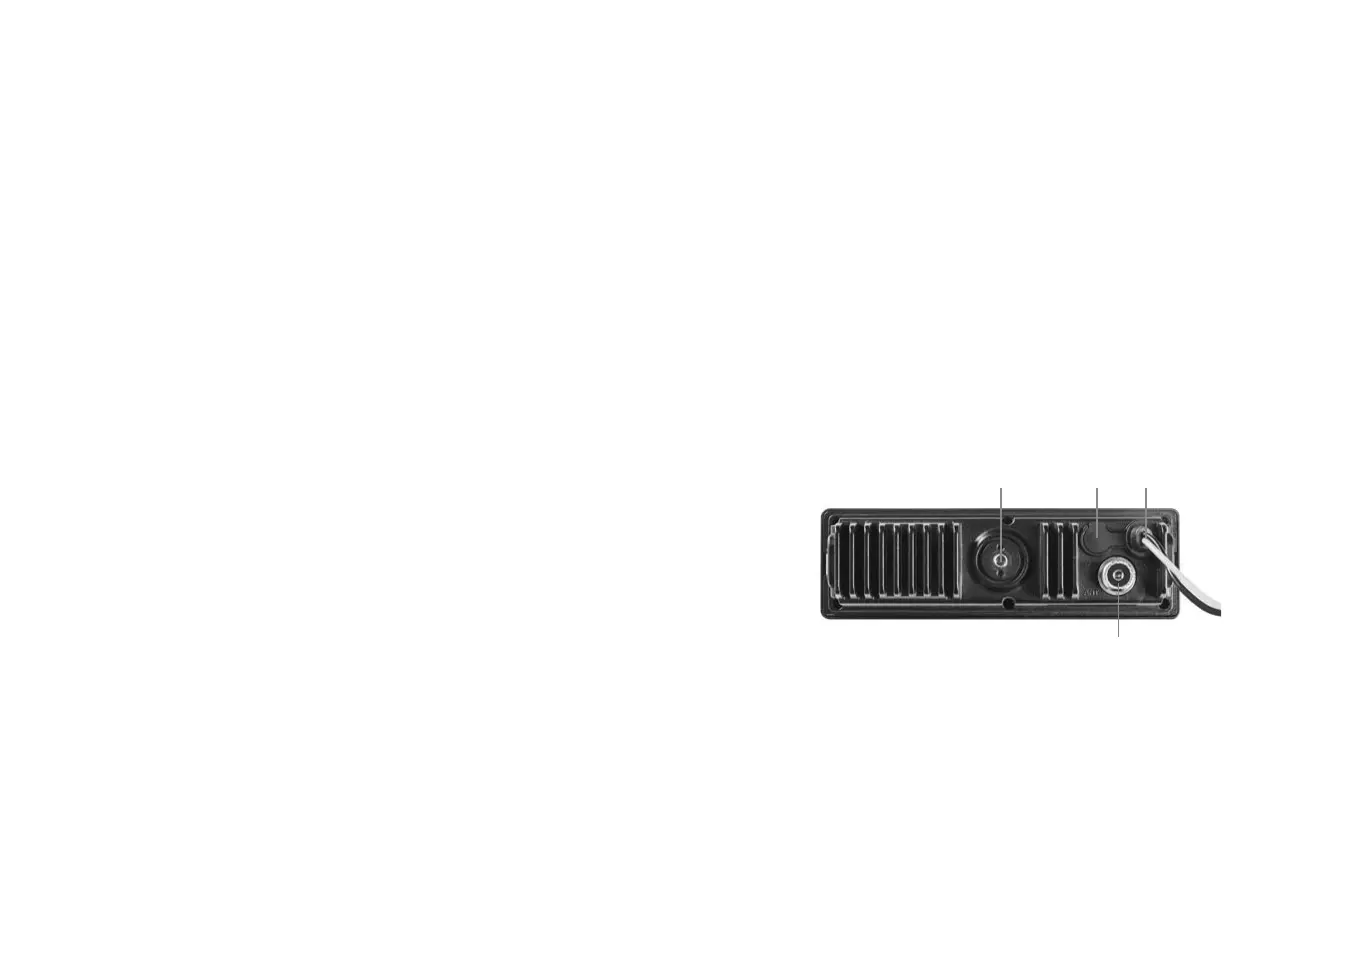
Suction cup mount for glass mounting
The suction cup mount must be fixed on the windshield of the vehicle in a location
that will not obstruct your driving view.
At first, carefully clean the fixing surface. The fixing screw of the suction cup mount
must be firmly screwed on the rear side of the radio as indicated in the picture
1 4 3
2