4 | Alan 100 Plus B Instruction Guide Alan 100 Plus B Instruction Guide | 5
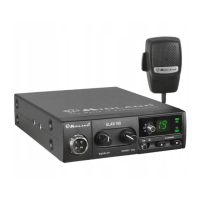
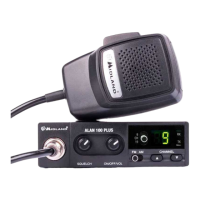
Rear panel
9. Power cord with 12V cigarette lighter plug.
10. Antenna connector: SO239 connector type.
11. EXT jack: external loudspeaker jack (the internal speaker will be excluded).
Microphone
12. PTT: transmission button
INSTALLATION
Safety and convenience are the primary considerations for mounting any piece of
mobile equipment. All controls must be readily available to the operator without
interfering with the movements necessary for safe operation of the vehicle. Be sure
all cables are clear of the brake, clutch and accelerator. Also, thought must be given
to the comfort of passengers.
Another extremely important requirement is the ease of installation and removal
for those occasions when you might want to remove the unit for service and main-
tenance.
The most common mounting position for a transceiver is under the dashboard di-
rectly over the drive shaft hump. Do not mount the transceiver in the path of the
heater or air conditioning. Take your time and plan your installation carefully. When
you have determined the best location for mounting, use the mounting bracket as a
template to mark mounting holes.
9
CH
19
40
TX
FM AM CHANNEL
EXT
ANT
SPKR
+
-
RED
BLK
40
RX
SQUELCH ON/OFF VOL
EXT
ANT
SPKR
+
-
RED
BLK
ALAN 100 PLUS
1 3 2 8 7
54 6
9
1110
12
EXT
ANT
SPKR
+
-
RED
BLK
EXT
ANT
SPKR
+
-
RED
BLK
ALAN 100 PLUS
1 3 2 8 7
54 6
9
Washer
Machine screw
Machine screw
Washer
Washer
Machine screw
Nut
Hanger
Washer
Machine screw
Tapping screw
 Loading...